EasyManua.ls Logo

Broyhill A101017510 - User Manual

Broyhill A101017510
28 pages
Print Icon
To Next Page IconTo Next Page
Loading...
ASSEMBLY INSTRUCTIONS
ITEM#: A101017510
SKU#: 810580328
CRESTFIELD 11X13FT SOFT
TOP GAZEBO
Need help? We are here for you! 1(866)578-6569 24/7 • Toll Free
Production number: 2023100875
Question and Answer IconNeed help?

Do you have a question about the Broyhill A101017510 and is the answer not in the manual?

Summary

General Best Practices for Assembly

Safety Warnings

Warranty Information

What is Covered?

Details the scope of the limited warranty for materials and defects.

Maintenance Guidelines

LED Light Caution

Exploded View Diagram

Parts Identification List

Hardware Identification List

Assembly Helpful Hints

Step 1: Post and Base Cover Assembly

Post and Base Cover Assembly

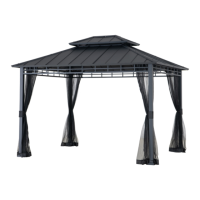
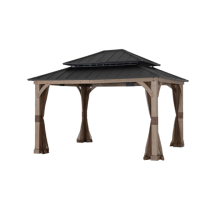
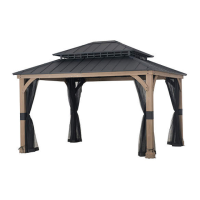
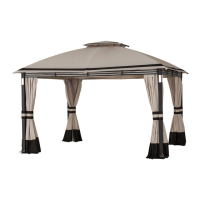
Assemble base and post covers using bolts and wrench for stability.

Step 2: Short Cross Beam Installation

Short Cross Beam Installation

Connect short left and right cross beams using bolts, washers, and nuts.

Step 3: Long Cross Beam Installation

Long Cross Beam Installation

Connect long left and right cross beams using bolts, washers, and nuts.

Step 4: Connecting Beams to Posts

Connecting Long Beams to Posts

Attach long cross beams to posts using bolts and wrench for structural integrity.

Step 5: Attaching Short Beams to Posts

Attaching Short Beams to Posts

Connect short cross beams to posts using bolts and wrench, ensuring frame squareness.

Step 6: Installing Middle Connectors

Installing Middle Connectors

Attach middle connectors to long and short cross beams using bolts and wrench.

Step 7: Attaching Mosquito Netting Rods

Attaching Mosquito Netting Rods

Connect mosquito netting rods to cross beams using bolts and wrench.

Step 8: Assembling Rafter Components

Assembling Rafter Components

Insert rafter lower tubes into rafters and snap clips for secure fit.

Step 9: Connecting Rafters to Roof Connector

Connecting Rafters to Roof Connector

Attach rafters to roof connector and secure lower tubes to posts with bolts.

Step 10: Assembling Long Middle Beams

Assembling Long Middle Beams

Insert long middle beam lower tubes into long middle beams and snap clips.

Step 11: Attaching Long Middle Beams to Roof

Attaching Long Middle Beams to Roof

Connect long middle beams to roof connector and secure with bolts and middle connectors.

Step 12: Attaching Short Middle Beams to Roof

Attaching Short Middle Beams to Roof

Connect short middle beams to roof connector and secure with bolts and middle connectors.

Step 13: Placing the Big Canopy

Placing the Big Canopy

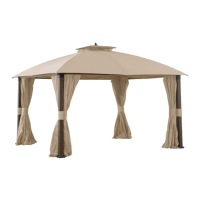
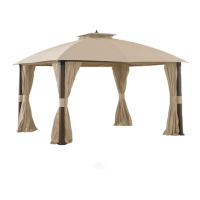
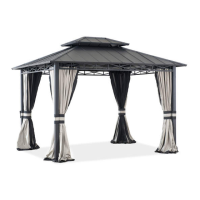
Spread the big canopy over the gazebo structure without fully stretching it.

Step 14: Attaching Adjustable Tubes

Attaching Adjustable Tubes

Attach adjustable tubes to rafters and snap elastic buckles into holes.

Step 15: Installing Small Canopy and Hook

Installing Small Canopy and Hook

Assemble hook to roof connector, spread small canopy, and attach corners to tubes.

Step 16: Securing the Big Canopy

Securing the Big Canopy

Spread the big canopy and secure it to rafter lower tubes and middle beam lower tubes.

Step 17: Attaching Curtains

Attaching Curtains

Hang curtains using rings on mosquito netting rods and match panel zippers.

Step 18: Attaching Mosquito Netting

Attaching Mosquito Netting

Hang mosquito netting using rings on rods and tie straps to posts.

Step 19: Securing Gazebo to Ground

Securing Gazebo to Ground

Use stakes through post covers to fasten the gazebo securely to the ground.

Step 20: Installing Remote Control and Batteries

Installing Remote Control and Batteries

Install batteries into remote control and posts, then hang remote on post.

Broyhill A101017510 Specifications

General IconGeneral
BrandBroyhill
ModelA101017510
CategoryOutdoor Furnishing
LanguageEnglish

Related product manuals