PAGE 16 BRUNSWICK INSTALLATION MANUAL
APOLLO
APRON ASSEMBLY (CONTINUED)
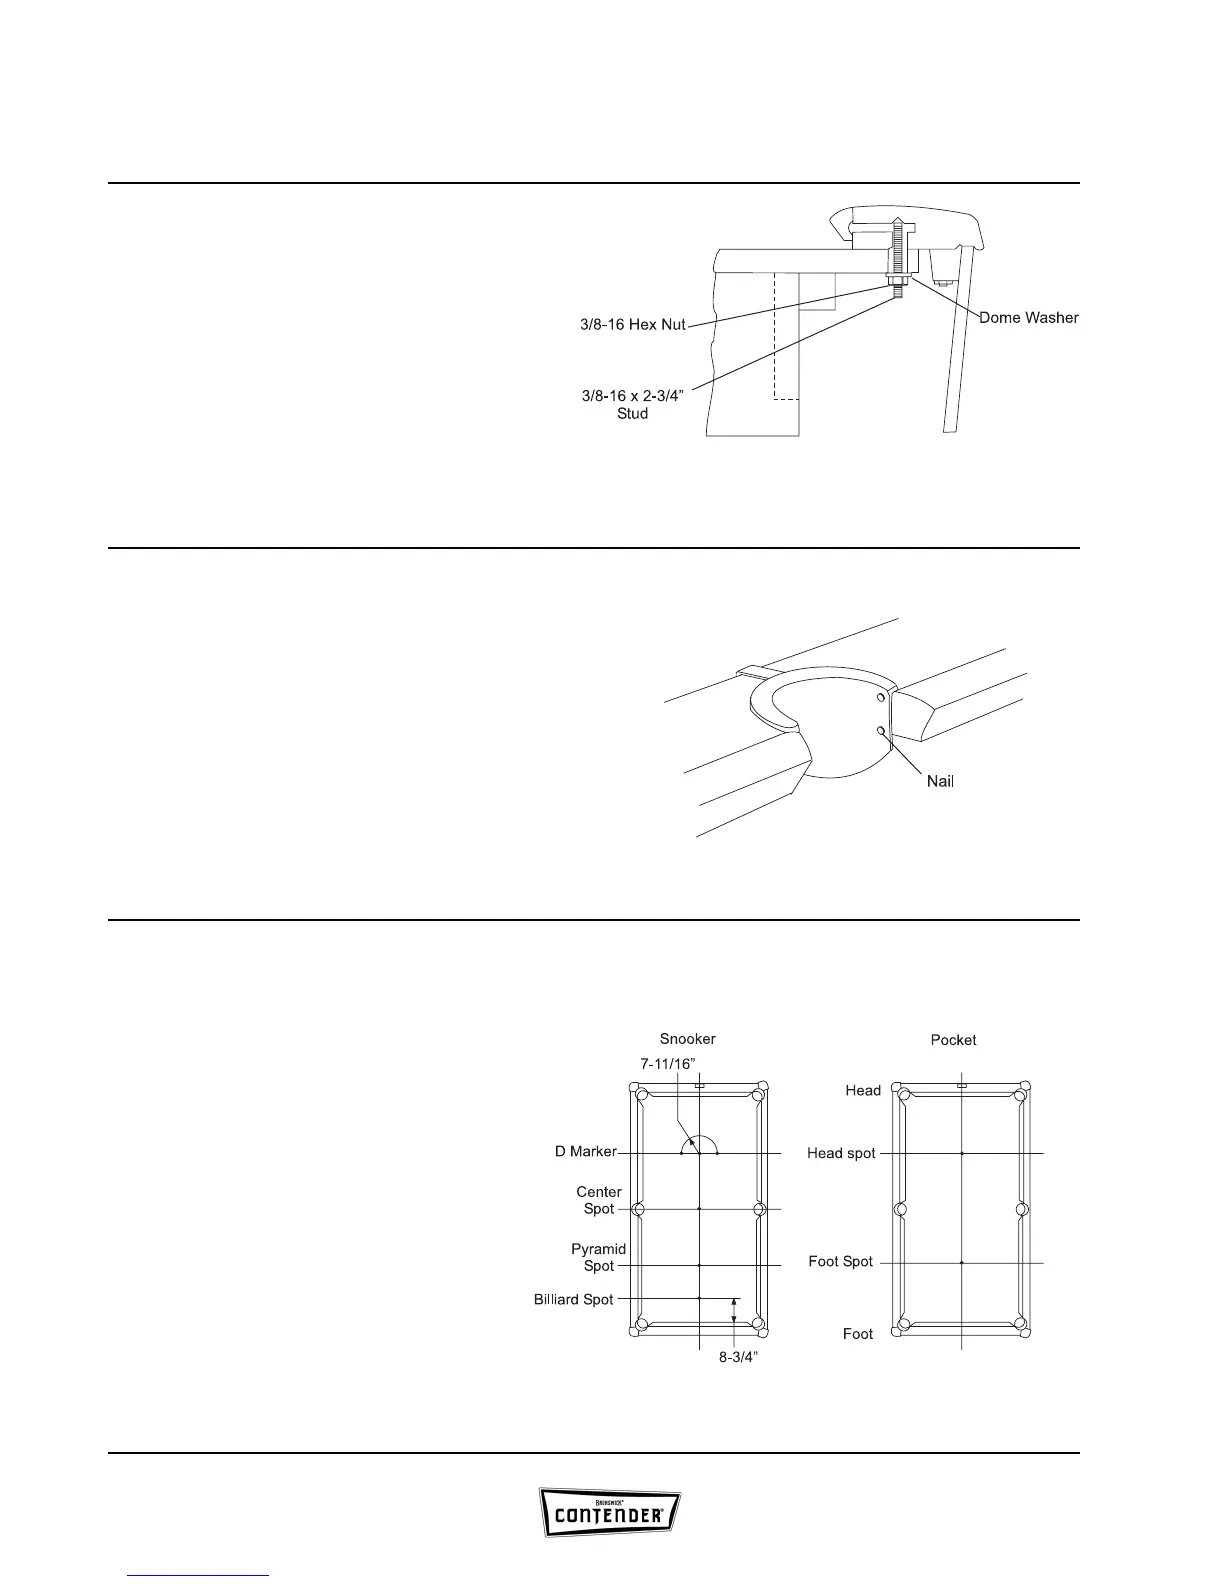
FIGURE THREE
Step #6: Thread the 3/8-16 hex nut and dome washer
onto the machine stud (three places) at the ends of the
table and tighten securely.
Step #7: Making sure that the side rails are in a straight
line as sighted down the length of the table (cushion
side), fasten the side rails securely with remaining nuts
and dome washers.
FIGURE THREE
FIGURE FOUR
Step #8: Position the side and corner pockets in their
respective locations. Fit and trim pockets as necessary.
Attach with four nails per pocket.
FIGURE FOUR
FIGURE FIVE
Step #9: Thoroughly brush the area on which the bed
spots are to be applied. Position the bed spot and firmly
roll a ball over the spot to achieve good adhesion.
NOTE:
Bed spots are self adhesive.
FIGURE FIVE