PAGE 14 BRUNSWICK INSTALLATION MANUAL
METRO
RAIL AND APRON ASSEMBLY
(CONTINUED)
FIGURE SIX
Step #6: Carefully tuen the rail and apron over and
lower it over the table.
CAUTION: Do not let the rail assembly “twist” or
“bow” while turning as the strain may cause the rail
to crack at the ends.
Step #7: Align the eighteen machine studs with the
eighteen clearance holes through the slate, and lower
assembly onto the slate.
FIGURE SIX
FIGURE SEVEN
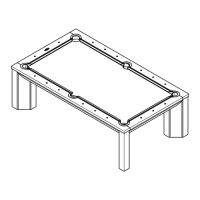
Step #8: Thread the 3/8-16 hex nut and dome washer
onto the machine stud (three places) at the ends of the
table and tighten securely.
Step #9: Making sure that the side rails are in a straight
line as sighted down the length of the table (cushion
side), fasten the side rails securely with remaining nuts
and dome washers.
FIGURE SEVEN
FIGURE EIGHT
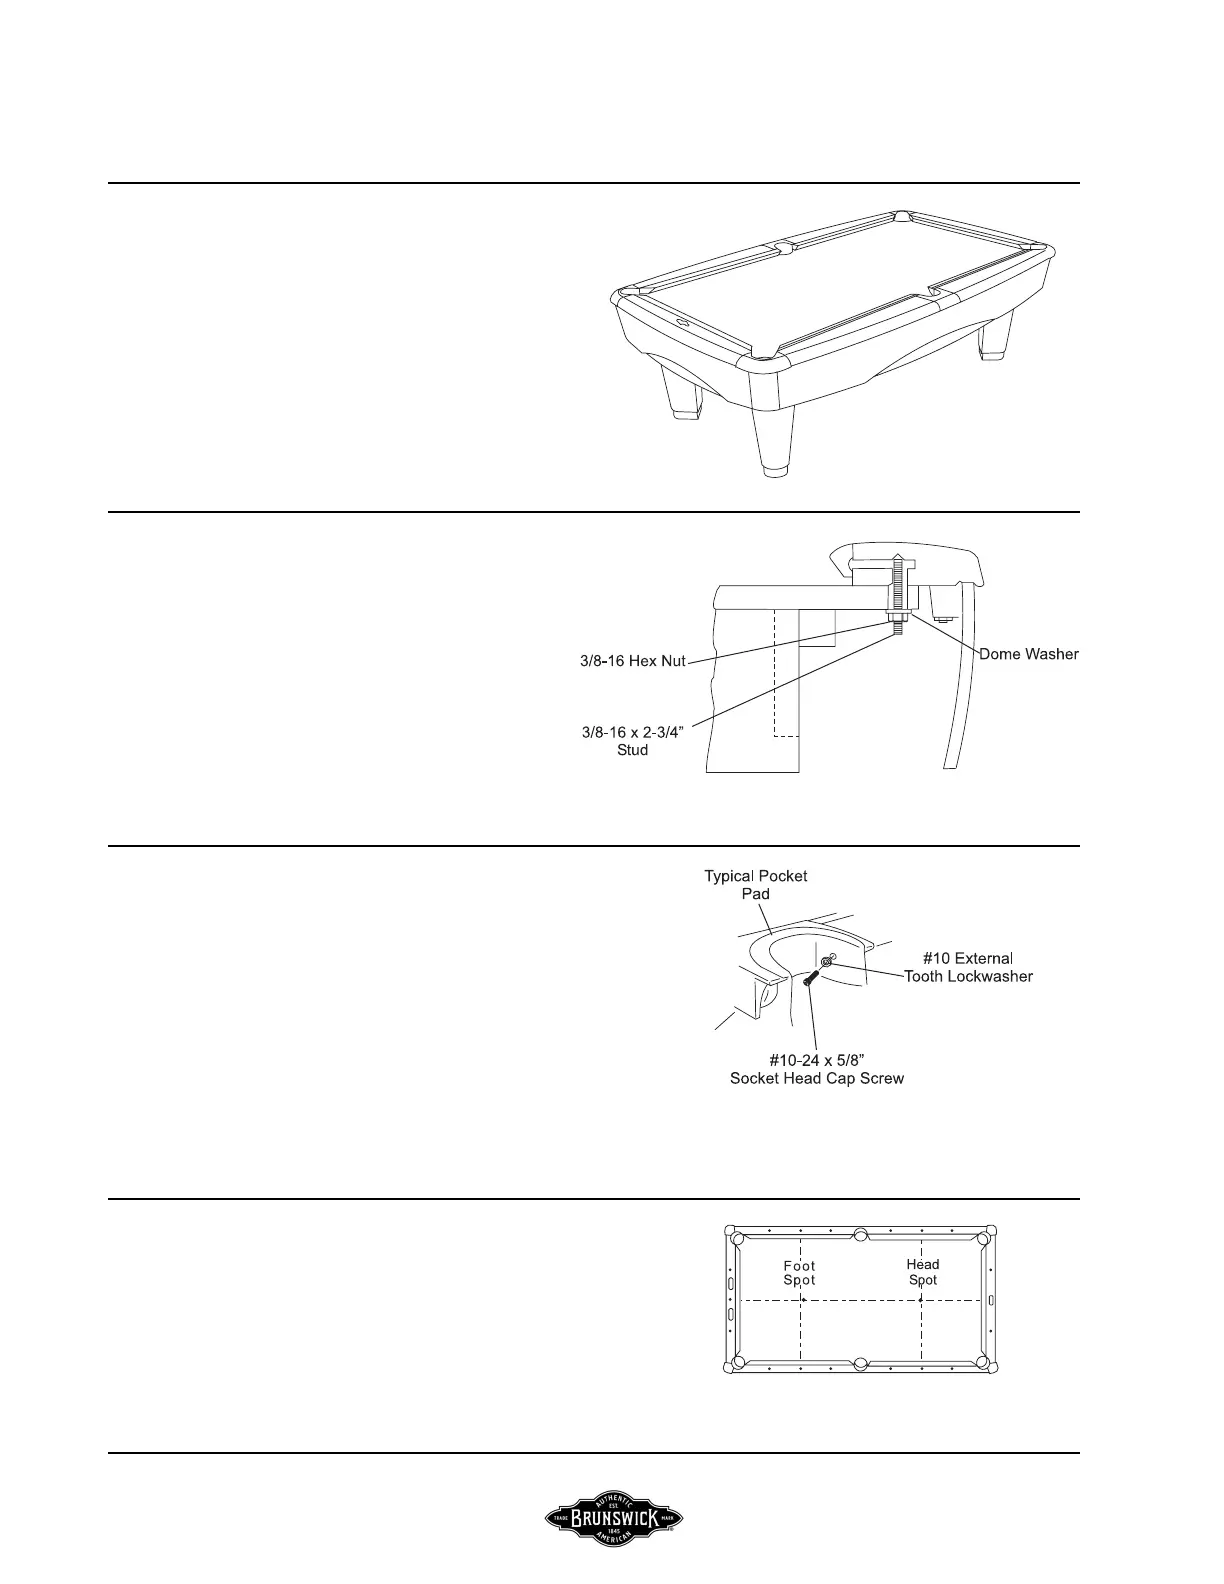
Step #10: Install the side and corner pockets by pulling
them up from under the rail and apron assembly. Place
them in the castings and carefully fit and trim end to fit
fliush behind the cushion facing. Use a scribe or nail set
as a drift pin to locate castings hole. Install with #10-24
x 5/8” socket head machine screws and #10 external
tooth washers.
FIGURE EIGHT
FIGURE NINE
Step #11: Thoroughly brush the area on which the bed
Step #12: Locate and install bed spots for each type of
table as shown.
FIGURE NINE
 Loading...