Bandit
Copyright 5/09 PAGE 47
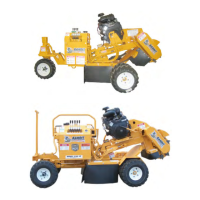
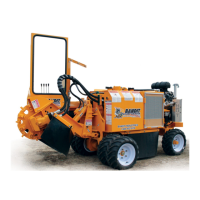
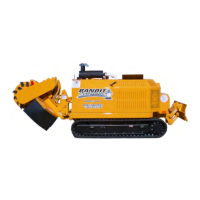
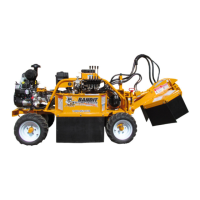
MODELS 2000XP / 2100SP
Sheave or Sprocket Alignment and Installation
Sheave or sprocket alignment is very important. Proper alignment allows the load to be transferred equally
across belt width, which reduces wear and improves belt life.
1. Place a straight edge on the outside of the drive
sheave or sprocket, making sure that the straight
edge touches the outside and inside of the sheave
or sprocket.
2. Move the sheave or sprocket until the straight edge
touches both outside edges and inside edges.
3. Make sure the sheaves or sprockets are properly
aligned. Alignment should be within 1/4 degree. This
is the maximum “M” dimension of .05” per foot (1.3
mm per 305 mm) center distance.
1. Inspect the bore of the sheave or sprocket and the
bushings tapered surface. Remove any oil, dirt or
grease.
2. Place bushing in the sheave or sprocket inserting
screw loosely.
CUTTER WHEEL BELT (V-Belt & Poly Chain Belt)
Special care needs to be taken with your cutter wheel belt. Alignment, tension, and cleanliness of this belt is
very important. The cutter wheel belt needs to be checked for tension approximately every 70 to 100 hours of
use. The cutter wheel belt must be running true. If you adjust one bearing more than the other, the belt will
run on an angle which will cause belt failure. When replacing the cutter wheel belt, do not try to pry the belt on
over pulley, this can break the bers in the cutter wheel belt. After you have installed or re-tensioned the cutter
wheel belt, you will have to readjust the engine belt for proper tension.
Remove the cutter wheel guard and bottom cover. Loosen cutter wheel belt by moving jack shaft bearings back
toward rear of machine. Mark them so that you know how they are positioned on the jack shaft plate. Loosen,
do not remove, the four bolts that hold the jack shaft bearings down. Loosen the jam bolts in the back and move
the bearings back toward cutter wheel. Remove the old belt and replace with a new one.
To adjust tension of the belt, slide the bearings back into the place that you had marked. Tighten the jam bolts.
To tighten the belt more if needed, loosen the front jam bolts and tighten each of the back jam bolts the same
number of revolutions, to keep the alignment true. Then once the belt is adjusted, tighten the front jam bolts
back against the bearing. Check cutter wheel belt sheaves or sprockets, with a straight edge to ensure that
they are in line. You will also have to check engine belt for tightness and straightness after adjusting the cutter
wheel belt.
3. Place key in key set and slide sheave or sprocket to
its desired location with the screw head facing outside.
If bushing goes on hard check shaft for burrs, remove
if necessary.
4. Check for proper alignment of belts and evenly
tighten bolts to recommended torque (SEE PAGE
41).
MAINTENANCE SECTION
NOTICE V-Belt (Start 12/07)
New: 5/16” (7.9 mm) deection at
40-43 lbs. (18.1-19.5 kg) of force.
Used: 5/16” (7.9 mm) deection at
31-34 lbs. (14.1-15.4 kg) of force.
Poly Chain Belt (Pre 12/07)
New: 5/16” (7.9 mm) deection at
28-30 lbs. (12.7-13.6 kg) of force.
Used: 5/16” (7.9 mm) deection at
21-24 lbs. (9.5-10.9 kg) of force.
Sheave or Sprocket Installation
ANGULAR MISALIGNMENT
PARALLEL MISALIGNMENT