1-17
BRAKES
GENERAL
WARNING
Brake fluid can cause irritation of eyes and skin, and may
be harmful if swallowed. If fluid is swallowed, induce
vomiting by administering two tablespoons of salt in a
glass of warm water. Call a doctor. In case of contact with
skin or eyes, flush with plenty of water. Get medical
attention for eyes. KEEP BRAKE FLUID OUT OF THE
REACH OF CHILDREN.
Check brake fluid level and condition:
At the 500 mile (800 km) service interval.
At every 5000 mile (8000 km) service interval thereafter.
When storing or removing the motorcycle for the season.
Front brake hand lever and rear brake foot pedal must have a
firm feel when brakes are applied. If not, bleed system as
described.
BLEEDING BRAKES
1. Install end of a length of plastic tubing over caliper
bleeder valve; place other end in a clean container.
Stand motorcycle upright.
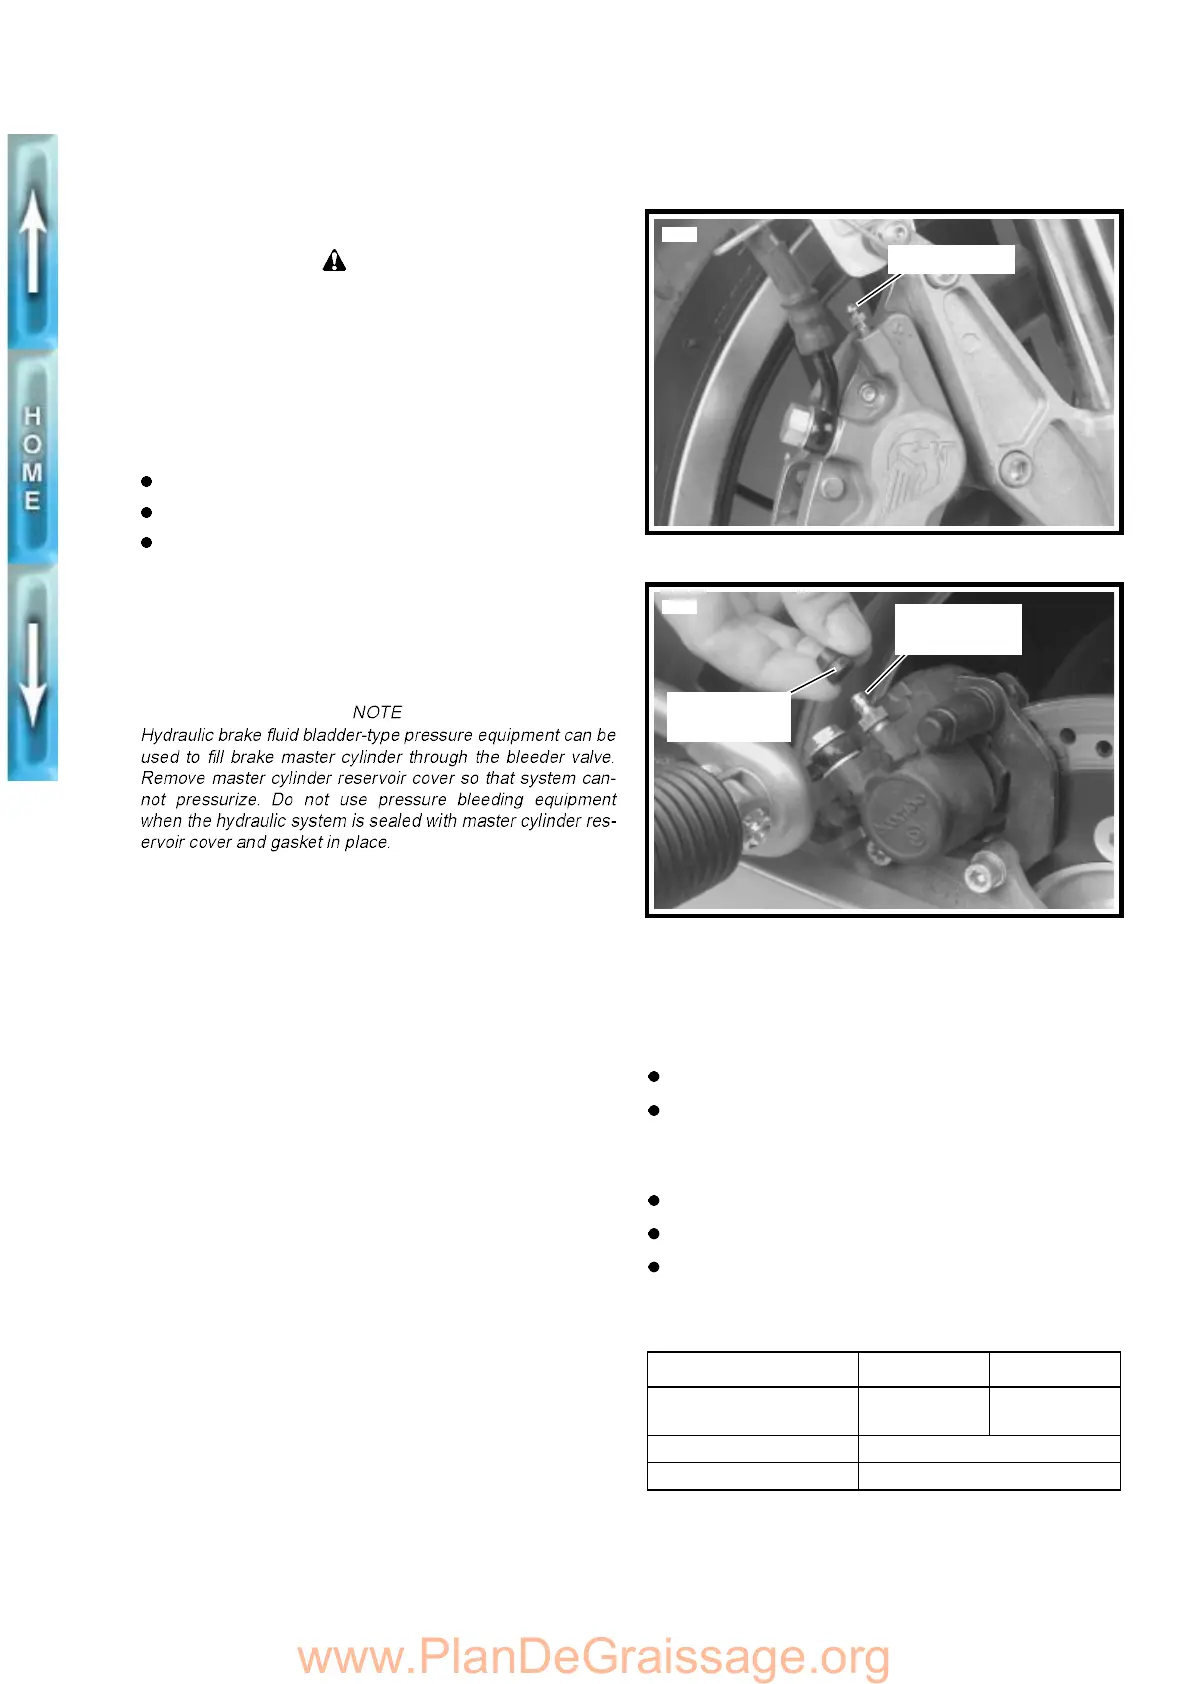
a. Front brake caliper-Figure 1-13.
b. Rear brake caliper-Figure 1-14.
2. Add D.O.T. 5 SILICONE HYDRAULIC BRAKE FLUID to
master cylinder reservoir. Do not reuse brake fluid.
a. Bring fluid level to within 1/8 in. (3.2 mm) of molded
boss for front master cylinder reservoir.
b. Bring fluid level between upper and lower marks for
rear master cylinder reservoir.
3. Depress and hold brake lever/pedal to build up hydraulic
pressure.
4. Open bleeder valve about 1/2-turn counterclockwise;
brake fluid will flow from bleeder valve and through tub-
ing. When brake lever/pedal has moved 1/2-3/4 of its full
range of travel, close bleeder valve (clockwise). Allow
brake lever/pedal to return slowly to its released position.
5. Repeat Steps 2-4 until all air bubbles are purged.
6. Tighten bleeder valves.
a. Front bleeder valve to 4-6 ft-lbs (5.4-8.1 Nm).
b. Rear bleeder valve to 6-9 ft-lbs (8.1-12.2 Nm).
7. Verify master cylinder fluid level as described in Step 2.
8. Tighten master cylinder reservoir cover screws to 9-13
in-lbs (1.0-1.5 Nm). Install cover on rear reservoir.
PADS, ROTORS AND LINKAGE
Check brake pads and rotors for minimum thickness. See
Table 1-5. See Section 2 for replacement procedures.
At the 500 mile (800 km) service interval.
At every service interval thereafter.
Check rear brake pedal height and freeplay. See Table 1-5.
See Section 2 for adjustment procedures.
Before every ride.
At the 500 mile (800 km) service interval.
At every 5000 mile (8000 km) service interval thereafter.
Figure 1-13. Front Brake Caliper Bleeder Valve
Figure 1-14. Rear Brake Caliper Bleeder Valve
Table 1-5. Brake System Components
SPECIFICATION FRONT REAR
Minimum rotor thickness 0.17 in.
(4.4 mm)
0.19 in.
(4.8 mm)
Minimum pad thickness 1/16 in. (1.6 mm)
Hand lever/pedal freeplay 1/8 in. (3.2 mm) maximum
Bleeder valve
5565
5566
Bleeder valve
(metric)
Protective
cap removed

 Loading...


