Do you have a question about the Bunn G9 HD and is the answer not in the manual?
General warnings about electrical hazards, opening covers, and authorized service.
Personal injury hazard warning for keeping fingers and objects out of openings.
Electrical safety precautions including circuit protection, grounding, and extension cord use.
Controls the grinder's operation: off, on, and momentary start for timed cycles.
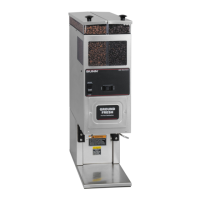
Selects grind amount for different batch sizes (Urn or Carafe).
Procedure to adjust the grind fineness by altering the burr settings.
Further steps for adjusting grind fineness using hash marks and lock nuts.
Procedure to adjust the timer for the desired amount of coffee to be ground.
Addresses the grinder not starting due to motor overload protection reset.
Troubleshooting no power or incorrect voltage issues when the grinder fails to start.
Checks the Off/On/Start switch as a cause for the grinder not starting.
Checks the timer as a potential cause for the grinder not starting.
Troubleshoots the relay as a reason for the grinder failing to start.
Identifies motor issues as a cause for the grinder not starting.
Addresses the grinder not shutting off due to the Off/On/Start switch.
Checks the timer as a cause for the grinder not shutting off.
Troubleshoots the relay for the grinder failing to shut off.
Checks hopper for obstructions or foreign materials preventing dispensing.
Addresses incorrect coffee amounts due to timer adjustment issues.
Solves incorrect grind fineness by referring to burr adjustment.
Details how to access internal components by removing panels and covers.
Procedures for testing and replacing the motor.
Procedures for motor replacement and grind chamber component inspection/replacement.
Steps to remove and replace grind chamber components like burrs and shear plate.
Procedures for testing and replacing the Off/On/Start switch.
Procedures for testing and replacing the Urn/Carafe selector switch.
Procedures for testing and replacing the relay.
Procedures for testing and replacing the timer.
Electrical schematic for the G9 grinder model.
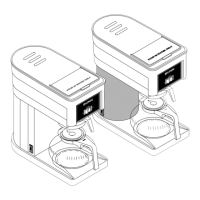
Electrical schematic for the G9-URN/CARAFE grinder model.
Electrical schematic for the G9A HD grinder (200V AC).
Electrical schematic for G9A HD with power indicator light (200V AC).
Electrical schematic for the G9 grinder model with optional switches.
Electrical schematic for G9 with optional brewer interface connector.
| Category | Coffee Maker |
|---|---|
| Manufacturer | Bunn |
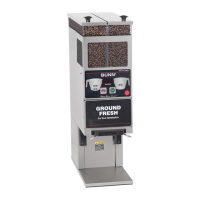
| Model | G9 HD |
| Brewing Capacity | 3.8 gallons per hour |
| Water Source | Plumbed |
| Voltage | 120V |
| Material | Stainless Steel |
| Water Tank Capacity | N/A (Plumbed-in) |
| Tank | N/A (Plumbed-in) |
| Warranty | 2 years |
| Type | Commercial Coffee Maker |