6
PURGING THE WATER LINES (PUSH & HOLD VERSION)
1. Insure that the dispense switch is ON.
2. Dispense water from the STILL WATER lines untill the cloudy apperance dissipates and the water flows clear. Next,
dispense water from the SPARKLING WATER lines until again the cloudy appearance dissipates and the water flows
clear.
3. Open the external CO
2
supply line. Set the external CO
2
pressure regulator to 120 psig (.827 mPa).
4. Dispense sparkling water untill carbonation appears.
5. The machine is now ready for use.
FILLING THE WATER BATH
1. Plug the dispenser into an electrical outlet and turn on the water supply to the dispenser.
2. Flip the dispense switch to ON. The water bath will begin to fill. The water bath will fill and
automatically shut off when the water bath is full.
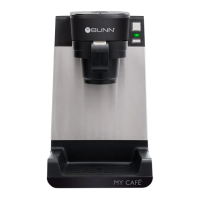
3. Check the sight glass to confirm that the water bath is full (See Figure 5).
Once the water bath is full, flip the compressor switch to ON. It will take several hours to create
the ice bank required for full dispenser performance, but there will be chilled water in one to two
hours. During this time, some further trickling from the water bath into the drip tray is expected
due to expansion caused by the ice bank formation.
Figure 5
PURGING THE WATER LINES (PORTION CONTROL VERSION)
1. Insure that the dispense switch is ON.
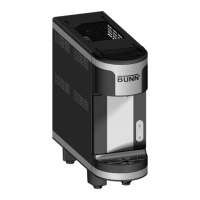
2. Dispense water from the STILL WATER lines by pressing & holding the "+" button (Figure 6),till the
cloudy apperance dissipates and the water flows clear.
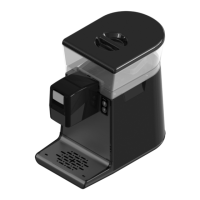
3. Dispense water from the SPARKLING WATER lines by pressing & holding the "+" button (Figure 7), till
the cloudy appearance dissipates and the water flows clear.
4. Open the external CO
2
supply line. Set the external CO
2
pressure regulator to 120 psig (.827 mPa).
5. Dispense sparkling water untill carbonation appears.
6. The machine is now ready for use.
Figure 6
Figure 7
52373.0 103015