Page 6
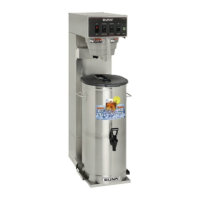
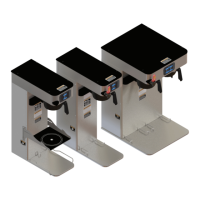
INITIAL SET-UP (TB3Q/TB3Q-LP/TB6Q ONLY)
CAUTION - The brewer must be disconnected from the power source throughout the Initial Set-Up, except
when specifi ed in the instructions.
1. Remove the top cover from the brewer.
2. Rotate the control thermostat knob fully counterclockwise to the "OFF" position and replace the top lid.
3. Insert an empty funnel into the funnel rails. On TB6Q models, rotate the funnel handle left or right to align
the funnel discharge over the reservoir.
4. Place an empty dispenser on the brewer base. Be prepared to empty the dispenser during these initial steps.
Be sure funnel discharge is directly above the dispenser.
5. Plug in the brewer, place the ON/OFF switch in the "ON" position ("SWEET" or "UNSWEET" position for models
with a sweetener option) (LEFT or RIGHT on TB6Q), and momentarily press the START switch. Water will
fl ow into the tank and dispenser for three and one-half minutes. Empty the dispenser when this fi rst cycle
stops and press the START switch again. Empty the dispenser when the second cycle stops and press the
START switch once more. During the third cycle, the tank will fi ll to its capacity and the excess will fl ow
from the funnel into the dispenser. Empty the dispenser when this third cycle stops.
6. Begin another brew cycle and measure the total water volume from the dispenser. It should be approximately
3 gallons and 12 ounces. (396 ounces). CONCENTRATE MACHINES WILL YIELD ONLY 76 OZ.
7. If not, adjust the timer as required. See Adjusting Brew Volumes.
8. Unplug the brewer, remove the top lid, rotate the control thermostat knob fully clockwise to the "ON" position
and replace the top lid.
9. Empty the dispenser.
10. Plug in the brewer and wait for the water in the tank to heat to brewing temperature (approximately 20
minutes). Some water will drip from the funnel during this time; this is due to expansion and should not
occur thereafter.
11. Begin another brew cycle. Empty the reservoir after water has stopped fl owing from the funnel.
41465.1 040609
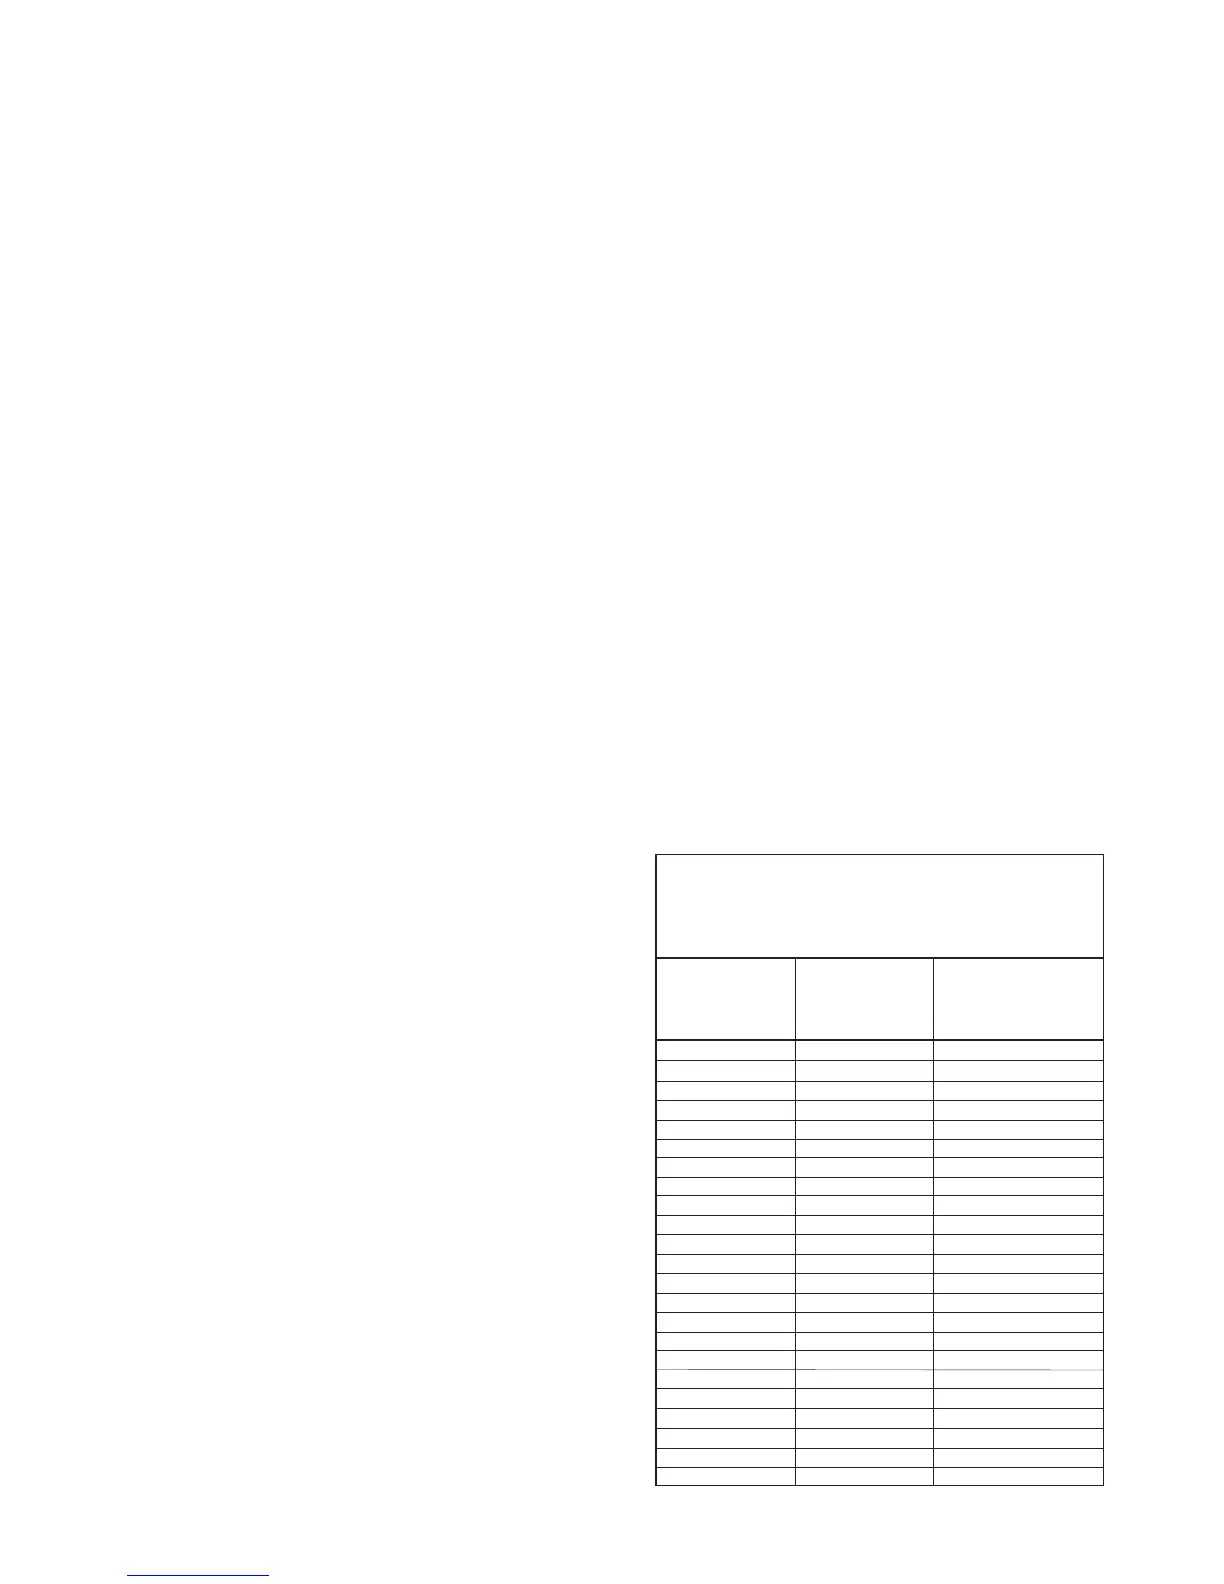
ture to prevent boiling. This chart should be used as a
guide when readjusting the brew water temperature.
 Loading...