Pos: 22 /Busch-J aeger (Neustruktur)/Modul-S truktur/Online- Dokumentation/ Überschriften (--> Für alle Doku mente <--)/2. Ebene/M - O/Montage @ 18\mod_1302615960458_15. docx @ 103424 @ 122 @ 1
5.2 Mounting
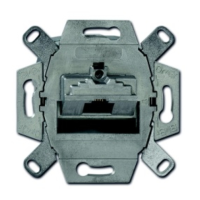
Pos: 23 /Busch-Jaeger (Neustruktur)/Modul-S truktur/Online-Dok umentation/Mon tage/alle Geräte/Monta ge - UP-Dosen - DI N 49073-1 oder geeignetes Aufpu tzgehaeuse - Ohne Docvari able @ 20\mod_1325766034453 _15.docx @ 136593 @ 2 @ 1
The device may only be installed in suitable flush-mounted sockets (DIN 49073-1) or a suitable surface-mounted
housing.
Pos: 24 /Busch-Jaeger (Neustruktur)/Modul-S truktur/Online-Dok umentation/Mon tage/Sonstige Bereic he/Montage - Rutenbec k Kompakt-Universal-Ansc hlussdosen @ 23\mod_1333110 834999_15.doc x @ 207456 @ 22 @ 1
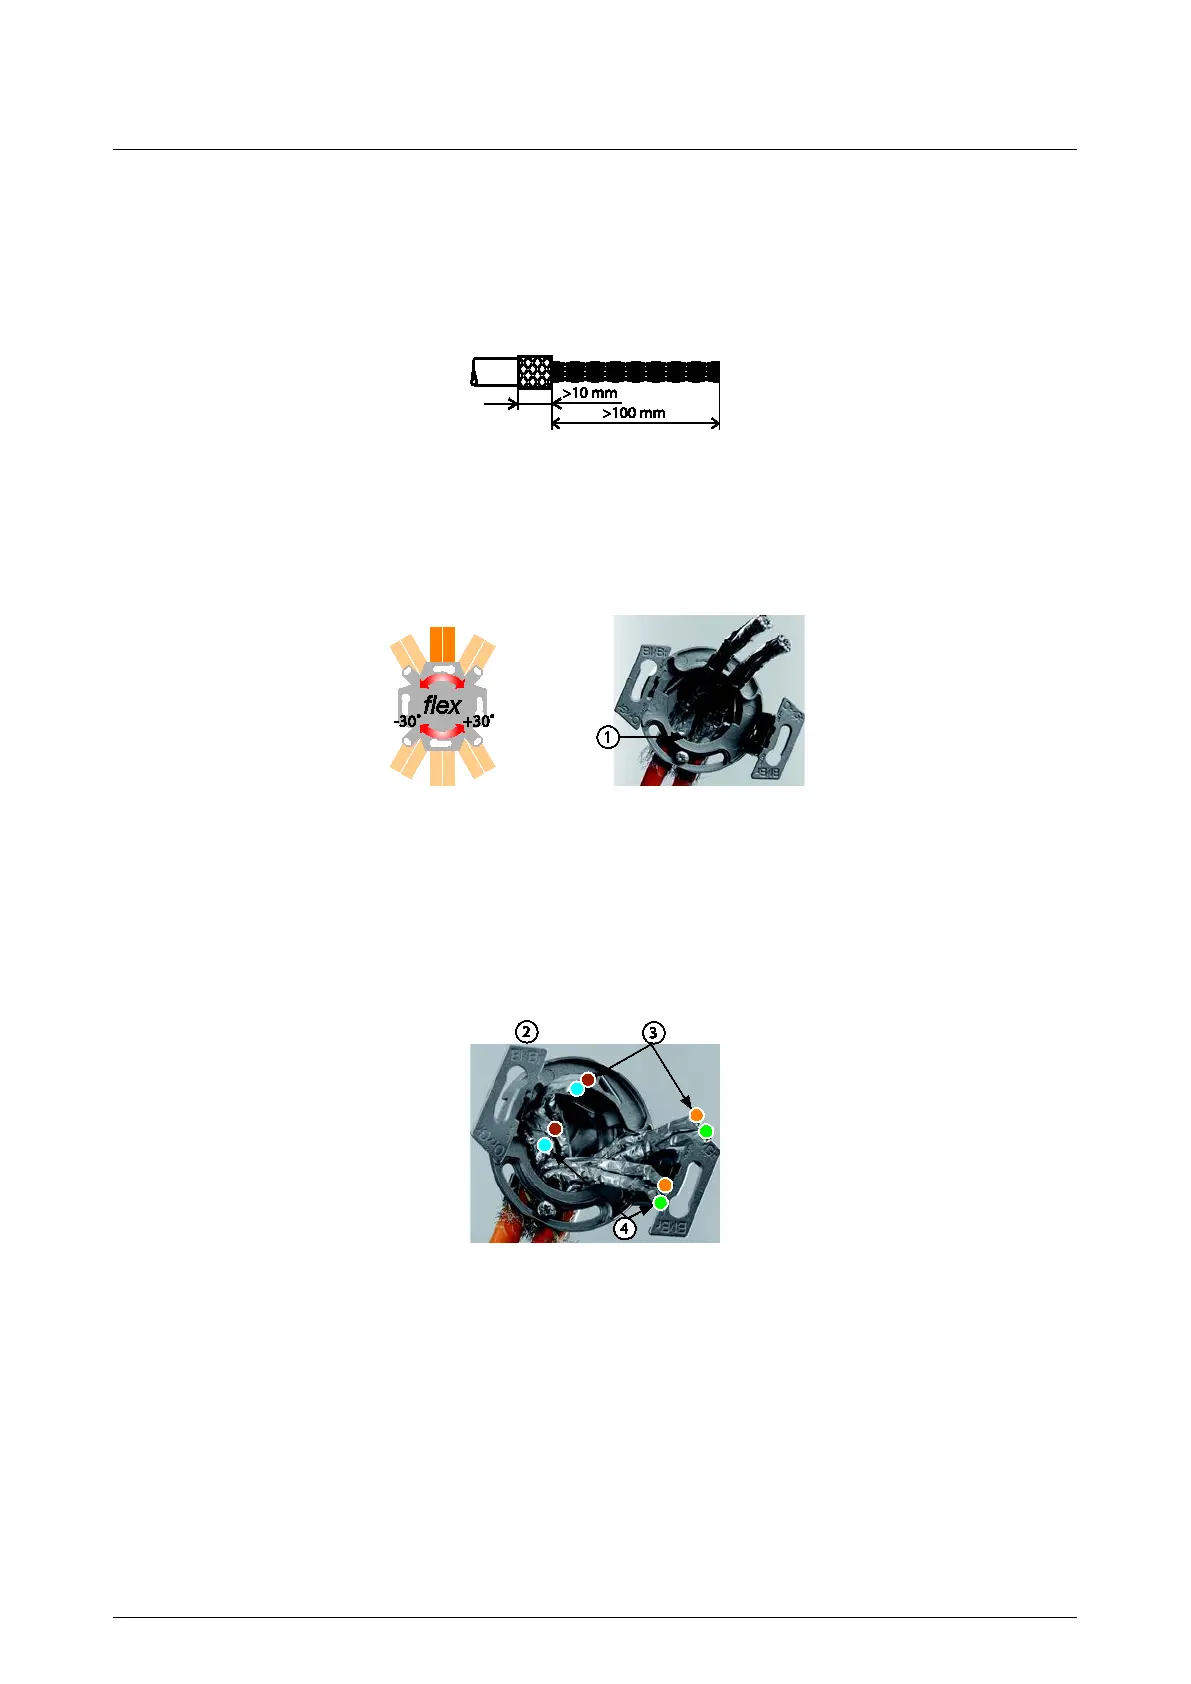
Fig. 1: Preparing the cable
1. Remove approximately 100 mm of insulation from the cable (see diagonal of the packaging).
2. Push the braid screen back and shorten it by approximately 10 mm.
Fig. 2: Cable feed
3. Feed the cable into the housing at the top or the bottom (in the photo at the bottom).
4. Bend the cable to a quarter circle and feed it in as far as possible.
5. If necessary, adjust the feed-in position (± 30°).
6. Fasten the screw.
Fig. 3: Pre-sorting
7. Pre-sort the twisted pairs.
– Ensure that you adhere to the hints on the securing webs, which are normally legible (Pos. 2).
8. The upper twisted pairs (Pos. 3) belong to the left socket. The twisted pairs on the left (Pos. 4) belong to the
right socket.