-2-
ASSEMBLY
3.
Slide the insulator on 40 meter tube (B1) into the top of base section (B) and
secure with a #8 x 1 1/2" bolt, #8 lock washer and #8 hex nut.
NOTE: The top of base section (B) has the mounting hole located 1/4" from the end
and the danger label is located near the bottom.
In all subsequent steps involving base section (B), assembly should be done indoors or
in an area where dropped hardware may easily be recovered.
WARNING: IF A FLAT BLADE SCREWDRIVER IS USED DO NOT HOLD THE WORK
OPPOSITE THE BLADE IN ORDER TO AVOID POSSIBLE INJURY INCASE THE BLADE
SLIPS.
4.
Locate the 80/40 meter coil assembly (C) and slide the clamp at the outer end of
the larger coil over the 40 meter tube (B1) and onto base section (B), until the
middle clamp can be positioned around the fiber glass insulating rod. The middle
clamp will have to be pulled open slightly to pass over the 40 meter tube (B1)
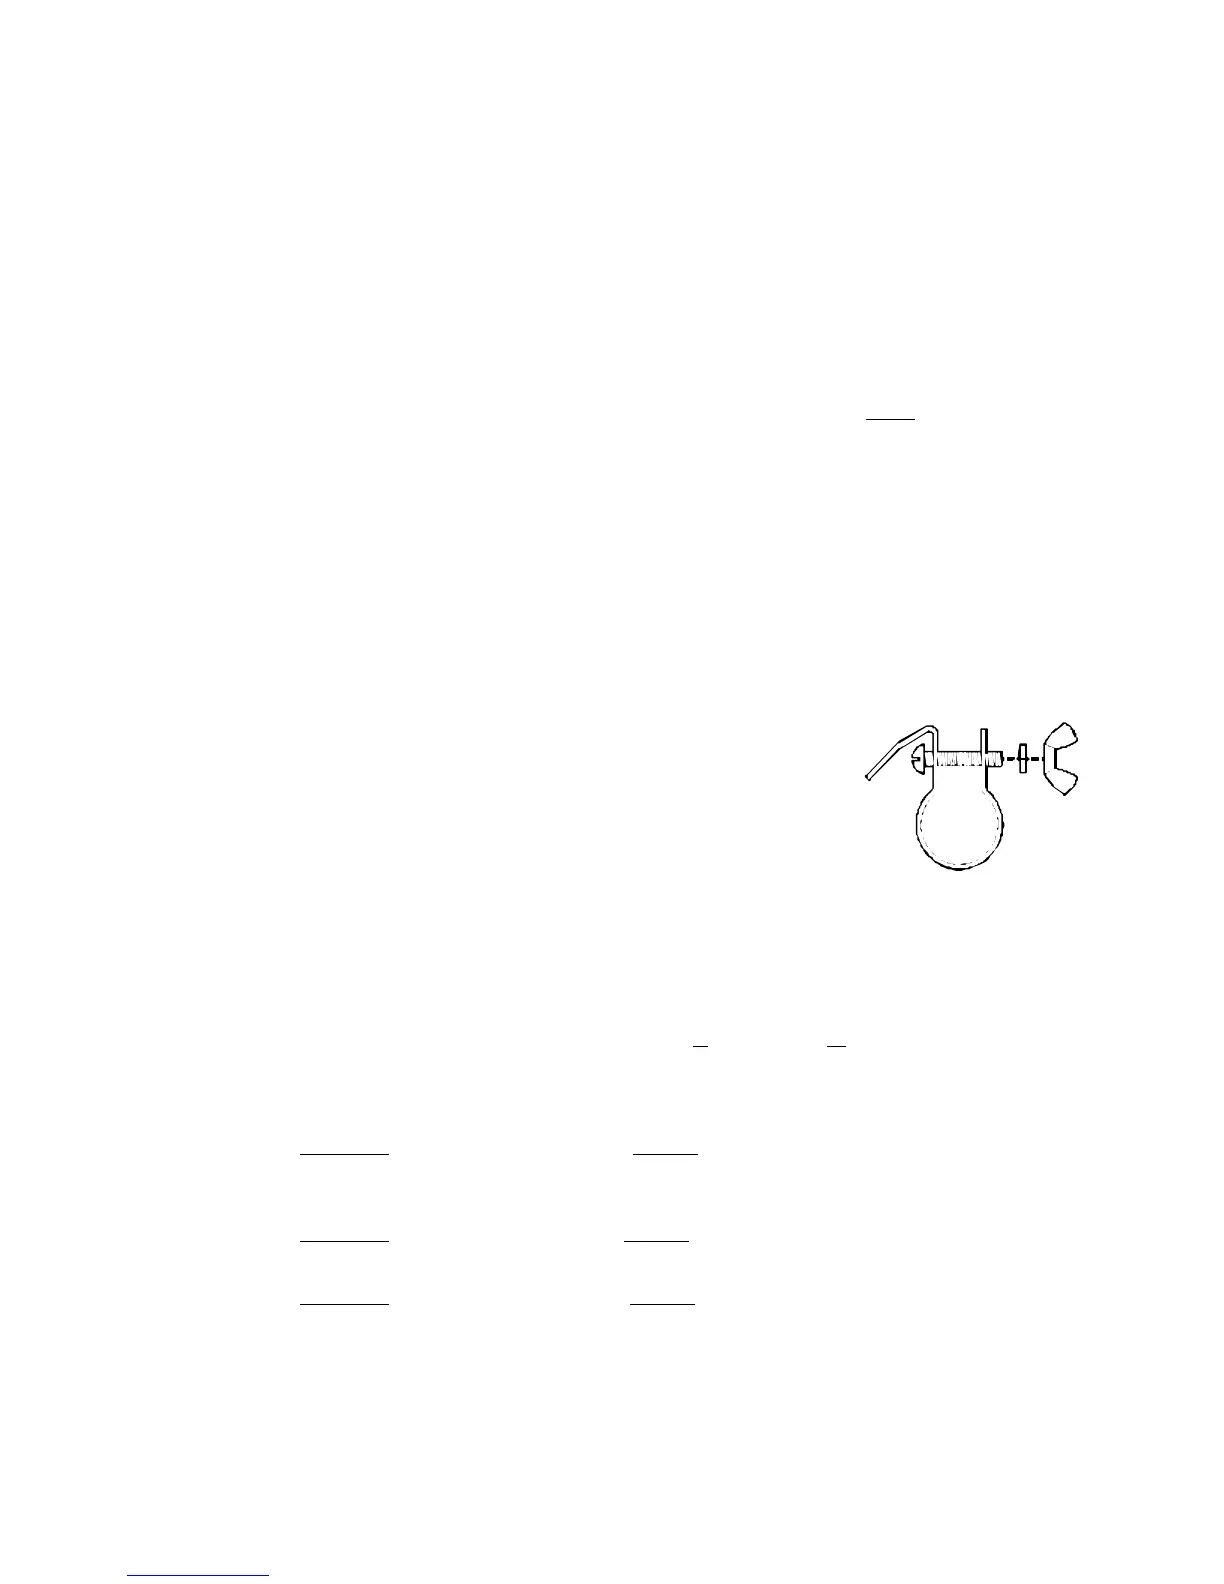
and bolt that goes through the insulator rod. Position the center coil clamp
around the insulator rod so that the distance from the clamp to the end of either
piece of tubing is approximately equal, and pass a #10 x 1" bolt through the
holes of the center coil clamp as shown in the drawing immediately below. The
outer tab of this clamp may be bent back slightly to provide clearance for the
bolt, and bent back into place after final assembly. Fasten the center coil clamp
firmly in place using a #10 lock washer and #10 wing nut. Using #10 lock
washers and #10 wing nuts secure the two remaining coil clamps, tightening the
wing nuts only enough to hold the hardware in place. Coil adjustments will be
made later.
5.
Install the capacitor bracket (E) on the capacitor assembly
(D) using the hardware already on the capacitor. Refer to
the pictorial.
6. Position capacitor assembly (D) over the threaded end of the
bolt protruding from the center coil clamp on the 80/40
meter coil assembly (C). Make sure that the capacitor
bracket (E) runs along side the lower (80 meter) coil of the
80/40 meter coil assembly (C). Fasten the capacitor assembly (D) to the 80/40
meter coil assembly (C) using a #10 flat washer, #10 lock washer and a #10 hex
nut. Using the large non-adjustable clamp, fasten the end of capacitor bracket
(E) firmly against base section (B) and secure it with a #8 x 1" bolt, #8 lock
washer and a #8 hex nut.
NOTE: IN THE FOLLOWING STEPS TUBING SECTIONS G THROUGH M WILL BE
ASSEMBLED AS A UNIT FOR LATER PLACEMENT ATOP BASE SECTION (B)/40 METER
TUBE (B1). AN 11/32 INCH NUTDRIVER WILL BE A USEFUL (BUT NOT NECESSARY)
TOOL.
7. Insert the unslotted end of tube (H) into the slotted end of tube (G), align the
four holes, and pass a #8 x 1 1/2" bolt through both tubes. Secure it with a #8
lock washer and #8 hex nut and tighten snugly.
8. Insert the unslotted end of tube (I) into the slotted end of tube (H) and proceed
as in step 9, using a #8 x 1 1/4" bolt, #8 lock washer and #8 hex nut.
9.
Insert the unslotted end of tube (J) into the slotted end of tube (I) and proceed
as before, using a #8 x 1 1/4" bolt, #8 lock washer and #8 hex nut.
10. Insert tube (K) into tube (J) as in the previous steps, using a #8 x 1" bolt, #8 lock
washer and #8 hex nut.
 Loading...