4
INITIAL SETUP: WHEEL INSTALLATION
The Traverse will require some assembly once it is removed from the package:
1. Remove all wrapping and rubber axle caps.
2. The wheels will need to be attached for use. In order to attach the wheels, Push and Hold the
silver push pins on each of the wheels.
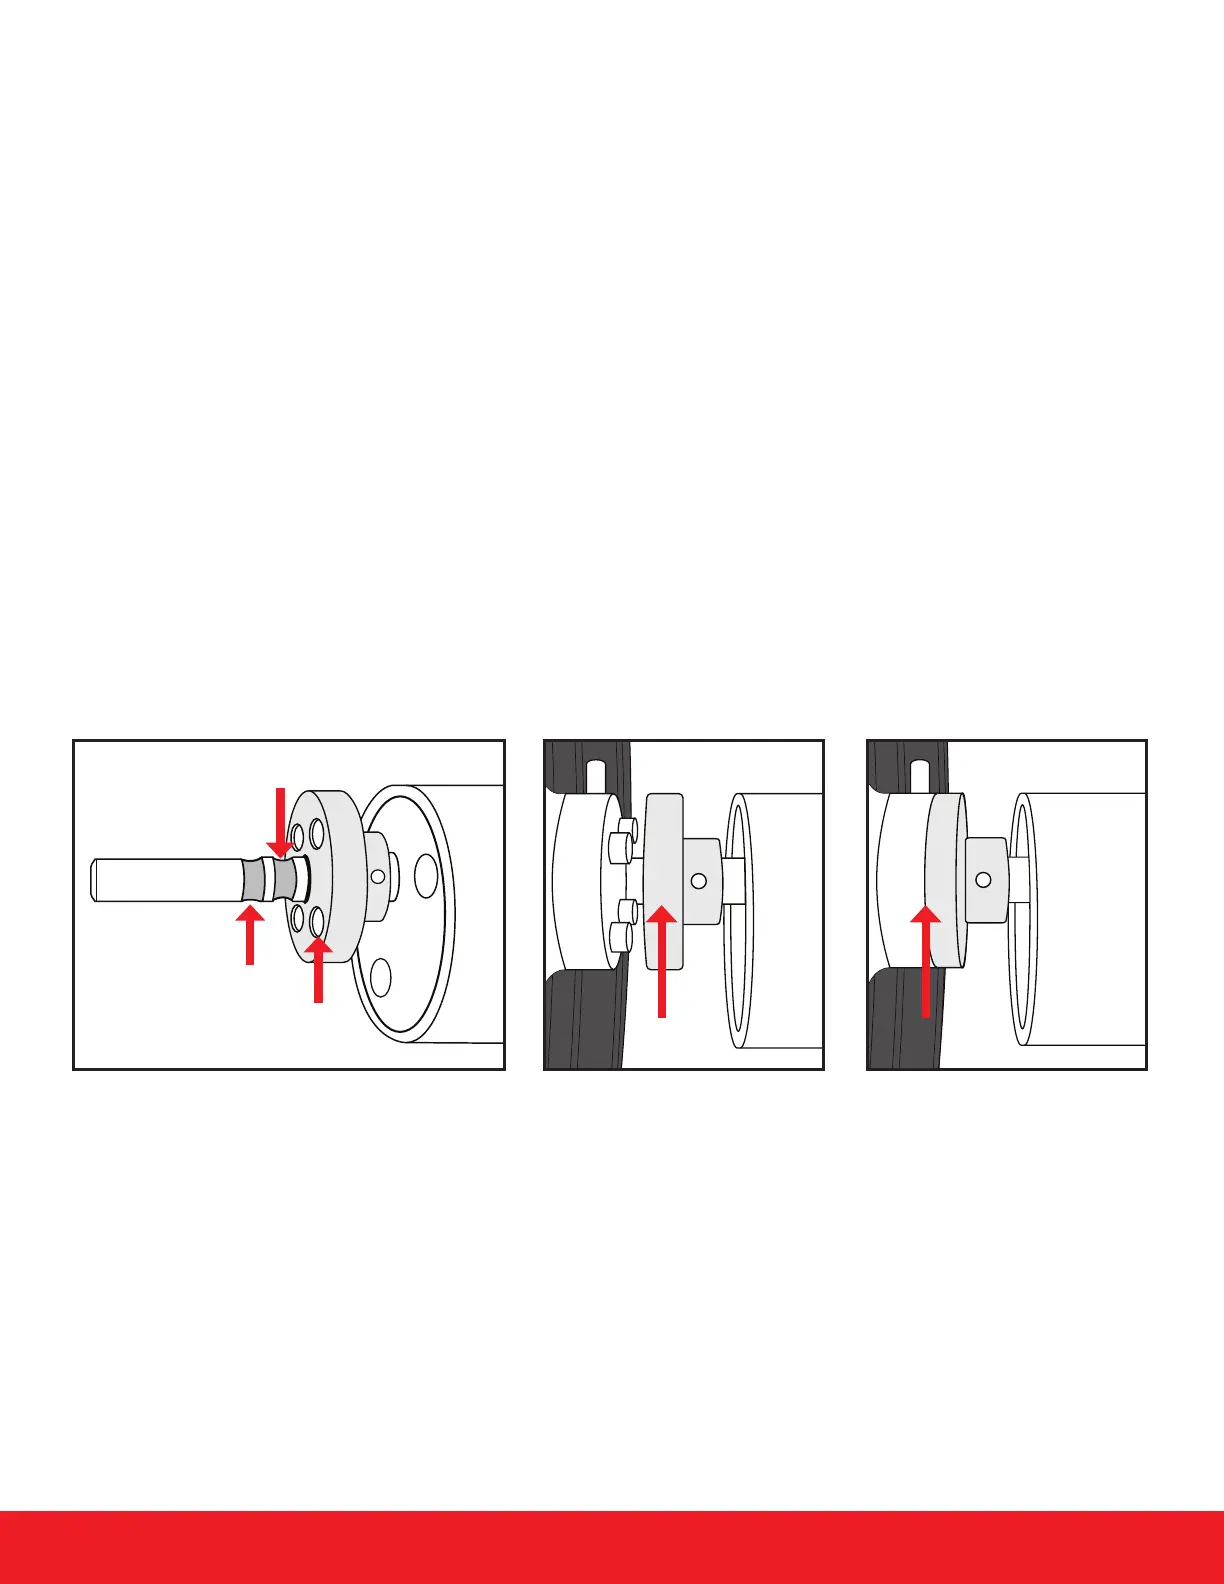
3. Slide the wheel over the axle. On each of the wheels are 4 hex bolts. These bolts t into the
holes on the axle hub of each side. The wheel will install correctly when the 4 hex bolts t into
the 4 holes on the axle hub.
4. On each axle there are 2 grooves for the wheel pins to lock into:
a. The rst groove keeps the wheels on the cart but does not connect the wheels to the
motors. This allows the cart to be used as a traditional push cart in the event that
your battery dies or would like to push the cart manually.
b. The second groove connects the wheels to the motors.
5. The wheel will be correctly connected to the motor when the 4 bolts t into the 4 corresponding
holes on the axle hub. Also the wheel will sit ush against the axle hub rather than have a space.
Axle with 2 Grooves: FIG. 1: FIG. 2:
Wheel is installed on the rst axle groove. Motor is not engaged & the cart can be manually
pushed without resistance from the electric motors. The cart will not move using the motors
if the wheels are installed on the rst groove.
Wheel is installed on the second groove. The cart will now move using the motors. Notice
the wheel sits ush against the axle hub.
FIG. 1 -
FIG. 2 -
1
st
Axle
2
nd
Axle
4 Holes
on Axle Hub