Itis recommend that you run a washcycle with the
dishwasher e mpt y an dthe n re move th e pl ug fro m the
socket, turn o ff t he water supply and le ave the door of
t he appli a n c e s l ight ly open. T his wil l hel p th e door
sealsto last longer andprevent odours fromforming
withi nthe appliance .
If the app liance must be mo ved, t ry t o keep it in the
vertical position. If absolutely necessary, it canbe
positi oned on its back.
Oneofthefactorsthatcauseodourstoforminthe
dishwasher i s foo d th at r emains tr app ed i n the seals .
Periodic clea ni ng with a d amp sponge wi ll p reve nt t his
f r o m oc curr ing.
Ensu re th e v oltag e a nd frequ enc y o f the p ower be ing cor respond s to
t hose on t he ratin g plate. On ly in sert the plug i nt o an electrica l so cke t which is ear thed
pr op erly. If the el ectri cal sock et t o wh ich the a pplianc e mu st be c onn ected is not
appropriate forthe plug , replace the socket, ratherthan using a adaptors or the like as
they couldcause overheating andburns.
Plea se l ook at th e ra ting labe l to know the r ating volta ge a nd conn ect t he dishw asher to the appropr iat e pow er s uppl y.
Use the r equired fuse 1 0 amp , tim e de lay f use or c ircui t bre ake r rec ommended and prov ide sepa rate circ uit servi ng
only this appl ia nce.
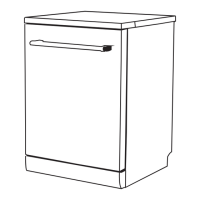
Posi tion the appli ance i n the desired lo cat ion. T he back sho uld r est against t he w all behin d i t, and the side s,
along t he adj acen t cabinets or wa lls. T he dishwash er i s equippe d wi th water supply and drai n hoses th at can
be pos itioned eith er t o t he righ t or the l eft s ide s to facilit ate pro per i nstallati on.
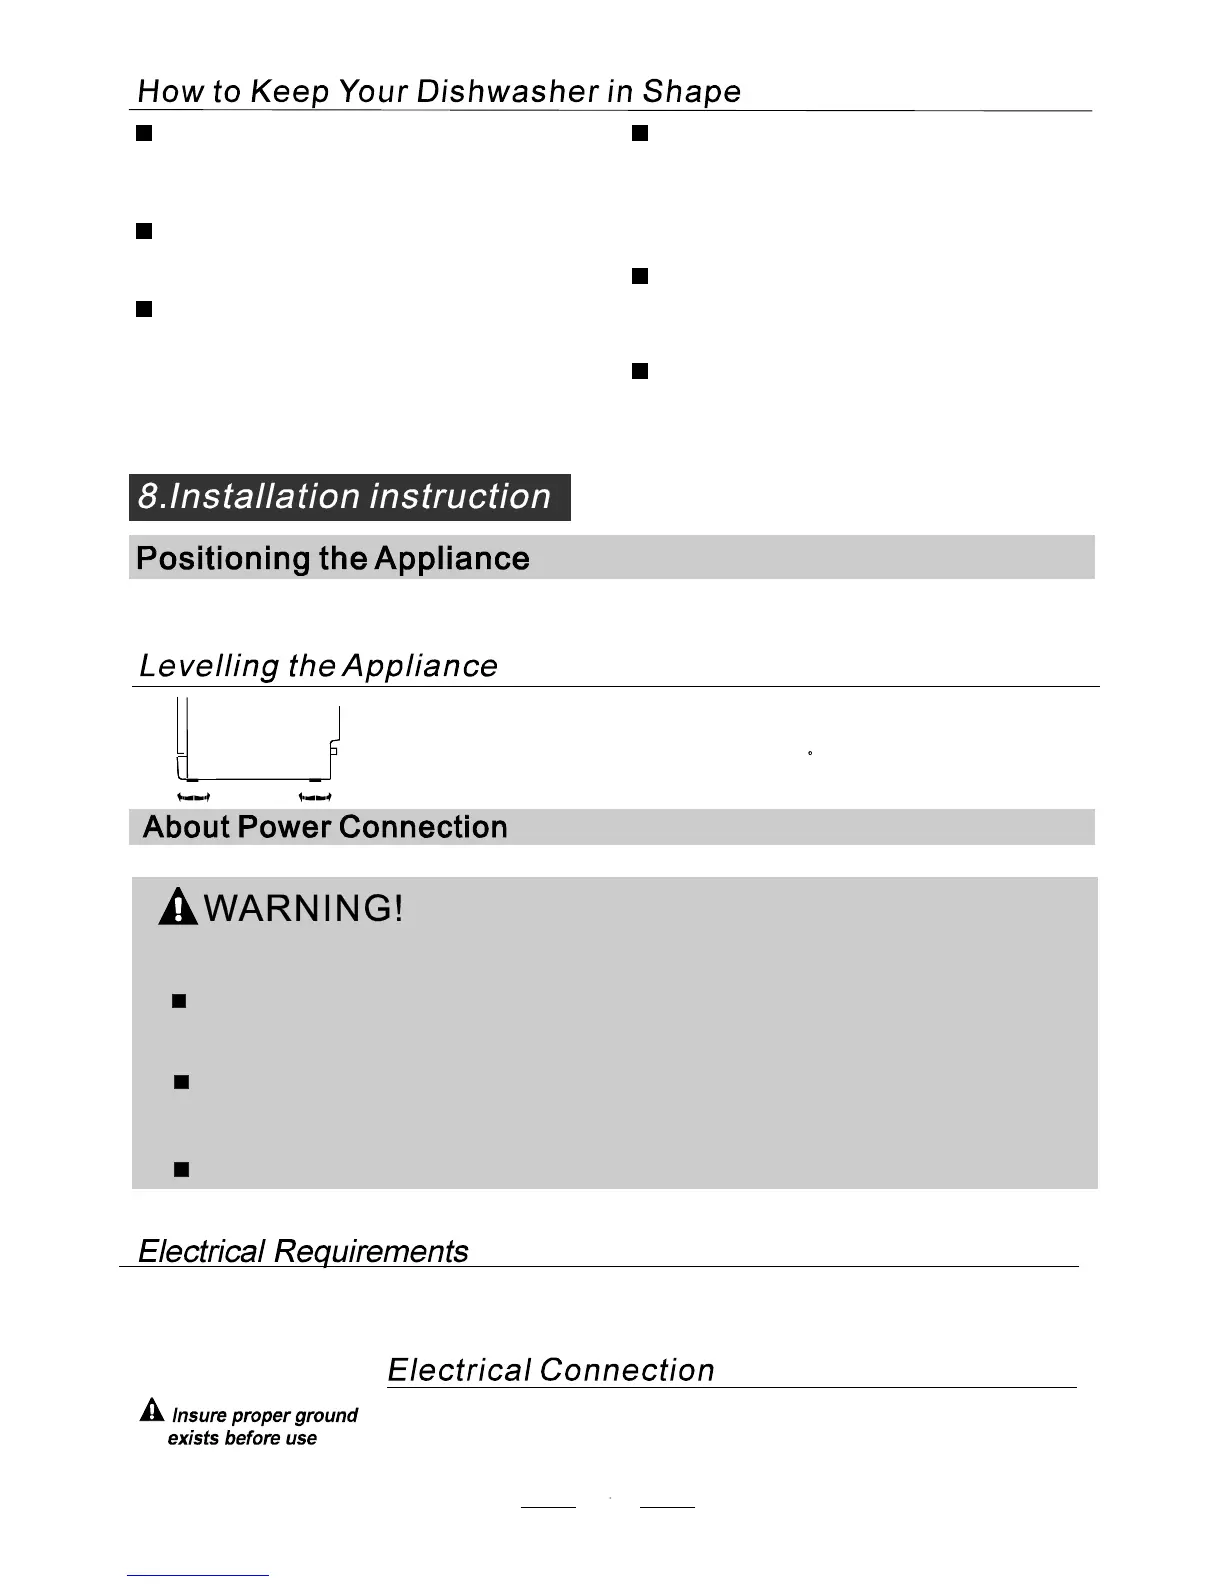
O nce the applian ce i s positioned for levell ing, t he height of the dishw ashe r
m ay be a ltered v ia adjust ment of the scre wing level o f the fee t. In any cas e,
th e applia nce sho uld not b e incl ined more than 2 .
Befo re cleani ng or perfo rmi ng ma inten ance, always
remove the p lug from the socket.
Toclean theexterior andrubber parts of thedishwasher,
do not use solventsor abrasivecle aningproducts.
O nly use a cloth with w arm so a py wate r.
To r em ove sp ots o r st ains from the sur face of t he
in teri or, u se a clot h dampe ned wit h w a ter a n a l ittle
vi nega r, o r a c leaning pro duct mad e s pecifical ly fo r
dishwashers.
Remove the Plug
No Solv ents or A bras ive Clea ning
Mov ing t heAppl ianc e
Seals
Aft er ever y wash, turn off t he wa ter supply to th e
applia nce and l ea ve t he doo r sli ght ly op en sotha t
m oisture a nd odour s a re no t t ra pped i nside .
After Every Wash
When not in Use for a LongTime
For personal safety:
Do not use an extension cord or an adapter plug
with this appliance.
Do not, under any circumstances, cut or remo ve the
earthing
Connection from the power cord.