12
5. Models FITZPIB & FITZPIBLP can be installed into a masonry/
brick fireplace or a mock fireplace. If installing into a mock
fireplace a mock fireplace installation kit MUST be used. The
mock fireplace kit can be ordered from the relevant service
agent. Order specification for the part is ‘Mock kit”.
6. Prepare electrical and gas connections. A 10 Amp wall socket
needs to be located within 1.5m of the heater. Hard (fixed)
wiring connection is to be carried out only by a qualified elec-
trician.
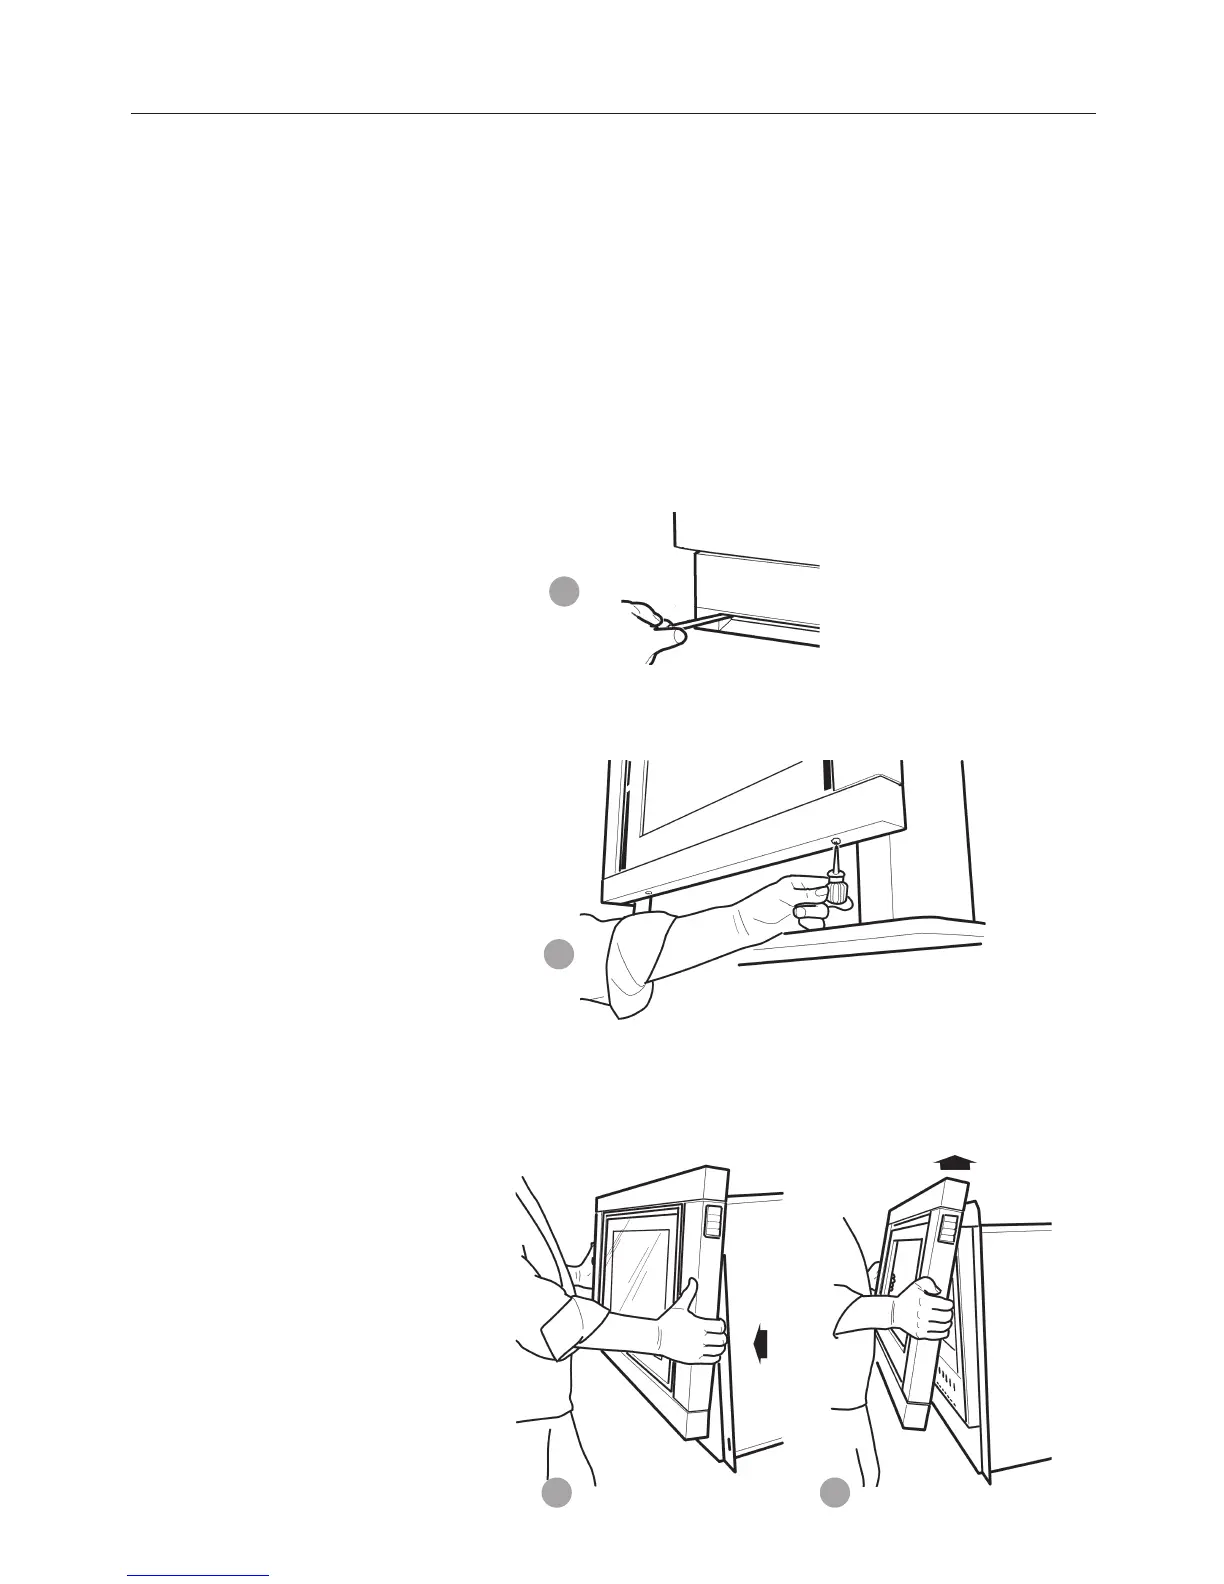
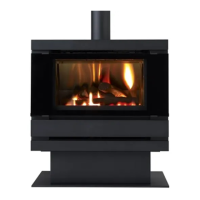
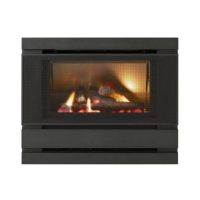
7. Remove the lower front cover by unscrewing two M5 screws
from the air intake slot. Refer figure 16. If unit is fitted with
supply flexible cord ensure that the cord cannot be trapped
when the heater is installed.
8. Remove two s/t screws from bottom flange of front panel as
indicated on figure 17.
9. Remove the front heater surround by pulling the lower section
toward you gently to partly disengage it from the body of the
heater. After it has been disengaged gently lift it up vertically
to completely disengage it from the body of the heater. Refer
figure 18 & 19.
Installation instructions continued
16
18
17
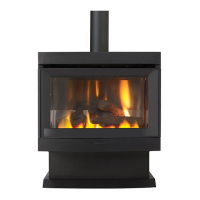
Installation into a
fireplace.
19
13
10.Disconnect the switch loom connector from the loom plug.
Refer figure 20.
11. Remove the inner glass. Slacken off screws in top clamp and
remove side clamps. Refer figure 21.
12. All gaps between heater case and fireplace are to be sealed.
Seal with foam tape around top and sides of heater flange as
required. Refer figure 22.
Seal with fibreglass between bottom of heater case and base
of fireplace.
If using a spacer to compensate for lack of chimney depth
ensure the tape is placed on the outer rim of the spacer flange.
Refer figure 23 on next page.
20
Sealing
22
21