2
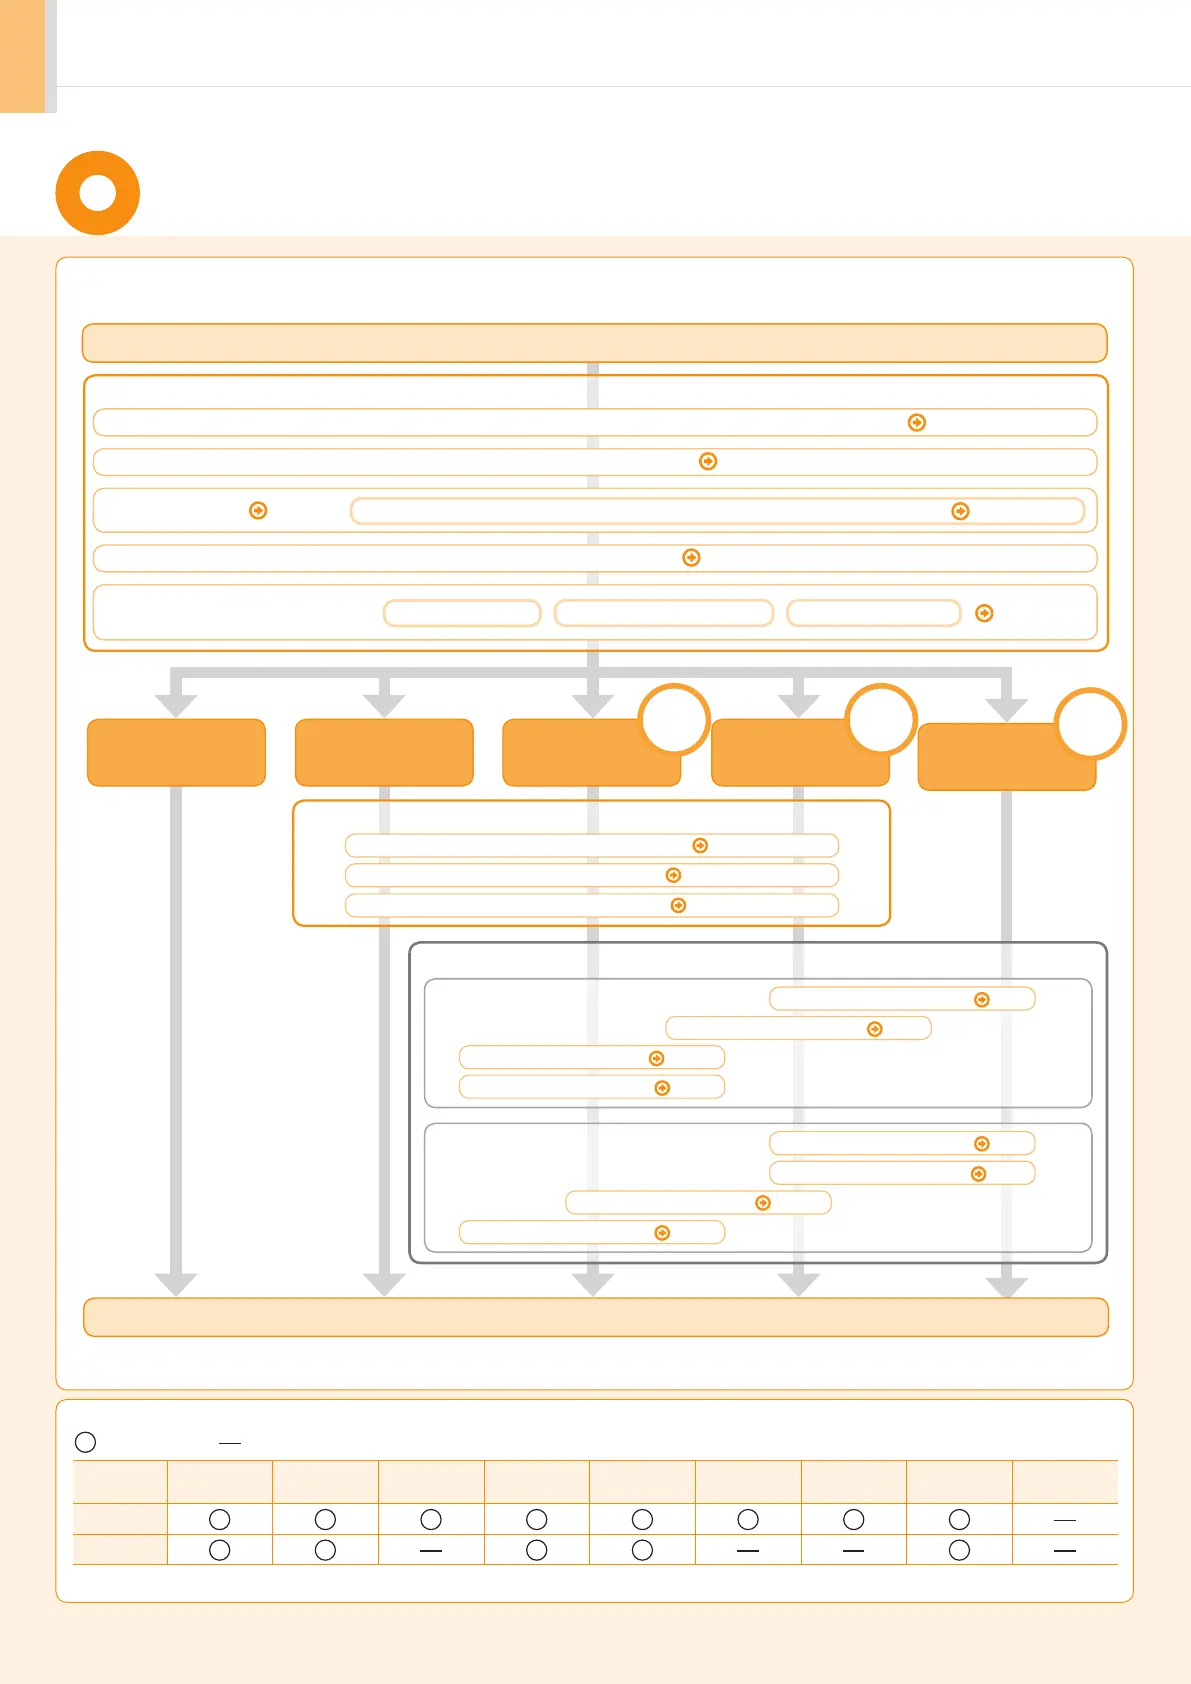
Setting Up the Machine to Suit Your Needs
Copy Fax
Settings from
a Computer
Print
Scan
*
2
PC Fax
Print
Scan
PC Fax
Registering the Sender Information
P. 13
Fax Settings
Settings are now complete.
Selecting the Receive Mode
P. 14
Connecting a Telephone Line
P. 15
Preparing the Toner Cartridges P. 6
Connecting the Power Cord
P. 10
Determine which machine functions (Copy, Print, Fax, PC Fax, Scan, Remote UI
*
1
) you intend to use, and make settings
according to the flowchart below.
Start settings.
Carrying the Machine to the Installation Site and Removing the Packing Materials
P. 5
Turning the Power ON and
Specifying the Initial Settings
Language Settings
Country and Region Settings
Current Time Settings
P. 11
Loading Paper
P. 9
Settings for paper sizes and paper types are required after turning the power ON.
P. 12
Remote
UI
*
1
Network
Connection
*
1
USB
Connection
Settings in a Computer
: available : not available
Copy Print
2-sided
Printing
Fax
(PC Fax)
Scan
(USB)
Scan
(Network)*
Remote UI
ADF
(1-sided)
ADF
(2-sided)
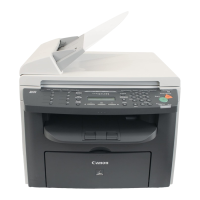
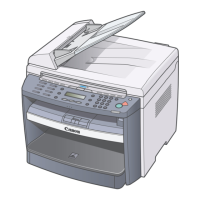
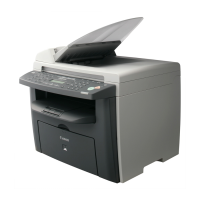
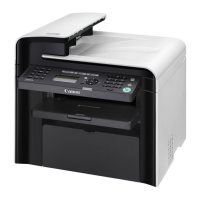
MF4570dn
MF4450
* You may use network scan function only in the Windows environment.
Available Features
*1 The network function is available only for MF4570dn.
*
2
You may use network scan function only in the Windows environment.
Required Operations
For Windows
For Macintosh
Connecting to a Network*
1
P. 17
Connecting to a Network*
1
P. 17
Checking the IP Address*
1
P. 18
Checking the IP Address*
1
P. 18
Installing the Software
P. 23
Installing the Software
P. 20
Connecting a USB Cable
P. 24
Connecting a USB Cable
P. 21