2
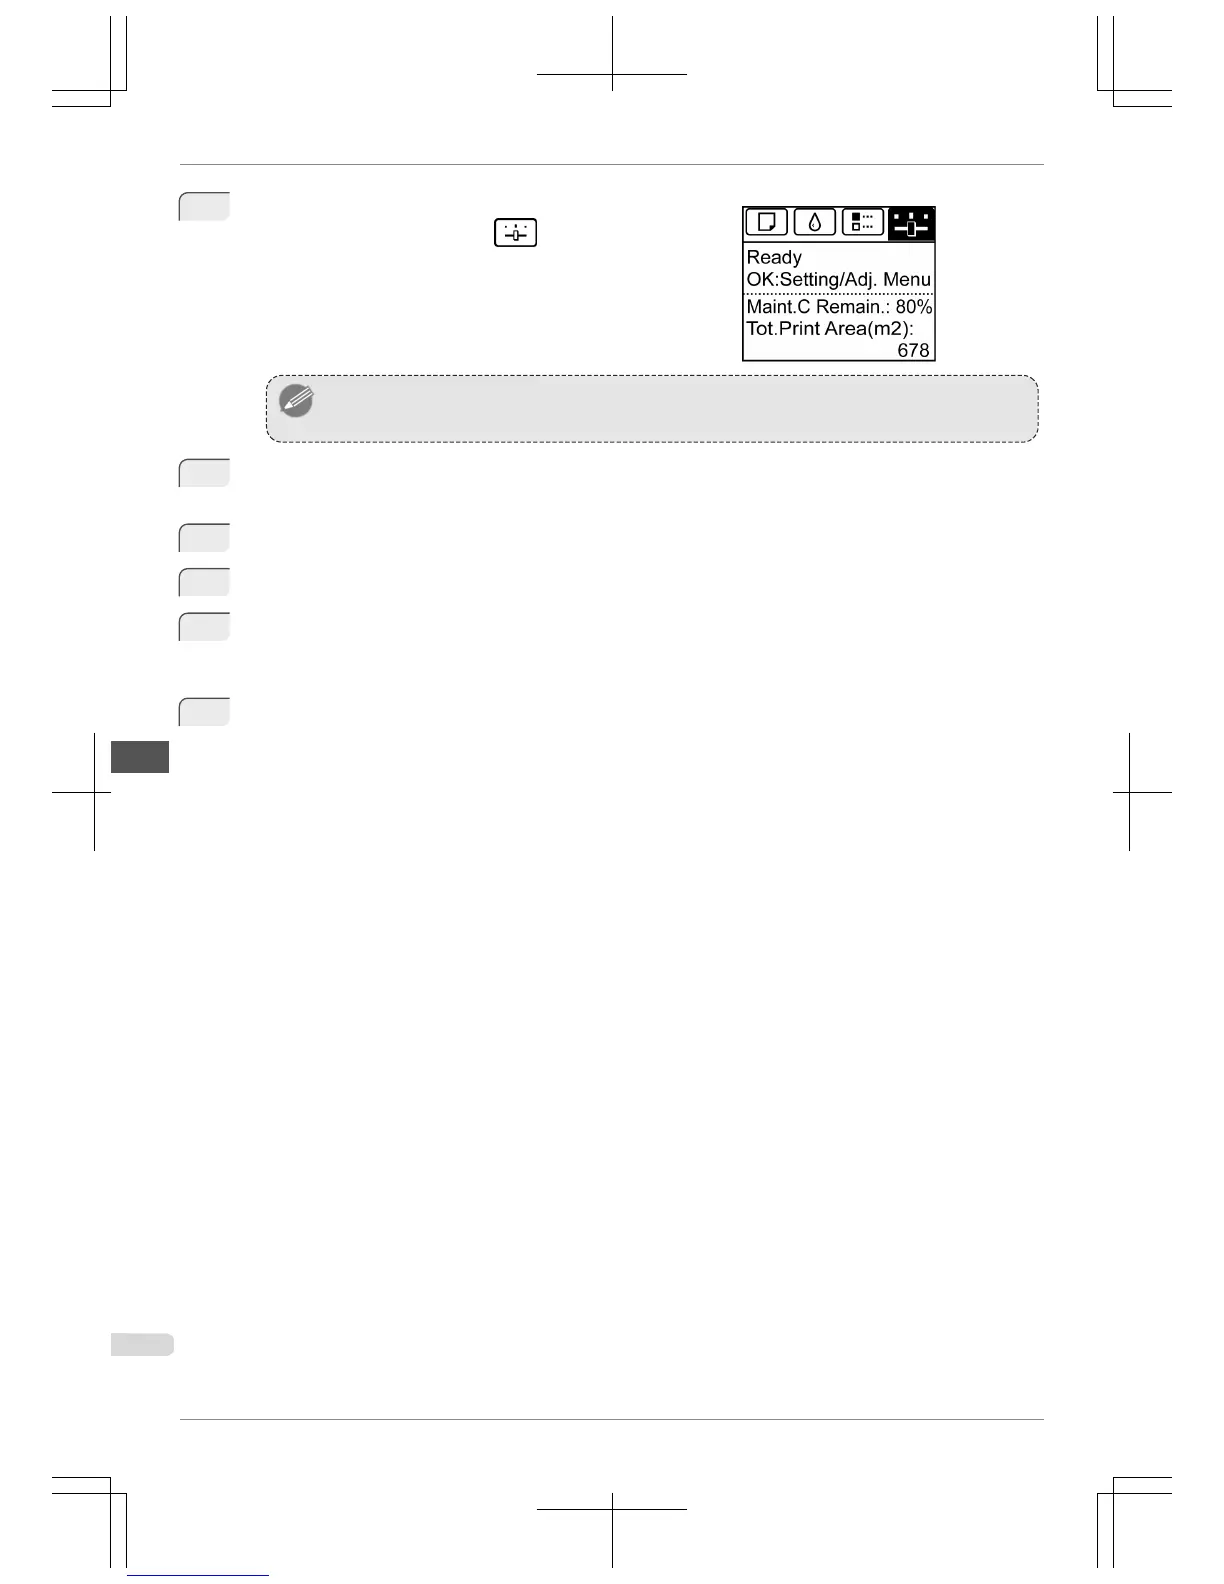
On the Tab Selection screen of the Control Panel, press ◀ or
▶ to select the Settings/Adj. tab ( ).
Note
• If the Tab Selection screen is not displayed, press the Menu button.
3
Press the OK button.
The Set./Adj. Menu is displayed.
4
Press ▲ or ▼ to select Adjust Printer, and then press the OK button.
5
Press ▲ or ▼ to select Head Posi. Adj., and then press the OK button.
6
Press ▲ or ▼ to select Auto(Standard) or Auto(Advanced), and then press the OK button.
A test pattern is printed for adjustment.
Adjustment is now finished if you have printed on a roll or a sheet of A2 size or larger.
7
If you are printing on sheets smaller than A2 size for Auto(Advanced), a confirmation message is dis-
played requesting you to continue printing. Press the OK button and follow the instructions displayed.
Automatic Adjustment to Straighten Lines and Colors (Head Posi. Adj.)
iPF765
Basic Guide
Adjustments for Better Print Quality Adjusting the Printhead
78
 Loading...