135
7
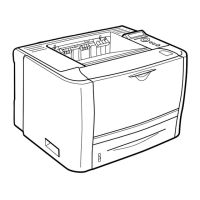
Clearing Paper Jams
Locating a paper jam
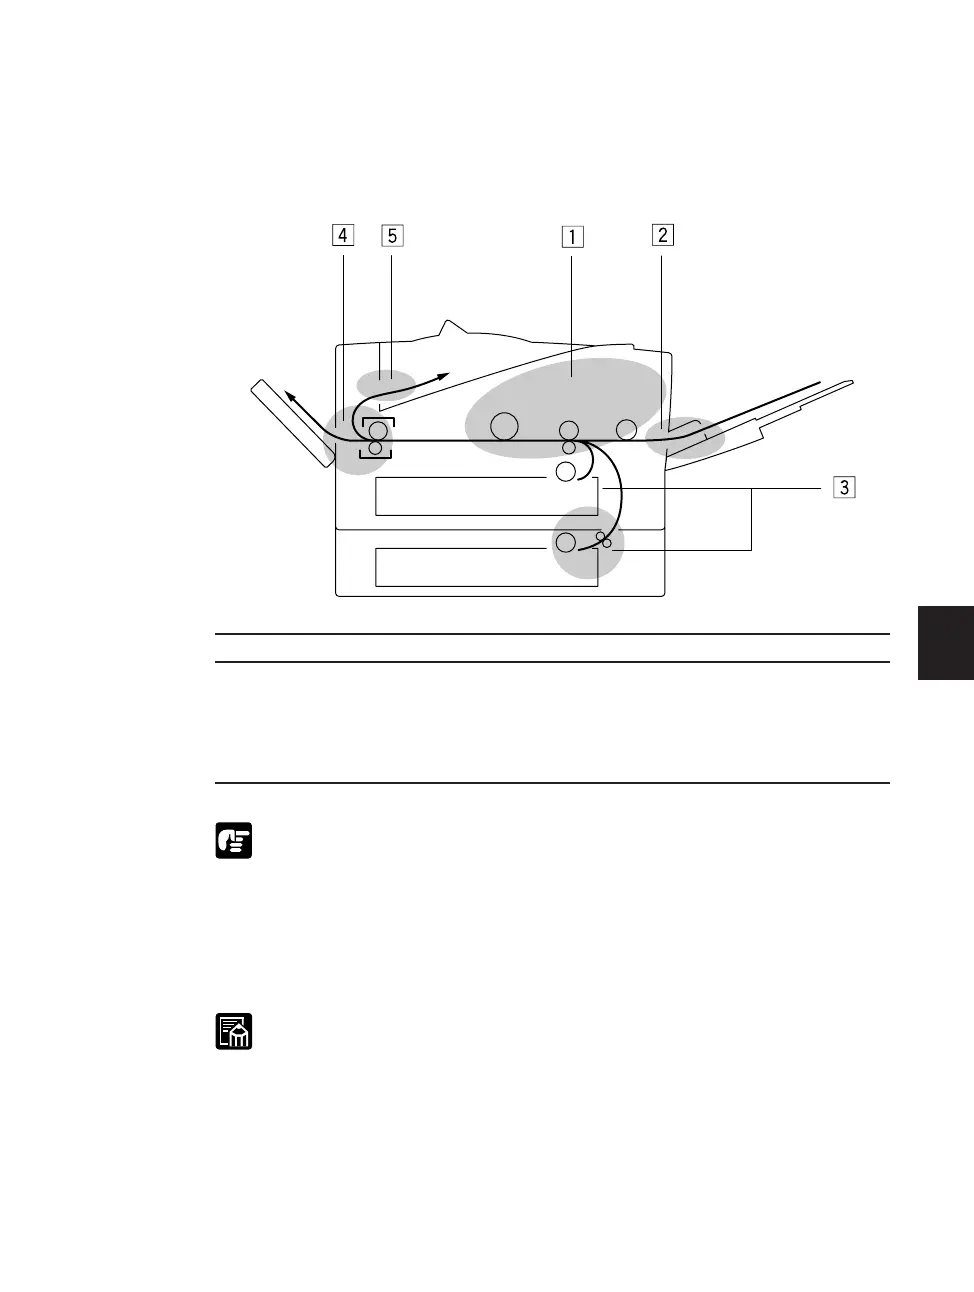
A paper jam can occur in any of the locations shown below. You should check each
location for jammed paper and remove it.
Area Page
z Imaging area 137
x Multi-Purpose tray area 142
c Paper cassette area 144
v Face-up tray area 147
b Face-down tray area 149
If the jammed paper cannot be easily removed, do not force it. This can
happen when the trailing edge of the paper is still within the paper feed area.
The pressure from the transfer roller must be released before removing the
paper. To do this, open the top cover and follow the instructions (see page
137) to hold the green mark and flip the transfer guide up. Then, try to remove
the jammed paper from this area. After removing the paper, gently set the
transfer guide back to its original position.
Paper jams can occur in more than one location at a time, so ensure all
locations indicated in the illustration are checked.
 Loading...