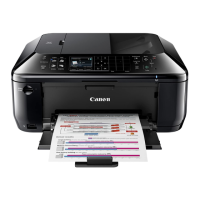
Copying Photos
You can scan printed photos and print them all at one time.
1.
Make sure that the machine is turned on.
Confirming that the Power Is On
2.
Load the photo paper.
Loading Paper
3.
Press the MENU button.
The menu screen is displayed.
4.
Select Photo, then press the OK button.
5.
Select Photo copy, then press the OK button.
6.
Confirm the on-screen instructions, then press the OK button.
7. Load the printed photo on the platen glass following the on-screen instructions,
then press the OK button.
Note
For details on loading photos on the platen glass:
Loading Originals
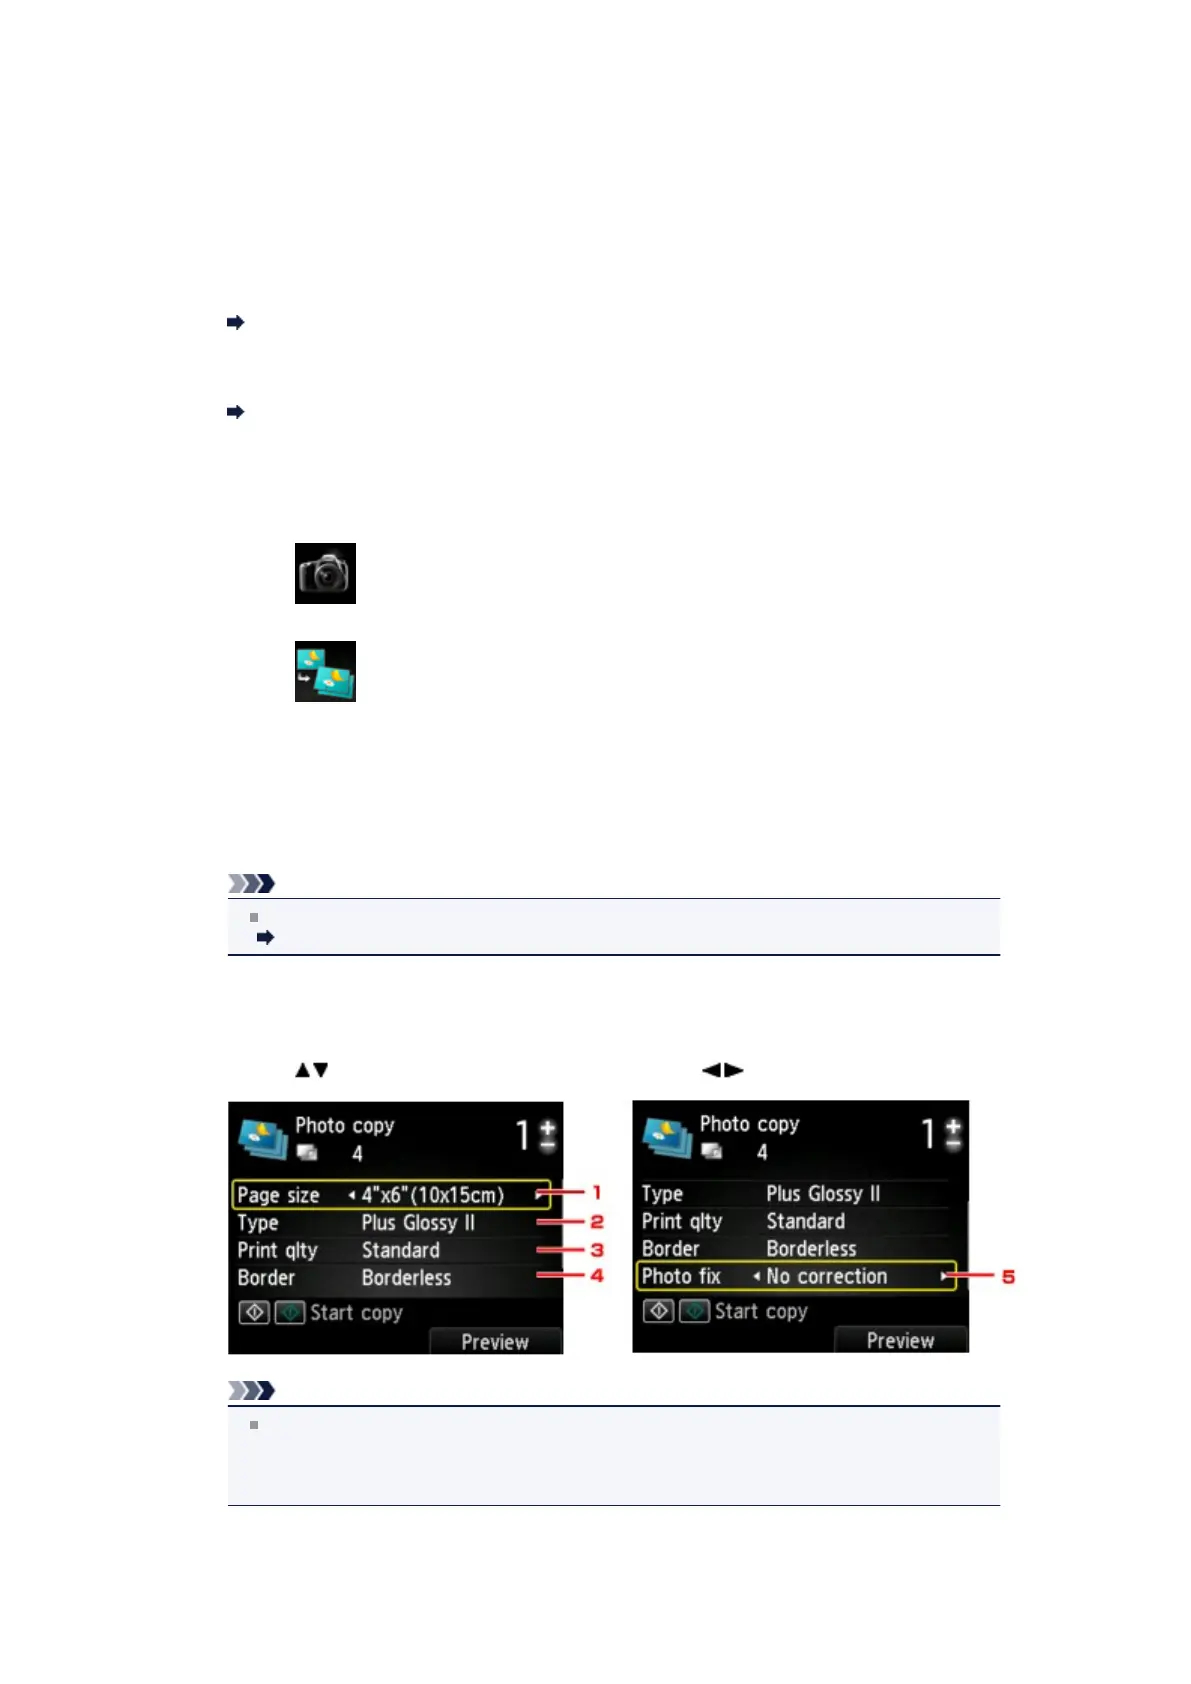
When scanning is complete, the print settings confirmation screen is displayed.
8. Specify the settings as necessary.
Use the button to change the setting item and use the button to change the setting.
Note
Depending on the setting item, some settings cannot be specified in combination with the
setting of other setting items. If the setting cannot be specified in combination is selected,
Error details is displayed on the LCD. In this case, press the left Function button to confirm
the message, then change the setting.
1.
Page size
Select the page size of the loaded paper.
 Loading...

