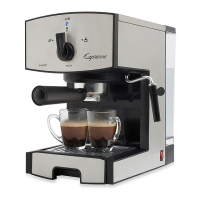
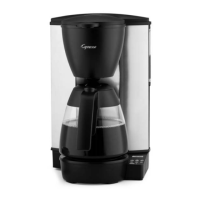
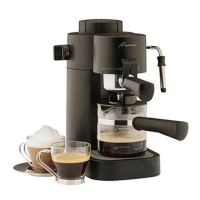
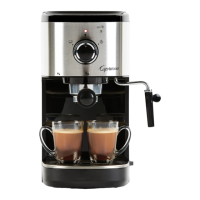
1. The Capresso EC Select Espresso & Cappuccino Machine
Thank you for purchasing the Capresso EC Select Espresso and Cappuccino
machine. For Warranty please see the end of this booklet. For accessories and
parts please use the attached mail order form or order through our website
www.capresso.com
Tips for Brewing the Best Espresso
• To extract the fullest avor from your beans, we recommend using whole coee
beans that have been freshly ground each time espresso is prepared.
• In addition to the coee used, using fresh cold water that is free of chlorine,
odorand other impurities will help ensure the perfect espresso.
• Store your espresso grounds in an airtight container, and in a cool, dry place
to retain the avor. Grounds should not be kept for long periods of time as the
avor will be reduced.
• Do not ll your portalter and selected sieve to the brim. Using the coee scoop
included, use 1 level spoon of grounds per shot of espresso.
• If you do not use the machine for more than 5 consecutive days, rinse and drain
the water tank
• Before removing the water tank to ll or empty it, always turn the machine o.
• Always place the unit on a at, stable, heat-resistant work surface.
• To ensure your espresso stays at optimum temperature, we recommend that
you preheat your cups.
• Before brewing, the portalter must be turned to the right as tight as
possible to prevent the portalter from loosening due to high pressure.
2. Before Using for the First Time
After carefully unpacking your EC Select, wash all removable parts with warm
soapy water and rinse thoroughly. Familiarize yourself with the appliance and read
this instruction manual. Plug the power cord into a grounded wall outlet according
to the safety instructions. Rinse the internal components before making espresso.
Fill the water tank and pump a few ounces of water through the brew head and
the steam wand. Follow the procedures in chapters 4 and 5 without using coee.
3. Filling the Water Tank
Open the water tank lid and pull the water tank up using lid as handle. Hold the
tank by its body and ll the tank with fresh cold water. The water tank has a MAX
marking. Place the tank back onto the machine, pushing down rmly to engage
the base valve. Make sure the two hooks on the back of the water tank are
inserted into the openings on the back of the machine.
Fig. 3 Fig. 4
Align notch and bump on sieve with notch
in the portalter. Insert and twist.
Steam Wand (remove Black Frothing
Sleeve) for steaming only
bump
notch
 Loading...