C
E
F
G
J
I
1
6 ”
A
C or J
2
C or J
3
2X
E
4
B
F
I
5
REPEAT AT TOP AND
BOTTOM OF GATE TO
SET GATE WIDTH
2X
G
6
K
H
ONE-WAY
STOP BRACKET
OPTION
ASSEMBLY INSTRUCTIONS
2. Install second
screw (C) in
top of hinge
bracket
securing it to
the wall.
NOTE: THIS SIDE OF GATE HAS
THREE (3) HOLES - ONLY USE TOP AND
BOTTOM HOLES FOR THIS STEP
3.
4. Hang gate by inserting hinge rod (B), through top
of mounted hinge bracket (A), through upper plastic
shoulder washer (F), through both eye bolts, through
lower plastic shoulder washer (F), and finally through
bottom of hinge bracket. To secure hinge, insert
key ring (I) through hole in end of hinge rod. Gate
can be mounted at angles up to 30 degrees.
6. Keep gate closed and latched. Use
Allen wrench (G) to insert set screws
(L) in the upper and lower brackets
of the gate. Tighten the set screws
to set the width of the gate.
5. Mount latch assembly (K) to gate using 3/4” bolts with serrated
washers (D). Attach wall mount for latch assembly (H) up
into part (K) that is
now secure on gate. Slide gate out to
mark holes for (H) on attaching wall. (*OPTIONAL ONE WAY
BRACKET INSTALLED HERE) Then attach the wall mount of
latch assembly to wall using Phillips head screws (C). Optional
long screws (J) maybe be used to attach gate to stud through
dry wall.
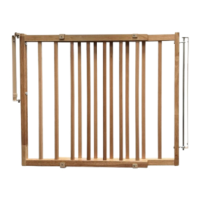
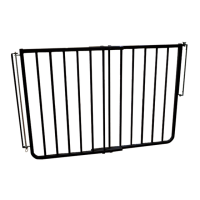
STAIRWAY SPECIAL - MODEL SS30
D
H
K
M
ONE-WAY
STOP BRACKET
OPTION
D
D
ONE-WAY
STOP BRACKET
OPTION
M
IF GATE IS INSTALLED AT TOP OF STAIRCASE:
Install one-way stop bracket (M) on one side of
wall mount latch to have gate open in only one
direction for maximum safety.
FOR OPENINGS 27” (68cm) - 42.5” (108cm)
FOR MAXIMUM SAFETY,
ALWAYS KEEP GATE
LATCHED AND CLOSED.
1. Install hinge bracket
(A) to wall (stationary
side of gate) using
Phillips screw (C) drill
pilot hole 6 ” above
floor surface. Must
be installed into
wood or a stud
behind drywall.
OPTION: Long
screws (J) maybe be
used to attach gate to
stud through dry wall.
L
L
*
Need help installing your SS-30?
Use your smartphone to scan the QR code on
right for “How to” video.
*IMPORTANT:
Make sure this
side of bracket
is UP when
installed to the
wall!
JAN 2022
A
B
GATE IS RECOMMENDED FOR CHILDREN BETWEEEN 6 AND 24 MONTHS.
IF INSTALLING AT TOP OF STAIRS,INSTALL A MINIMUM OF THREE INCHES FROM END OF FIRST STEP.
Insert eye bolts with nut and washer (E) into
top and bottom of hinge side gate (side with
three holes). Be sure nuts are tight. Do not
use middle hole for this step. Do not over-
tighten eye bolts! You can break them or
the rivet nut!