Do you have a question about the Carl Martin Octa-Switch II and is the answer not in the manual?
| Brand | Carl Martin |
|---|---|
| Model | Octa-Switch II |
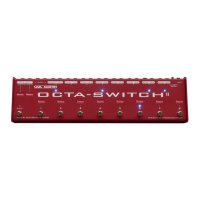
| Category | Switch |
| Language | English |
Details how DIP switches are used to determine effects combinations for each of the eight programmable banks.
Explains the switchable mono input buffer, offering true bypass or buffered signal options to maintain tone.
Describes Loop 8's mono send and stereo return capability, ideal for stereo effects pedals.
Discusses stereo outputs and the stereo return on Loop 8 for stereo effects like choruses.
Identifies the ninth switch as a true bypass for clean sound, engaging the buffer if selected.
Details the two external jacks for changing amp channels or other features via DIP switch settings.
Illustrates wiring for mono dual amp setups using Y-cables for signal distribution.
Shows wiring configurations for stereo dual amp setups, including stereo pedal considerations.
Explains how to set up for mono operation with a tuner, muting the system while sending signal to the tuner.
Details using some pedals in front of the amp and others within the amp's effects loop.
Lists input/output impedance, S/N ratio, loop count, present count, and dimensions.
Covers power supply needs, battery usage, and essential safety warnings for operation.
Outlines the one-year warranty terms, coverage, and conditions for repairs or replacement.
