5
Filter
Drier
The filter drier must be replaced whenever the refrigeration system
is exposed to the atmosphere.
Refer to Fig. 4 and install filter drier as follows:
1. Braze 5--in. (127 mm) liquid tube to the indoor coil.
2. Wrap filter drier with damp cloth.
3. Braze filter drier to above 5--in. (127 mm) liquid tube.
Flow arrow must point towards indoor coil.
4. Connect and braze liquid refrigerant tube to the filter drier.
A05178
Fig. 4 --- Filter Drier Components
Only use factory specified liquid--line filter driers with rated
working pressures less than 600 psig.
NOTE: Do not install a suction--line filter drier in liquid line.
Make Piping Sweat
Connections
Remove plastic caps from liquid and suction service valves. Use
refrigerant grade tubing. Service valves are closed from the factory
and are ready for brazing. After wrapping the service valve with a
wet cloth, the tubing set can be brazed to the service valve using
either silver bearing or non--silver bearing brazing material.
Consult local code requirements. Refrigerant tubing and the indoor
coil are now ready for leak testing.
NOTE: Unit is shipped with Puronr refrigerant factory charge
indicated on nameplate.
Pass nitrogen or other inert gas through piping while brazing to
prevent formation of copper oxide.
CAUTION
!
UNIT DAMAGE HAZARD
Failure to follow this caution may result in equipment
damage or improper operation.
To prevent damage to unit or service valves observe the
following:
S Use a brazing shield.
S Wrap service valves with wet cloth or use a heat sink
material.
Provide Safety
Relief
A fusible plug is located in unit suction line; do not cap this plug.
If local code requires additional safety devices, install as directed.
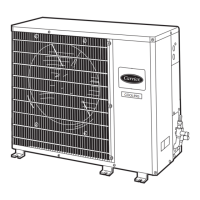
38HDR
 Loading...