2. OPERATION
10
09
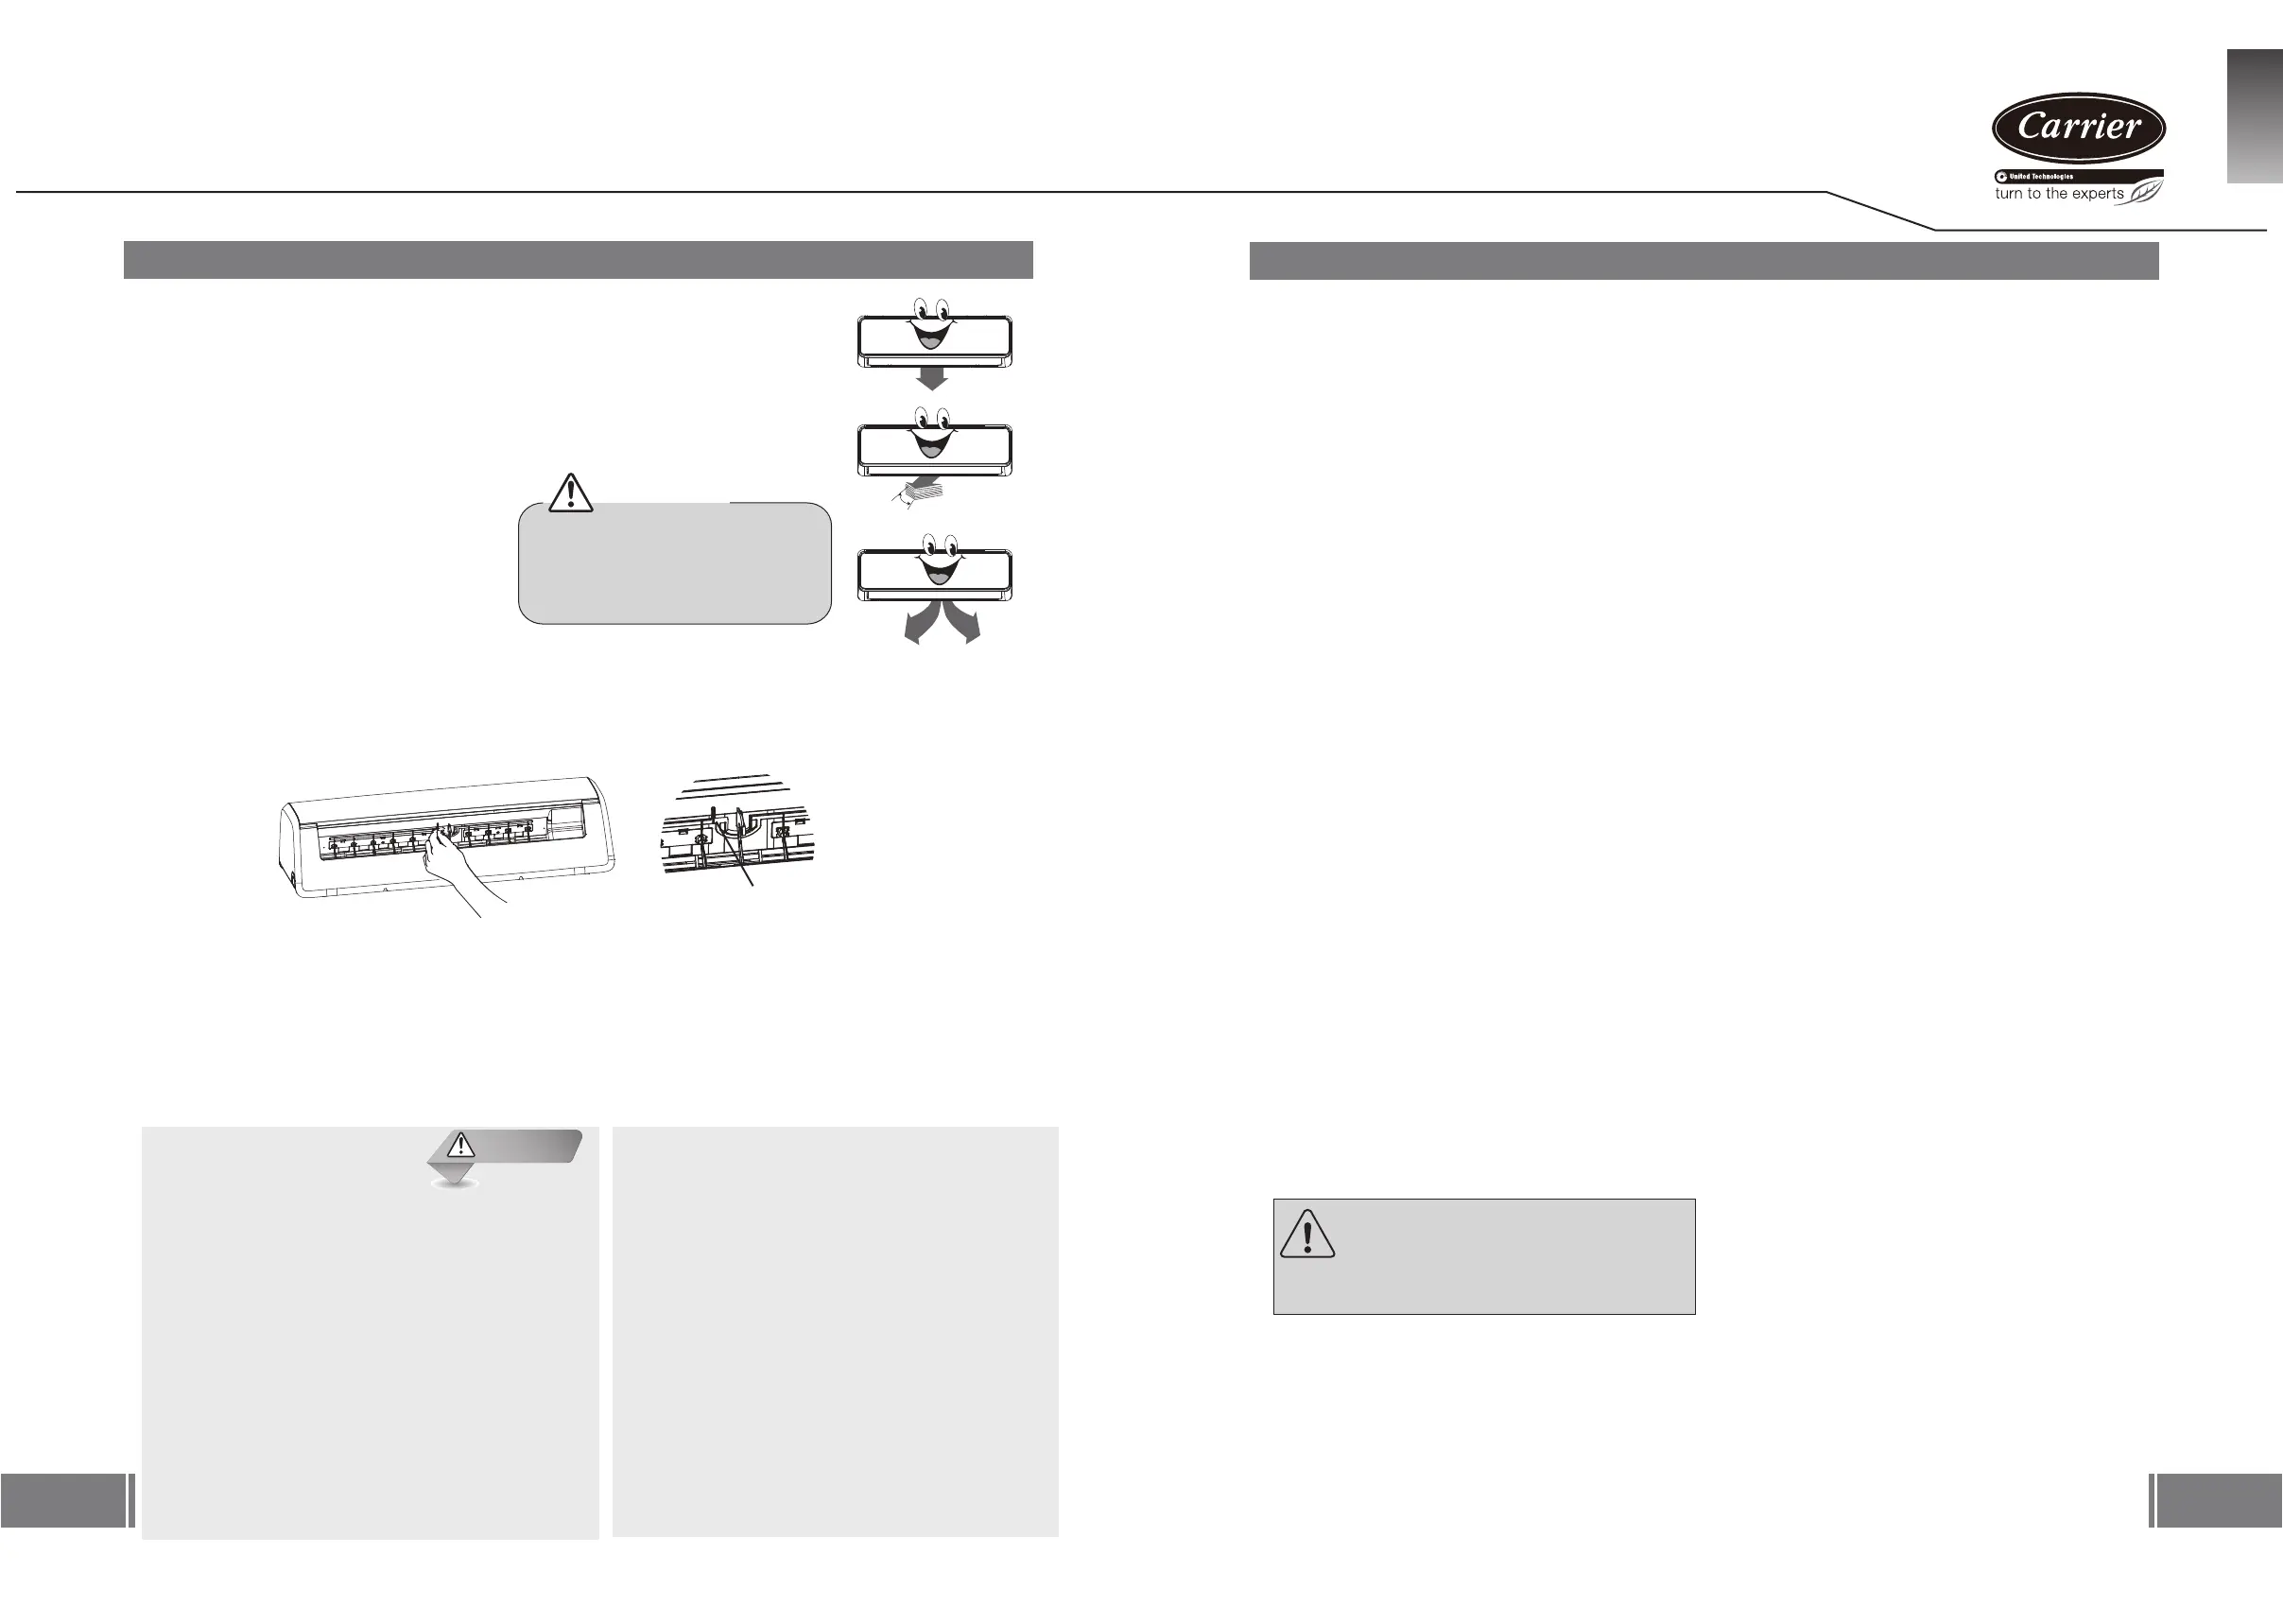
Louver position
Maximum down
In COOLING or DRY mode, condensate may
form and drip from unit in high humidity
condition.
Narrow opening
Restricted air flow reduces performance and
may cause condensate.
Closed
Do not operate if it will not open – damage
may occur.
Louver action
After a quick restart, louver may remain
static for about 10s.
Adjusting horizontal air flow
Step 1
ISOLATE the unit at the MAIN switch
(or unplug)
Step 2
Pull horizontal louver downwards using both hands.
Step 3
Identify the lever/s as indicated.
[On uppermost part of air outlet and linked to recessed vertical
blades]
Step 4
Move the lever/s left or right to guide the air in the desired direction.
Step 5
ENERGISE the unit at the MAIN switch! (or plug back in)
Attention: Isolating the main power supply synchronises the
WARNING!
Do not attempt this adjustment
while the machine is in operation.
Accidental contact with the fan
may cause serious injury.
2.4 Directional Control
Adjusting vertical air flow
● Press “AIR DIRECTION” on remote controller to adjust vertical
air flow direction. The louver position moves slightly
each time the button is pressed.
● Press “SWING” to engage continuous louver motion.
Note: Please refer to the REMOTE CONTROLLER MANUAL for
CAUTION
2.5 Special Functions
■ Compressor Delay
At start-up, a time delay of 3 ~ 5
minutes protects the compressor.
■ Air Purification*
Ionizer*
Negative ions are added to the air to
simulate the effects of forests and
waterfalls on humans.
Plasma*
Dust particles in the passing air stream
are charged electrically. This enhances
dust collection, odour reduction and
reduces airborne bacteria mortality.
■ Mildew Prevention*
This function keeps the indoor fan
running in low speed for 7 minutes after
being turned off by the user in cooling
mode. Drying the water droplets on the
indoor heat exchanger prevents mildew
growth.
■ Louver Memory*
Horizontal louver angle is memorised
and will return to the position last
selected by the user.
This will not happen in TURBO mode,
running by manual control buttons, or
after a power interruption.
Interrupting this process may scramble the
control logic.
To reverse this, briefly disconnect the
electrical supply.
[*] Model dependent.
■ WLAN Control*
With WLAN function, the unit can be
controlled either by remote controller or
by your mobile phone. Connect the
WLAN module and communication
module with display board to activate
this function.
■ Auto swing of horizontal air flow*
● Press “SWING” for two secends to
engage vertical blades swing motion.
Note: Please refer to the REMOTE
CONTROLLER MANUAL for details.
Features (Model dependent)
Lever
■ Turbo*
The Turbo function makes the unit work
extra hard to reach your present
temperature in the shortest time
possible.
■ Self Cleaning*
Airborne bacteria use the moisture on the
indoor heat exchanger to grow. Regular
drying of the exchanger prevents this growth.
By simply pressing the “self clean” button,
the controller will automatically manage the
process.
■ Anti-cold*
To avoid uncomfortable when the air
conditioner get into heating mode, the indoor
unit will preheat before the fan starts. This
delay should only last a few minutes.
■ Auto Restart*
The unit will automatically restart after a
power interruption.
Previous user settings are all recovered.
■ Auto Defrost*
Ice develops on the outdoor unit in heating
mode. To defrost this ice, the indoor fan
stops for a few minutes before heating
continues.
■ Auto Leak Detection*
When refrigerant leakage is detected,
the unit will display “EC” code or flash
LEDs [model dependent].
GB
 Loading...