40UV, UH050-200
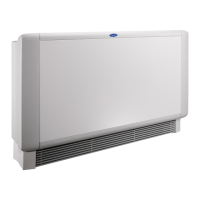
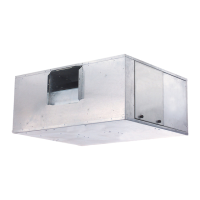
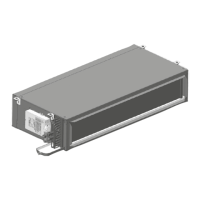
Unit Ventilators
Installation, Start-Up and Service Instructions
CONTENTS
Page
SAFETY CONSIDERATIONS ......................... ]
INTRODUCTION ..................................... ]
PREINSTALLATION .................................. 1
Unpack and Inspect Units ........................... 1
Protect Units From Damage ......................... 1
Prepare Jobsite for Unit Installation ................. 1
Identify and Prepare Units ........................... 1
PHYSICAL DATA ................................... 1,2
INSTALLATION ................................... 2-24
Placing Vertical Units in Position .................... 2
Placing Horizontal Units in Position ................. 2
Make Piping Connections ........................... 8
Make Electrical Connections ........................ 8
Actuators (Field-Supplied) ........................... 8
Make Duct Connections ............................ 23
Make Final Preparations ............................ 24
START-UP .......................................... 24
SERVICE ........................................ 25-41
Preventing Excessive Condensation on Unit ....... 25
Check Drain ........................................ 25
Fan Motor Bearings ................................ 25
Fan Shaft Ball Bearing .............................. 25
Clean Fan Wheel ................................... 25
Clean or Replace Air Filters ........................ 25
ECM Motor Removal and Reinstallation ............ 25
Blower Assembly Section Removal and
Reinstallation .................................... 27
Coil Assembly Removal and ReinstallaUon ......... 30
Ball Bearing Replacement .......................... 32
Sleeve Bearing Replacement ....................... 37
Blower Wheel Removal and Reinstallation .......... 39
Damper Section Removal and Reinstallation ....... 40
SAFETY CONSIDERATIONS
Installation and servicing of this unit can be hazardous due
to system pressure, electrical components and equipment loca-
tion (such as a ceiling or elevated structure). Unwained person-
nel can perform the basic maintenance functions of replacing
filters. Only trained and qualified service personnel should per-
form all other operations.
When installing this unit, observe precautions in the litera-
ture, tags and labels attached to the equipment, and may other
safety precautions that may apply.
Follow all safety codes.
Wear safety glasses and work gloves.
Use care in handling and installing this accessory.
Use quenching cloth for all brazing operations.
Have fire extinguisher available for all brazing
operations.
INTRODUCTION
This document contains general installation instructions for
the 40UV,UH unit ventilators. Refer to the 40UV, UH Unit Ven-
tilators with Product Integrated Controls (PIC) Installation,
Start-Up and Service instructions manual for specific PIC
control instructions. Refer to the unit wiring diagram or to
specific manufacturer literature for any other type of factory-
mounted controls.
See submittal drawings for unit configurations, dimensions,
clearances, and pipe connections. Refer to unit wiring label for
all electrical connections; follow NEC (National Electrical
Code) and local codes.
PREINSTALLATION
Unpack and Inspect Units -- Remove shipping wraps
from all units. Check the shipment against shipping order. If
shipment is damaged or incomplete, file claim with transporta-
tion company and advise Carrier immediatel_
Protect Units From Damage -- To maintain war-
ranty, protect units against adverse weather, theft, vandalism,
and debris on jobsite. Do not allow foreign material to fall into
drain pan. Prevent dust and debris from being deposited on
motor and fan wheels.
If the equipment is stored for any length of time before in-
stallation, it should remain in its shipping container in a clean,
dry, and climate controlled area.
Prepare Jobsite for Unit Installation -- To save
time and to reducethe possibility ofcostly errors, setupacom-
plete sample installation in a typical room atjobsite. Check all
critical dimensions such as pipe, wire, and duct connection
requirements. Refer to job drawings and product dimension
drawings as required. Instruct all trades in their part of the
installation.
Identify and Prepare Units
l. Be stme power requirements match available power
source. Refer to the unit nameplate and wiring diagran'L
2. Remove front (40UV) or bottom (40UH) access panels
from the unit. Retain the 5/32-in.socket head fasteners and
panels for reinstallation later.
3. Rotate the fan shaft by hand to ensure that fans are
unrestricted and can rotate freely. Check for shipping
damage and fan obstructions.
PHYSICAL DATA
Component weight data of 40UV, UH units is provided in
Table 1.
Before performing service or maintenance operations, turn
off main power switch to the unit. Electrical shock could
cause personal injury.
Manufacturer reserves the Wightto discontinue, or change at any time, specifications or designs without notice and without incuning obligations.
Book 3 Catalog No. 534-095 Pdntad in U.S.A, Form 40UV, UH-TSI Pg 1 5-05 Replaces: 40UV, UH-2SI


 Loading...