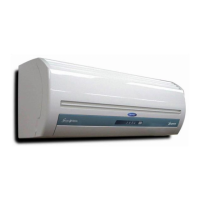
INDOOR UNIT INSTALLATION
1
1. Drilling A Hole and Mounting Installation Plate
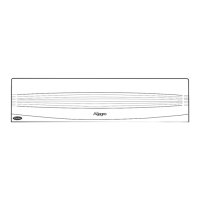
Installation Plate and Its Dimension
Indoor unit outline
20
12cm or more
to wall
12cm or more
to wall
Left refrigerant
pipe hole 65
Right refrigerant
pipe hole 65
Installation plate
30
70
750
45
250
15cm or more to ceiling
1. Install the installation plate horizontally on
structural parts in the wall with the spaces
provided around the plate.
2. In case of brick, concrete or similar type
walls, make 6mmdia, holes in the wall.
Insert clip anchors for appropriate
mounting screws.
3. Fix the installation plate on the wall.
1. As diagram above determine the pipe
hole position using the installation
plate, drill the pipe hole( 65mm) so it
slants slightly downward.
2. Always use a wall hole conduit when
piercing metal lath, ply wood or metal
plate.
Installation Plate
1. Fix the installation plate.
2. Drilling a hole.
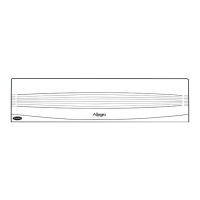
Indoor unit outline
120mm or more
to wall
120mm or more
to wall
Left refrigerant
pipe hole 65
Right refrigerant
pipe hole 65
Installation plate
280
815
150mm or more to ceiling
50
50
(For 9000Btu/h Model)
(For 12000Btu/h Model)
GB-4
42HQE009(012)/38YE009(012)
 Loading...