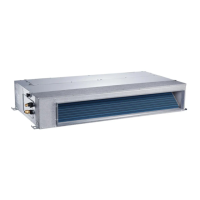
7
GB-13
1.
Remove the air filter from the flange (two locations).
Remove the flange from the rear side.
Remove the ventilation panel from the bottom side.
2.
Attach the seal sponge at the place showing in the following
diagram.
Reinstall the removed flange at the bottom and reinstall the
removed the ventilation panel at the rear side.
3.
Attach the air filter to the flange in the manner shown in the diagram.
Flange
Ventilation panel
Seal sponge
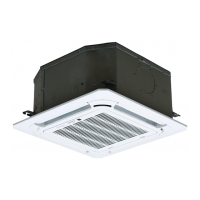
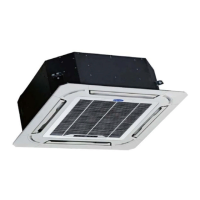
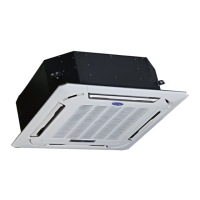
2.2.7 Change the air ventilation direction (Alternative: Rear or Bottom)
NOTE
For standard unit, air intakes from rear side. Air intake direction can be modify at site from rear side to
bottom side following the process in below.
2.2.8 Install fresh air duct
All the indoor units reserve the hole to joint the fresh air pipe. The hole size as following:
Duct joint for fresh air
80mm
80mm
Ø90mm
MODLE
09~18
2. INDOOR UNIT INSTALLATION
 Loading...