Manufacturer reserves the right to discontinue, or change at any time, specifications or designs without notice and without incurring obligations.
Catalog No. 02-DFC536SI Printed in U.S.A. Form 53-6SI Pg 4 11-05 Replaces: 53-3SI
Book 1 4
Tab 3 e 2 f
Copyright 2005 Carrier Corporation
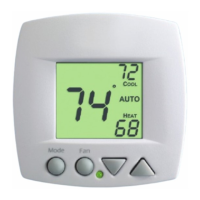
CALIBRATION: Every thermostat is calibrated before it
leaves the factory. Under normal circumstances there will
never be a need to recalibrate the thermostat. To accom-
modate s
pecial needs
, the thermostat may be recalibrat-
ed following these steps:
1. While holding the Mode button in, press the down
button for 5 seconds. After all the icons in the dis-
play appear, release the buttons.
2. Press the Mode button twice.
3. Press the up or down buttons until the flashing
number equals the current room temperature.
4. Press the Mode button to return to normal
operation.
TROUBLESHOOTING
SYMPTOM CAUSE REMEDY
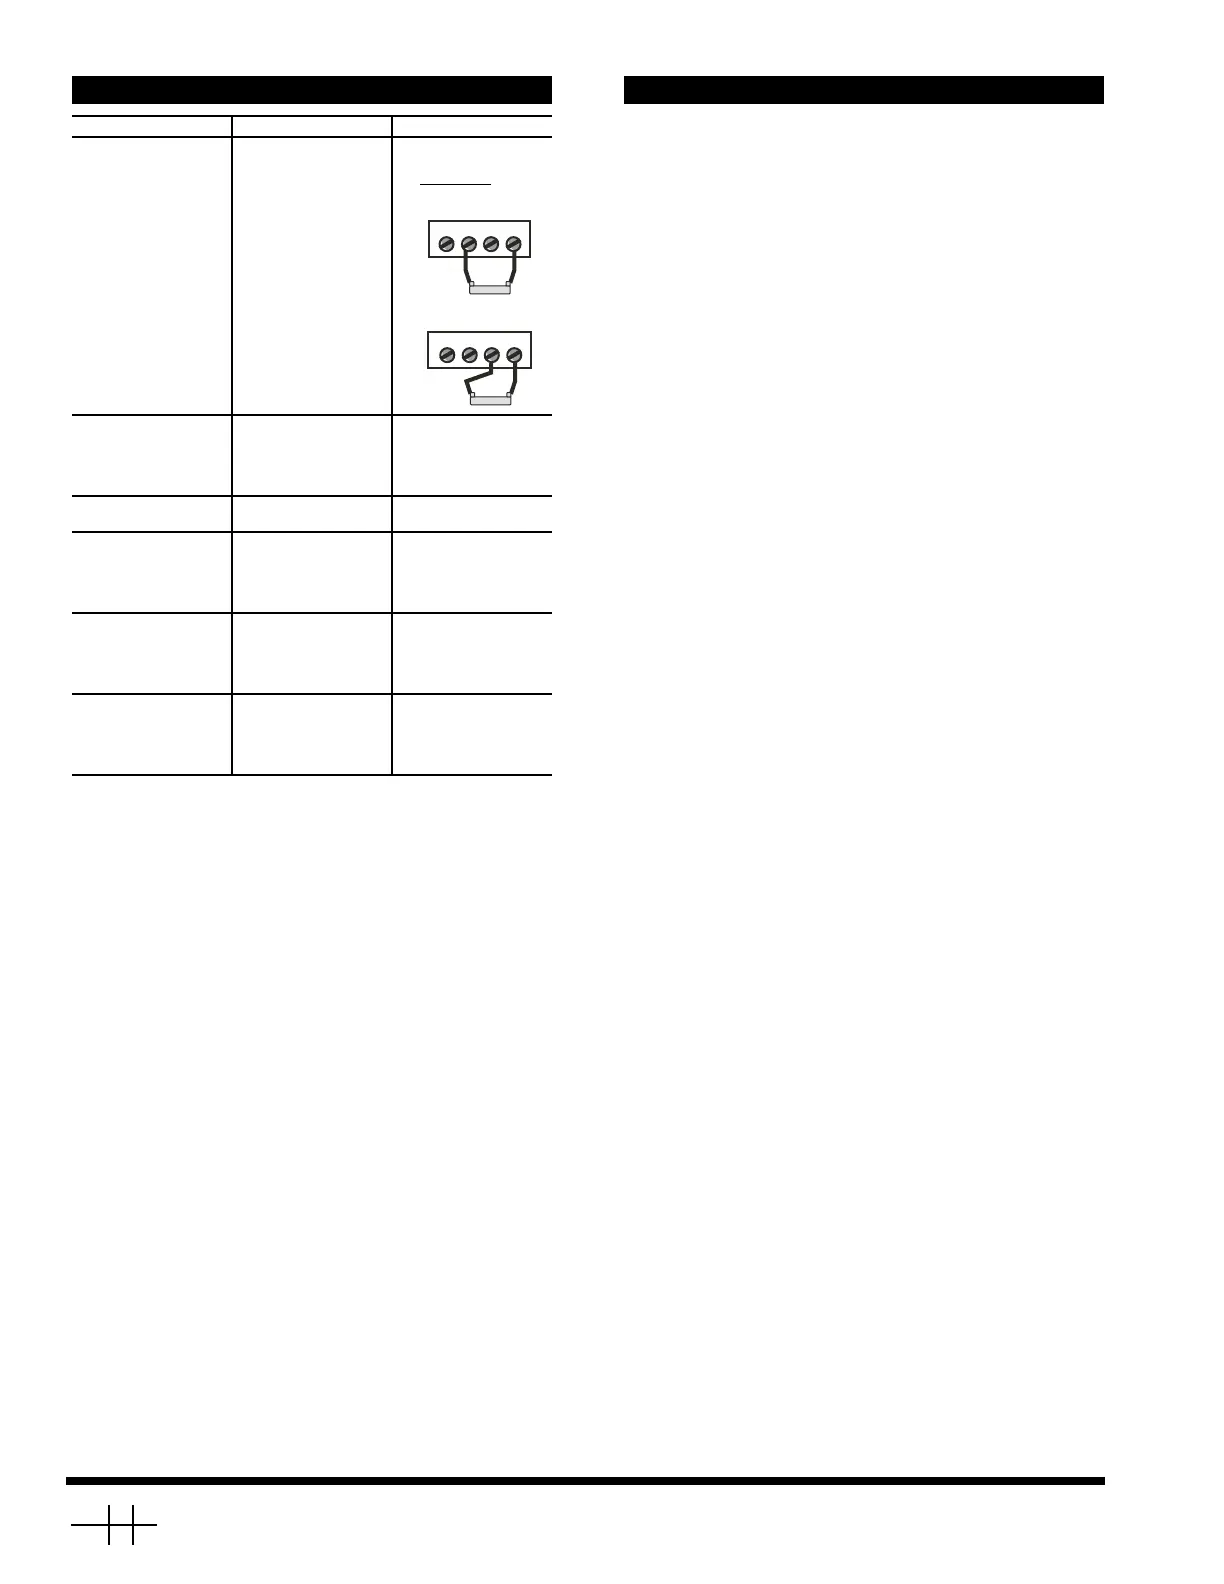
When not using a
common wire the air
conditioning equip-
ment tries repeatedly
to turn on, but cannot.
At times the display
dims or disappears.
There is not enough
power available to
“power share.”
Connect a 270 ohm,
10 watt power resis-
tor at the unit
as
shown below.
For ProblemA/C
For ProblemHeat
The air conditioning
does not attempt to
turn on.
The compressor timer
lockout may prevent
the air conditioner
from turning on, for a
period of time.
See the Advanced
Setup section to
defeat the cycles per
hour and compressor
timeguard.
The display is blank. Lack of proper power. Check for 24 vac
between R and C.
The air conditioning
does not attempt to
turn on.
The cooling set point
is set too high.
Press the down arrow
until the cooling set
point is 10 degrees
lower than the room
temperature.
The heating does not
attempt to turn on.
The heating set point
is set too low.
Press the up arrow
until the heating set
point is 10 degrees
higher than the room
temperature.
The strip heater turns
off well before reach-
ing set point.
Heat pump is incor-
rectly selected “on”in
the Advanced Setup.
Select heat pump
“off” during Advanced
Setup programming.
See the Advanced
Setup section.
RH2 Y C
TR300-10w
RH2 Y C
TR300-10w
CALIBRATION
 Loading...