12
Operating the Thermostat
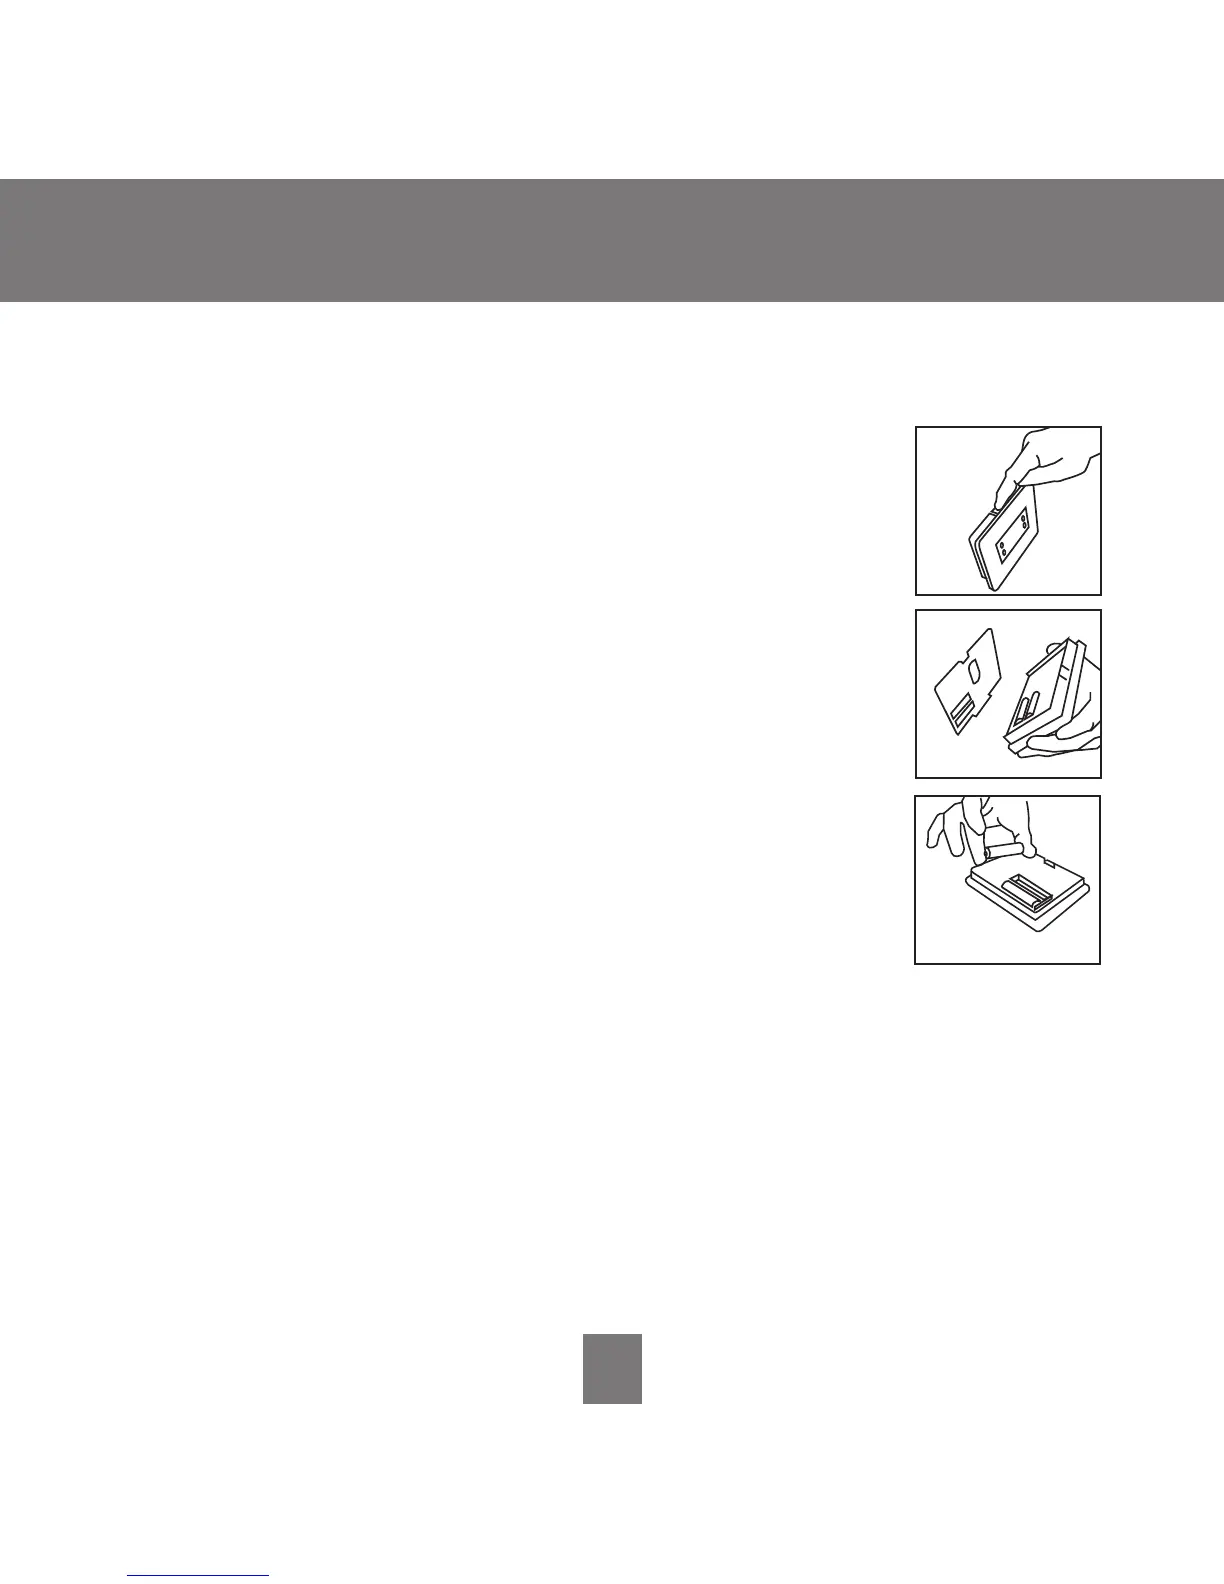
2. Press it down. This will disconnect the thermostat
from the top of the wall plate.
3. Remove the thermostat from the
wall bracket
completely by bringing it slightly toward you and
lifting it up and off the
lip on the lower edge of the
wall bracket.
4. Set the thermostat face down on a flat surface. You
will see the batteries in the lower right corner.
5. Remove and discard the old batteries.
6. Install new batteries by matching the “plus” and
“minus” ends of the batteries with the “plus” and
“minus” indicators you’ll see outside the two white
battery shapes in the space where the batteries sit.
7. Snap the batteries into place.
8. Put the thermostat back on the
wall bracket by lining up the
slot on the bottom edge of the back of the thermostat with the