11
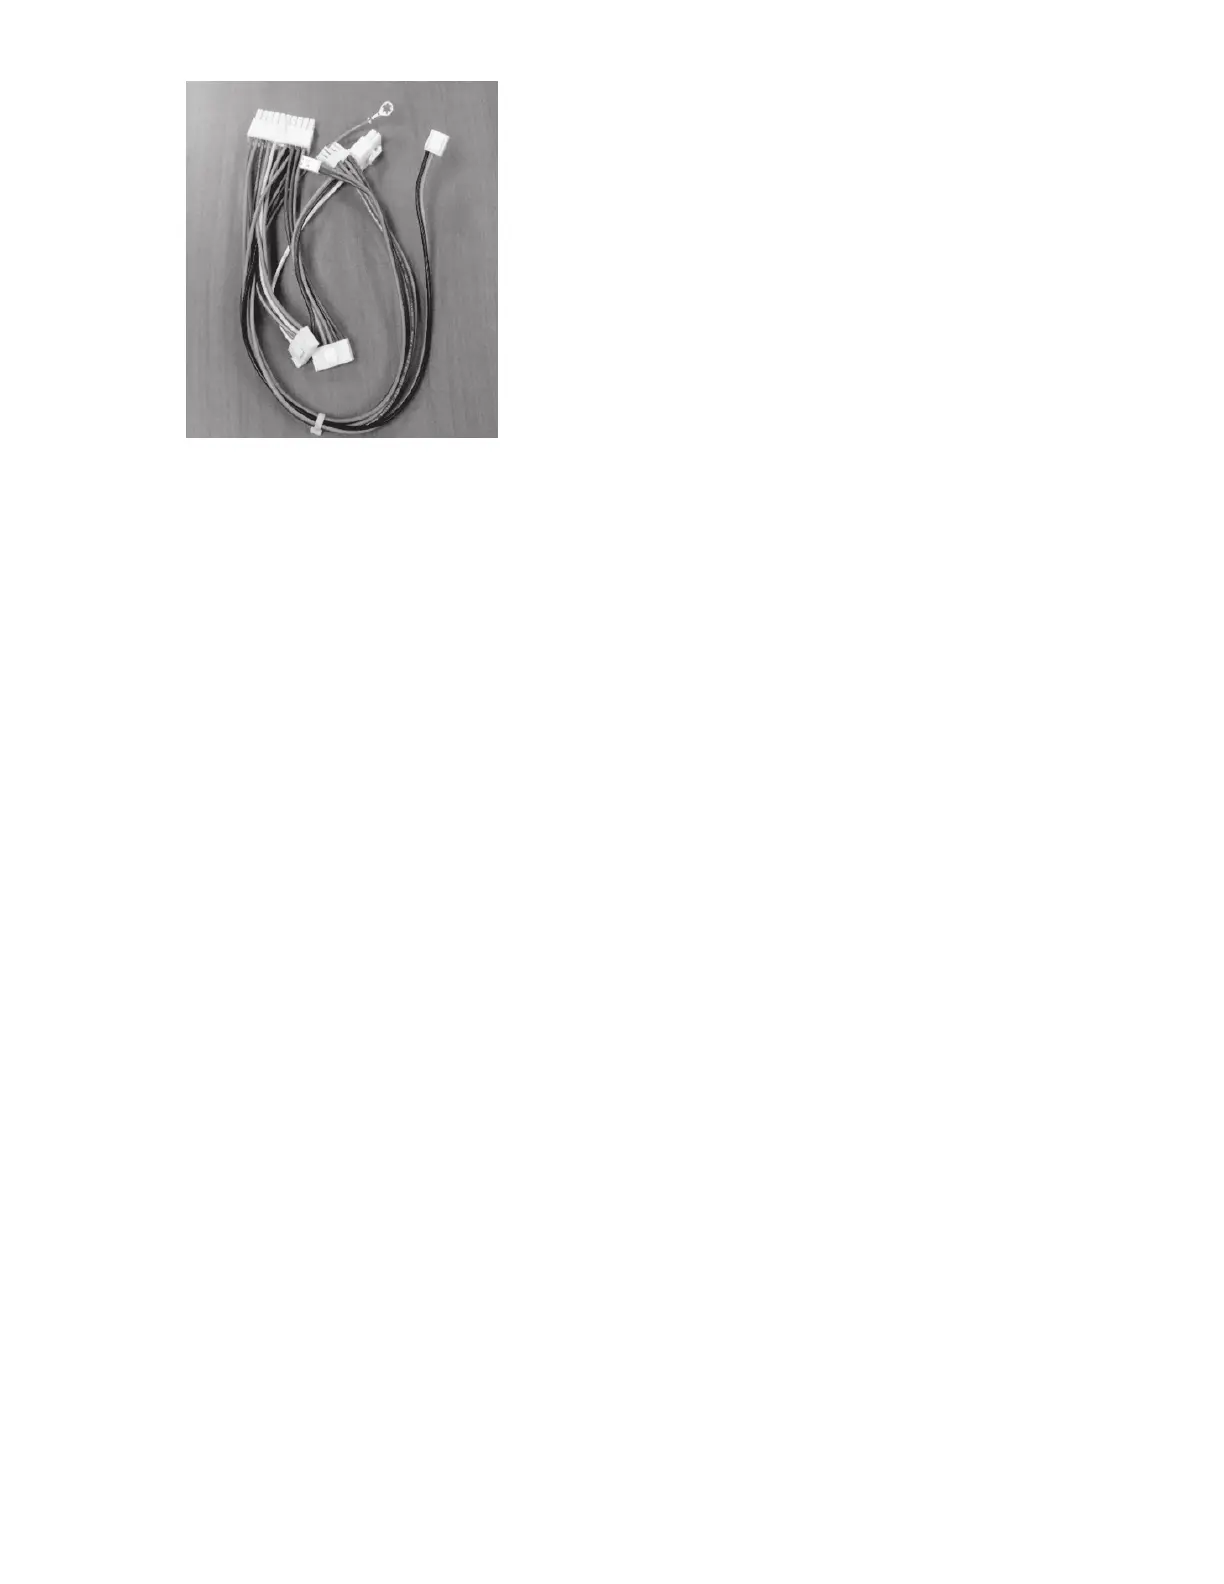
Fig. 27 — Photo of 48LCHSRADH--A00 W7220
Controller Harness Shipped with 48/50LC 07-12
Units
4. Step LC4. The connectors on the right side of Fig. 26 on
the 48LCHSRADH--A00 harness attach to the Jade
W7220 controller installed in the unit control box. See
Fig. 26 and 28. 48LCHSRADH--A00 harness connectors
are labeled to easily identify the plug-in location on the
controller.
5. Step LC5. Locate the Compressor Staging Control (CSC)
board in the HVAC unit. When a field-installed econo-
mizer is used the J5 jumper on the CSC must be
removed. Remove the J5 jumper. See Fig. 28.
6. Step LC6. The connectors on the left side of Fig. 26 on
the 48LCHSRADH--A00 harness attach to the unit’s
CSC board. Connect J3 and J5 plugs to the CSC board.
7. Step LC7. Screw the green wire with yellow stripe in the
48LCHSRADH--A00 harness to the control box
(ground). See Fig. 12 and 28.
8. Step LC8. Mount the provided HH79AH001 mixed air
temperature (MAT) sensor (C7250) to the indoor blower.
Confirm that the screws do not interfere with blower
rotation. See Fig. 15. Locate the 50HE403859 2-green
wire harness shipped with the EconoMi$er X kit. It will
have a plug on one end and terminals on the other end.
Connect the plug from this harness to the MAT sensor.
See Fig. 15. Connect the (2) spade terminals on the
50HE403859 harness to orange and brown wires in the
indoor blower section wire bundle.
9. Step LC9. Follow steps 21 through 25 earlier in these
instructions.
 Loading...