EVD4X, ESD4X, WMVC, WMSC: Installation Instructions
Manufacturer reserves the right to change, at any time, specifications and designs without notice and without obligations.
5
A221110
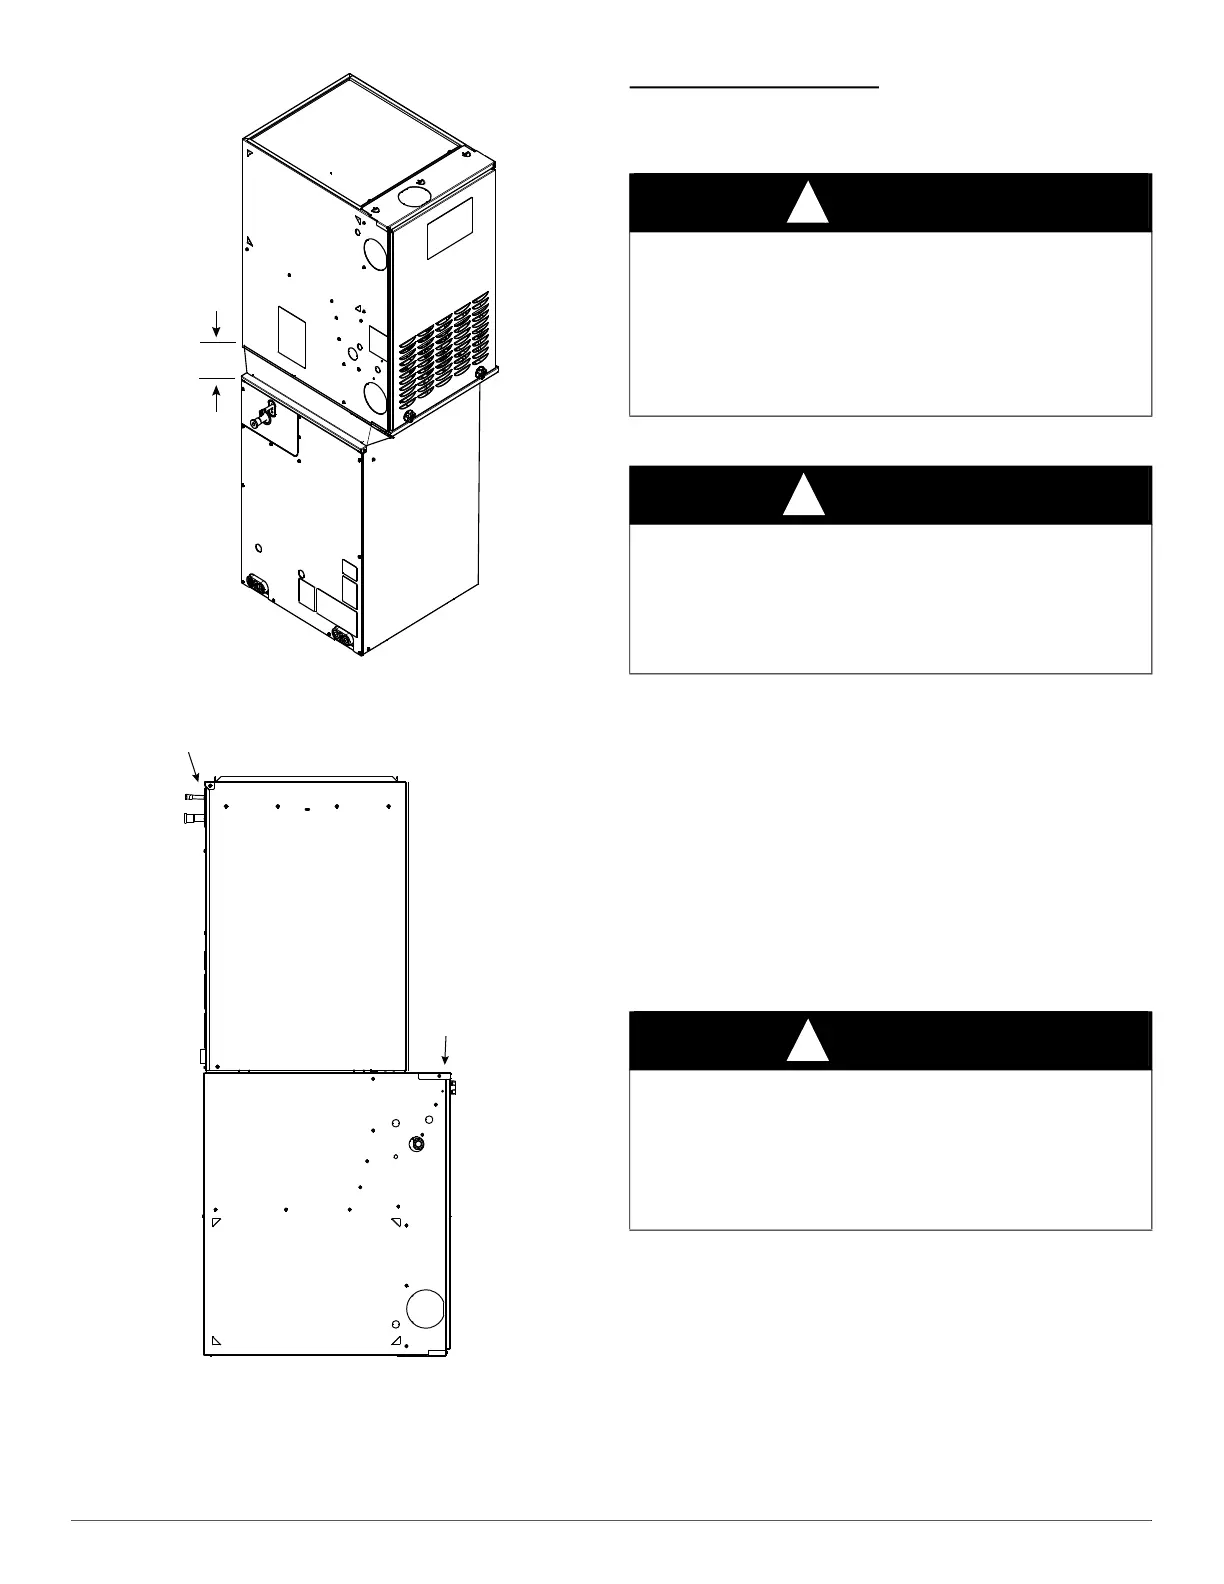
Fig. 6 – 90° Rotation (shown in downflow)
4" Transition Required (not recommended)
A221111
Fig. 7 – 180° Rotation (shown in upflow)
(not recommended)
Downflow Coil Installation
NOTE: In downflow installation with a 4-way multipoise furnace, break
off perforated duct flanges on furnace. See furnace Installation
Instructions.
Refrigerant Line Connections
NOTE: Factory nitrogen charge may escape past rubber plugs during
storage. This does not indicate a leaking coil nor warrant return of the
coil.
Size and install refrigerant lines according to information provided with
outdoor unit. Coil connection tube sizes are shown in Table 1. Route
refrigerant lines to the coil in a manner that will not obstruct service
access to the unit or removal of the filter.
Do not use damaged, dirty, or contaminated tubing because it may plug
refrigerant flow-control device. ALWAYS evacuate the coil and
field-supplied tubing before opening outdoor unit service valves.
Connect Refrigerant, Liquid, and Suction Lines
For matched and mismatched systems, use line sizes recommended in
outdoor unit Installation Instructions.
The coil can be connected to outdoor units using field-supplied tubing of
refrigerant grade. Always evacuate tubing and reclaim refrigerant when
making connections or flaring tubing. Leak check connections before
insulating entire suction line.
See Table 1 for coil connection tube size.
1. Remove cabinet access door.
2. Remove rubber plugs, suction plug then liquid plug, from coil stubs
using a pulling and twisting motion. Hold coil stubs steady to avoid
bending or distorting.
Front of Coil
Front of
Furnace
CAUTION
!
WATER MANAGEMENT HAZARD
Failure to follow this caution could cause product and/or property
damage.
The furnace coil door must be properly installed when the coil is in
operation. To ensure proper condensate water management, the drain
pan must not touch the coil. When properly installed the furnace coil
door will correctly align the condensate pan with the coil.
WARNING
!
PERSONAL INJURY HAZARD
Failure to follow this warning could result in personal injury.
Wear eye protection. Coil is factory charged with 7–10 psi nitrogen.
The coil is under pressure and TXV screen is in place behind liquid line
plug. DO NOT remove liquid line plug first, always remove the suction
line plug first to depressurize the coil.
CAUTION
!
UNIT OR PROPERTY DAMAGE HAZARD
Failure to follow this caution may result in property damage.
Take precautions to ensure Aluminum tubes do not come in direct
contact or allow for condensate run off with a dissimilar metal.
Dissimilar metals can cause galvanic corrosion and possible premature
failure.