10
INSTALLATION
1. Connect the female joint of the wires group from the main board to the male joint of the
connective wires group.
2. Connect the other side of the connective wires group with the male joint of the wires group
leads from the wired controller.
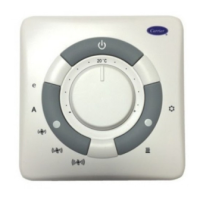
3. Remove the upper part of the wired controller.
4. Insert a slot screwdriver into the slots of the lower part of the wired controller (2 places), and
remove the upper part of the wired controller.
The PCB is mounted in the upper part of the wired
controller. Be careful not to damage the board with the slot
screwdriver.
WARNING
!
 Loading...