1
ZONECC3Z(AC/HP)01
3---Zone Control System
Quick Reference Guide
ZONECC3ZAC01
1Heat/1Cool
ZONECC3ZHP01
3Heat/2CoolHP
INTRODUCTION
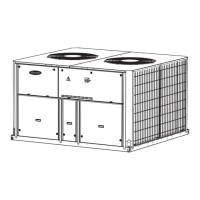
The Carrier 3--Zone Control system brings the possibility of total
comfort control to the occupants by providing the right amount of
heating or cooling for up to 3 distinct spaces or zones within a
home or business. Each zone has independent temperature settings
controlled by a conventional thermostat or Wi--Fir based
thermostats and up to 5 dampers per zone.
The Quick Reference Guide will provide a simplified description
on installing the 3--Zone Control System. Please reference the
Installation and Start- Up Instructions included in the 3-- Zone
Controller packaging for the complete design and installation
information on the 3--Zone System.
PRODUCT FEATURES AND BENEFITS
S Duct Temperature Optimizer -- Offers maximum equipment
protection to help ensure long life.
S Wi--Fir Thermostat compatibility -- Matches the right thermostat
to the homeowner’ s comfort and lifestyle.
S Diagnostic LEDs -- Intelligent system diagnostics to let
homeowners know if there is a problem with their system.
S Emergency Heat Switch -- Allows manual override for
emergency heat strip operation when utilizing a heat pump.
S Max Cycle Rate -- Allows 4 equipment cycles per hr (cph)
providing maximum equipment protection.
S Selection Jumpers -- Designed for easy configuration
S Additional Options
S Timeguard override
S Compressor protection
S Modulating damper control in emergency situations
S Damper fuse protection
S High and low temperature limits
S Auto changeover from any zone
S RH and RC for voltage isolation
S Bypass setup routine
S Staging time for energy savings
S Automatic checkout with installer mode
S Override zoning switch
S Timer override for serviceability
COMPONENTS NEEDED
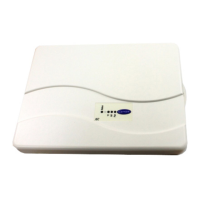
3--Zone Control Panel
S Separate transformer is not needed to provide power
S Designed so that wires can enter from behind, above, or below
S Each system controller also includes a duct temperature sensor
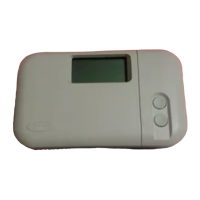
24v or Wi --Fir Thermostats
S Advanced energy savings algorithms
S Remote access
TSTWHA01
Côr 7C
Thermostat
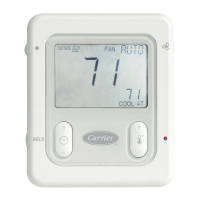
TP --WEM01 --A
Côr Thermostat
Dampers (8--in. -- 24--in.)
S Up to five dampers may be used in each zone by electrically
connecting them in parallel
S By-- pass damper available to prevent static pressure buildup
AIRFLOW
AIRFLOW
C
L
S
C
O
M
O
P
N
C
L
S
C
O
M
O
P
N
A05252
A05251
Rectangular
Damper
Round Da mper
By --Pass
Leaving Air Temperature
(LAT) Sensor
Slip--In Damper
Fig. 1 -- Damper Types
NOTE: Thermostats and Dampers are sold separately .
W i --- F i R is a registered trademark of the Wi---Fi Alliance Corporation