TO DISMANTLE THE PUMP
FREQUENTLY ASKED QUESTIONS
‘’MOTOR DOES NOT START’’
Disconnect switch open; Fuses blown or thermal overload open; Motor
windings burned out; Defective starting switch inside motor; Disconnected
or defective wiring.
‘’MOTOR DOES NOT REACH FULL SPEED’’
Low voltage; Motor windings connected for wrong voltage; Shaft binding
or impeller rubbing.
‘’MOTOR OVERHEATS (Protector trips)’’
Low voltage; Motor windings connected for wrong voltage;
Inadequate ventilation.
‘’PUMP DELIVERS NO WATER’’
Pump not primed; Closed valve in suction or discharge line; Suction or
discharge line plugged; Leakage of air into suction system; Impeller plugged.
‘’LOW PUMP CAPACITY’’
Check setting of dial valve; Valve in suction or discharge line partly closed;
Suction or discharge line partly plugged; Suction
or discharge line too small;
Pump running at reduced speed (see above);
M22904246A
WWW.CARVINPOOL.COM 4
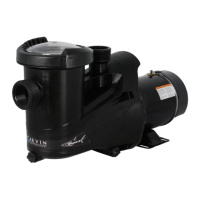
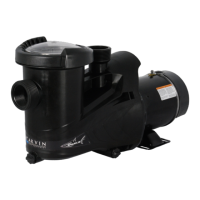
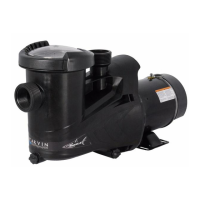
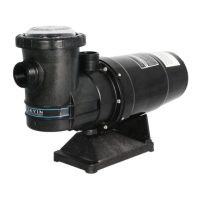
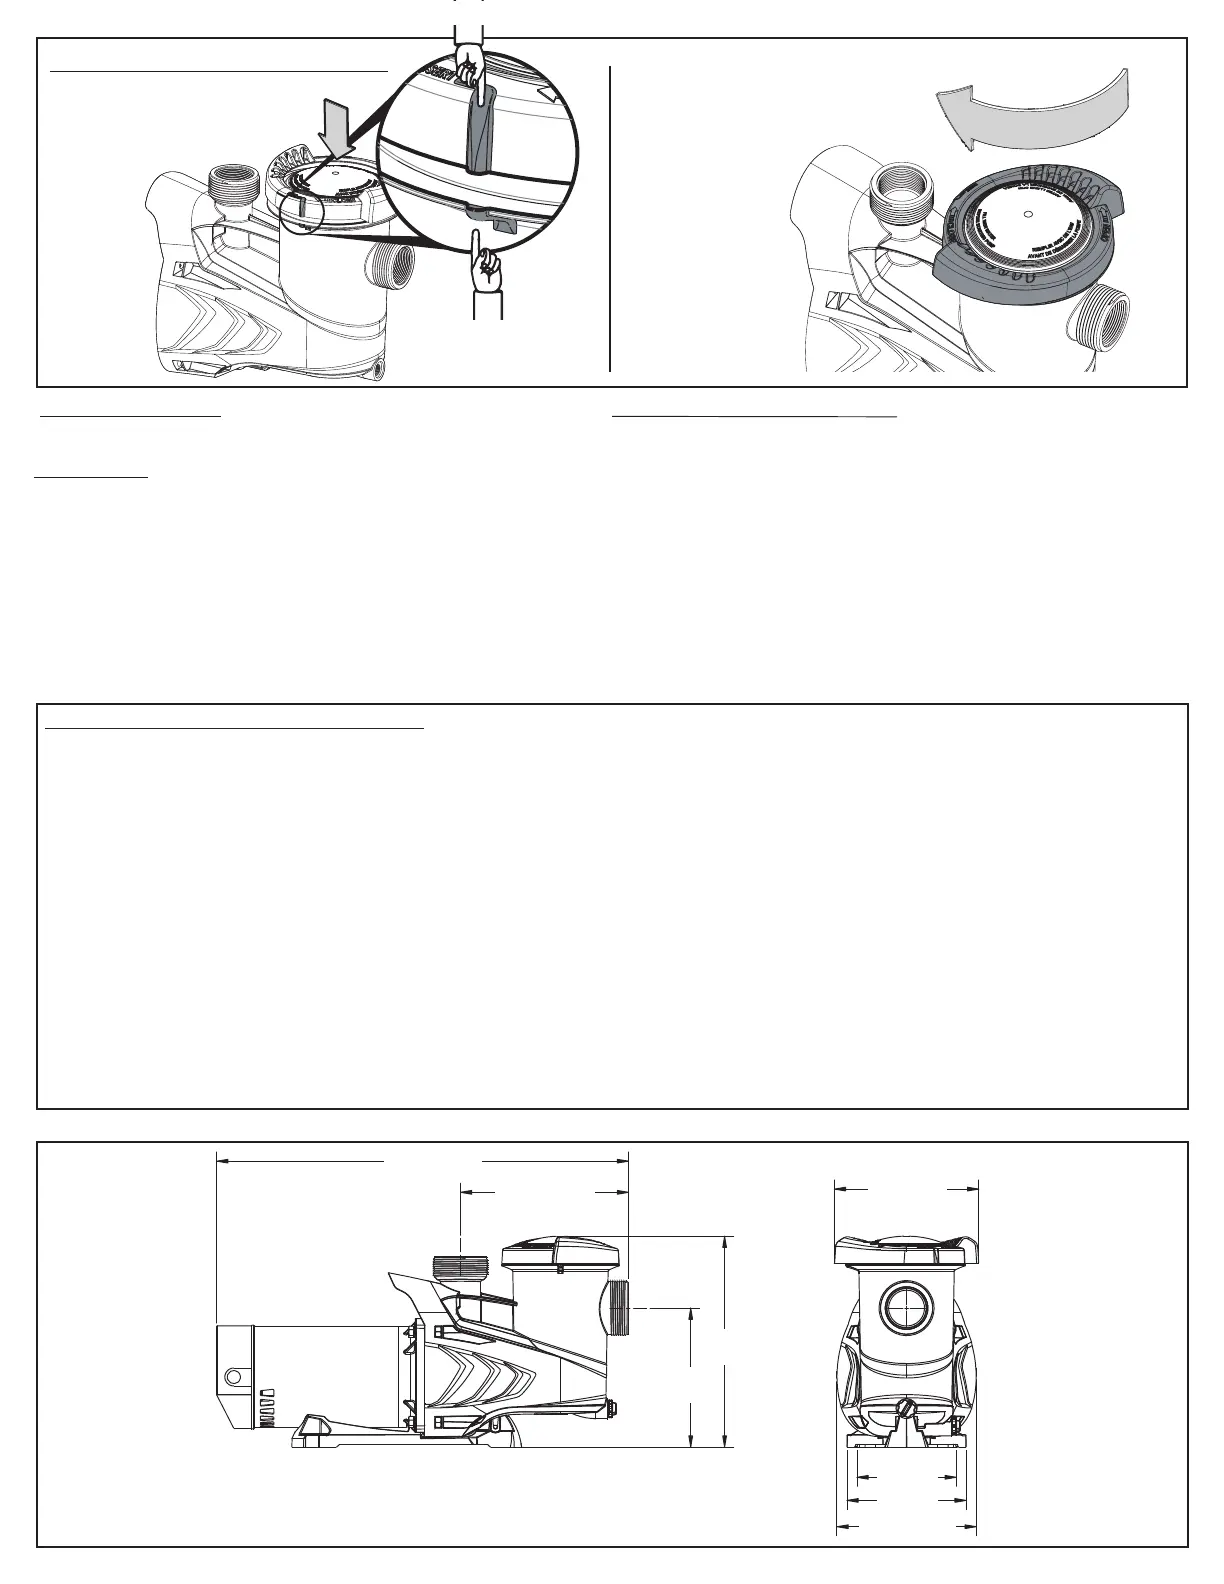
Dimensional (Fig.2)
IMPORTANT: BE SURE THE ELECTRICAL POWER IS DISCON-
NECTED BEFORE YOU CONTINUE. Refer to illustrated steps on
PAGE 5 to guide you.
INSPECTION
Inspect all parts of the pump for wear or damage, and order replacements as
necessary. Check the shaft seal (12) carefully. Look for cracks in the ceramic
seat. Check the seal faces for wear and nicks. Flex the rubber parts and check
them for holes and cracks. Replace the complete seal if any part is damaged,
or if the seal leaks. Do not use old parts.
SHAFT SEAL REPLACEMENT
18,65
7,344
23,81
9,375
21,755
55,26
11,350
28,83
21 3/4’’ (55,3 cm)
9 or 12 O’CLOCK
9 3/8’’ (23,8 cm)
9H ou 12H
3’’
(7,62 cm)
7 3/8’’
(18,7 cm)
11 3/8’’
(28,8 cm)
12,38
21,69
8,541
8,046
8’’
(20,3 cm)
8 1/2’’
(21,7 cm)
4 7/8’’
(12,4 cm)
3 1/2’’
(8,9 cm)
Plugged basket in skimmer or hair in lint strainer; Dirty filter; Impeller plugged.
‘’LOW PUMP PRESSURE’’
Check setting of dial valve; Pump running at reduced speed (see above);
Discharge valve or inlet fitting opened too much; Leakage of air into suction
system.
‘’HIGH PUMP PRESSURE’’
Discharge valve or inlet fittings closed too much; Return lines too small;
Dirty filter.
‘’NOISY PUMP AND MOTOR’’
Plugged basket in skimmer or hair in lint strainer; Defective motor
bearings; Valve in suction line partly closed; Suction line partly plugged;
Vacuum cleaner hose plugged or too small; Piping causing strain on pump
case; Impeller rubbing on pump case.
‘’LEAKAGE OF WATER AT SHAFT’’
Shaft seal requires replacement.
‘’AIR BUBBLES
AT INLET FITTINGS’’
Leakage of air into suction line at connections; Cover of hair and lint strainer
not airtight; Restriction in suction line; Low water level in pool.
Take great care while handling the shaft seal (12) to avoid damage to its
carbon and ceramic sealing faces.DO NOT USE OIL OR GREASE ON THE
SEAL PARTS, because either may damage the thermoplastic material of
the pump through overheating or chemical reaction. Make sure that the
pump parts are clean, but be careful not to scratch the surfaces that come
into contact with the seal. . The ceramic and it’s rubber housing must be
installed moistened with water by pressing them firmly by hand into the
motor bracket (13). Make sure the flat surface of the ceramic faces the
pump body. Reassemble the pump retracing the steps illustrated on page 5.
Reinstall the pump and run it for 5 minutes to ensure that no water leaks from
the pump case (which would indicate improper seal installation). If any
water
is observed leaking from the pump case, repeat seal installation procedure.
2.TIGHTENING
TURN STRAINER NUT
1/4 TURN CLOCKWISE
TO TIGHTEN
STRAINER NUT INSTALLATION
(Fig.1)
1.INSERTION
ALIGN MARKERS OF THE
STRAINER NUT AND
BODY AND INSERT.
 Loading...