Controlling Sounds
EN-34
4.
Use bn [–] and [+] to select the
dt MODULATION/ASSIGNABLE operation.
• The indicator lamp to the left of the button is lit when
the assigned function is enabled, and unlit when it is
disabled.
5.
When the setting is the way you want, long-
press the [4] (EXIT) bm number key to exit the
setting screen.
1.
Perform steps 1, 2, and 3 under “To change the
operation performed when dt MODULATION/
ASSIGNABLE is pressed” (page EN-33).
2.
Use the [1] (V) and [3] (W) bm number keys
to display “Btn Func”.
3.
Use bn [–] and [+] to change the function
assigned to dt MODULATION/ASSIGNABLE.
* For information about the setting operation see “To change
how DSP effects applied when dt MODULATION/
ASSIGNABLE is pressed” (page EN-34).
4.
When the setting is the way you want, long-
press the [4] (EXIT) bm number key to exit the
setting screen.
1.
Perform steps 1, 2, and 3 under “To change the
operation performed when dt MODULATION/
ASSIGNABLE is pressed” (page EN-33).
2.
Use the [1] (V) and [3] (W) bm number keys
to display “PartEnbl”, and then press [6]
(ENTER).
3.
Use the [1] (V) and [3] (W) keys to display
the part whose setting you want to change.
4.
Use the bn [–] and [+] to switch between on
and off.
• The effect is applied to parts that are turned on, and
not applied to parts that are turned off.
5.
When the setting is the way you want, long-
press the [4] (EXIT) bm number key to exit the
setting screen.
• For details about keyboard parts, see “Sounding Multiple
Tones (Layer and Split)” (page EN-19).
• The DSP module registered with the procedure below are
elements of this Digital Keyboard’s DSP effect. For details
about DSP effect configuration and parameters, see “DSP
Editing” (page EN-72).
1.
Perform steps 1, 2, and 3 under “To change the
operation performed when dt MODULATION/
ASSIGNABLE is pressed” (page EN-33).
2.
Use the [1] (V) and [3] (W) bm number keys
to display “Btn Func”.
3.
Use bn [–] and [+] to change the setting to
“2 DSP”.
4.
Use the [1] (V) and [3] (W) keys to display
“DSPModle” (the target DSP module).
This displays a DSP module name.
To select this operation:
Select this
setting value:
Enable the function assigned to the
button only while the button is pressed.
1 Moment
Toggle the function between enabled
and disabled each time the button is
pressed.
2 Toggle
To change the function assigned to
dt MODULATION/ASSIGNABLE
To change to this function:
Select this
setting value:
Vibrato 1 Mod
Change how DSP effects are applied to
tones in accordance with user settings.*
2DSP
To specify the keyboard part to which an
effect is applied when dt MODULATION/
ASSIGNABLE is pressed
To change how DSP effects applied when
dt MODULATION/ASSIGNABLE is pressed
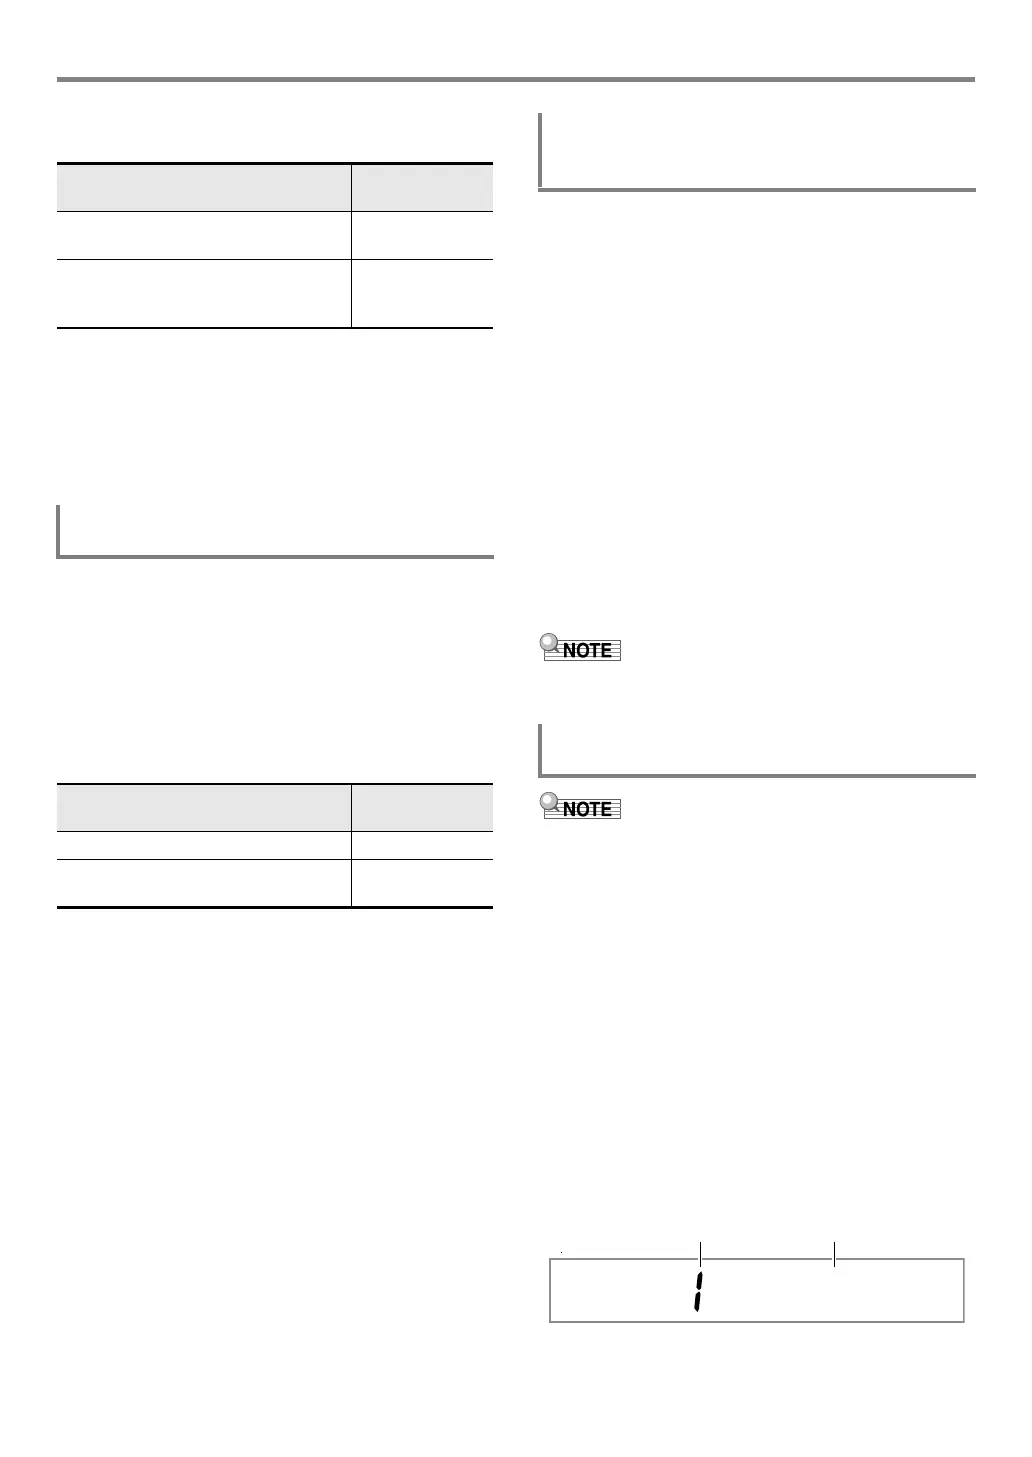
M
on1B EQ
Module number DSP module name
CTX5000_3000_EN.book 34 ページ 2018年2月26日 月曜日 午後3時56分