— 9 —
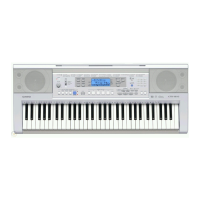
4. Remove 4 screws, 6 connectors (JA, JB, JH, JJ, JK, JL) and then the PCB ASSY (MA1M).
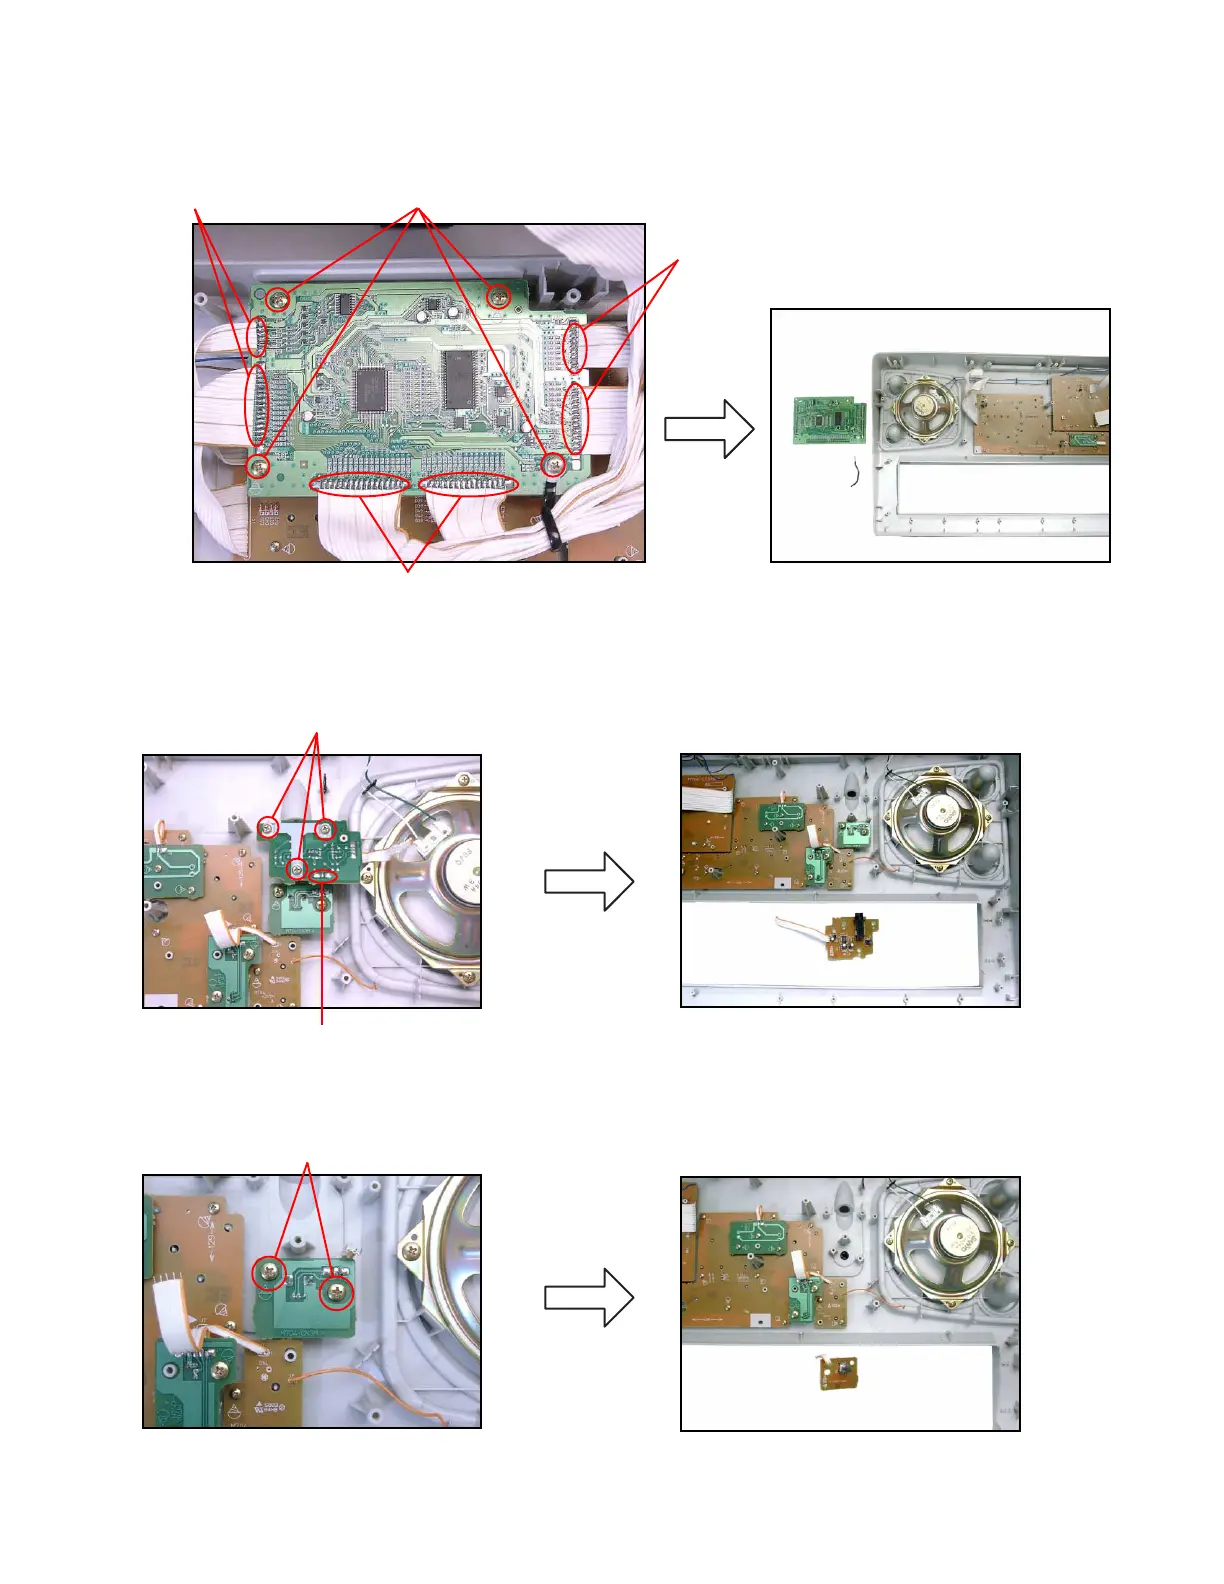
6. Remove 2 screws and then the PCB ASSY (CN3M).
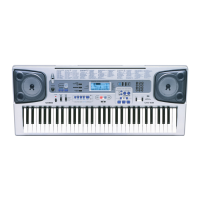
5. Remove 3 screws, 1 connector (JQ) and then the PCB ASSY (CN2M).
Screws
Connector
Screws
Screws
Connectors
Connectors
Connectors
 Loading...