– 21 –
IT-G500
Y
WLAN Calibration
NOTE:
When replacing the MAIN-UNIT with a new one, be sure to perform the following procedure.
No. Operation Test Details
1
Start up “
WLANCalib.exe
” under \\My Device\
FlashDisk\DIAG.
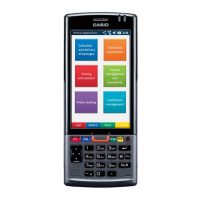
After completion of the calibration, the result
display screen appears.
Check the successful result and tap “OK” to
terminate the calibration.
During calibration, though nothing appears
on the screen, Indicator 2 fl ashes in orange.
Y
Laser Calibration (* Laser model only)
NOTE:
When the MAIN-UNIT or LASER-UNIT is replaced with a new one, carry out this calibration
before testing “Laser Barcode Read”.
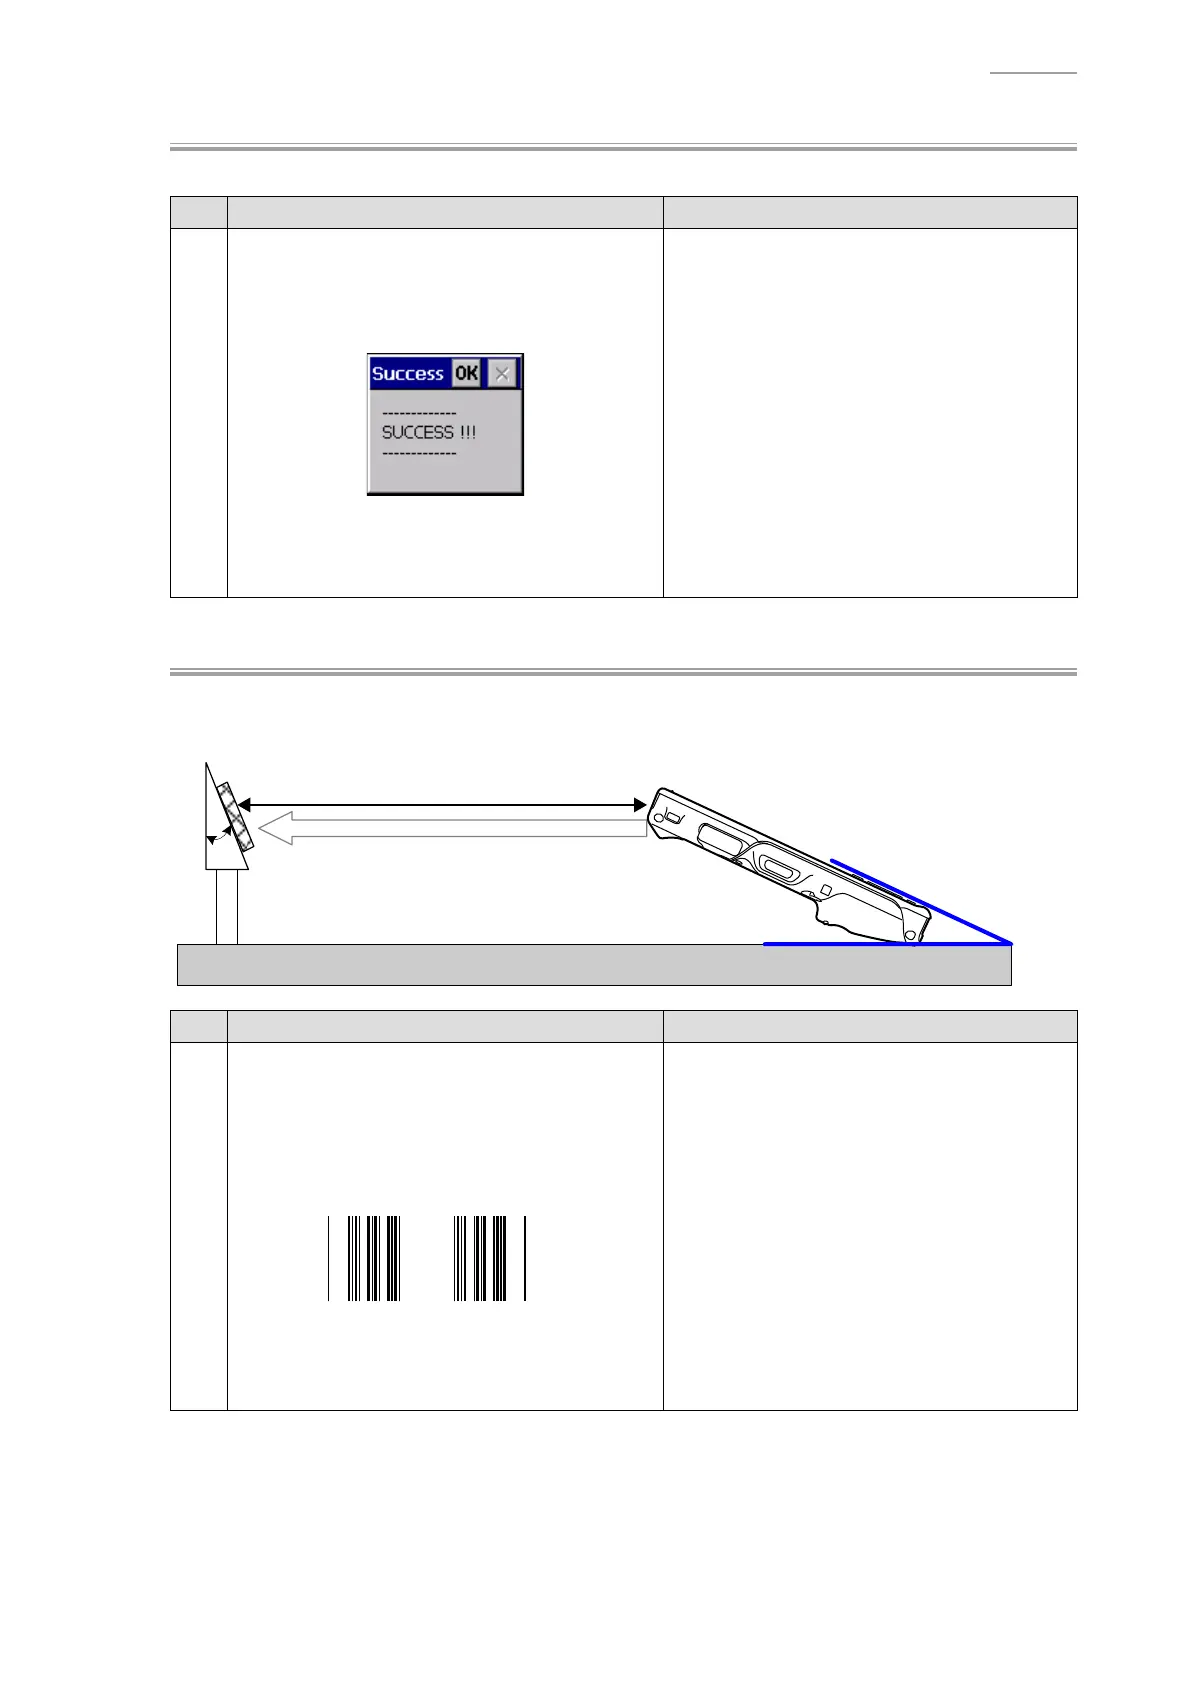
61 mm
15°
25°
No. Operation Test Details
1
Select “[2].Laser Calibration” from MENU-4
screen.
Open the page of the User’s Guide where
“Emission Width Adjustment Bar Code” is
printed.
Emission Width Adjustment Bar code
Then, press the “Trigger” key.
Calibration is executed automatically.
If the calibration is made successfully,
“Calibration OK” is displayed and a laser
beam lights in order of Wide, Middle and
Narrow for 1 second respectively.
(This cycle is repeated.)
Press the “Enter” key to turn off the leaser
beam and return to the Menu screen.
If the calibration fails, an error indication is
displayed.
→ Pressing the “Enter” key returns you to the
Menu screen.