Quick Start Guide
1. To set memory protection bat-
teries
To prevent losing all your settings and sales data, we
strongly recommend that you set the memory protection
batteries before you use the cash register and replace
them at least once a year.
1. Remove the printer cover by lifting it up.
2. Remove the battery compartment cover.
3. Note the (+) and (–) markings in the battery compart-
ment. Load a set of two new “AA” type manganese
batteries so that their plus (+) and minus (–) ends are
facing as indicated by the markings.
4. Replace the battery compartment cover and the
printer cover.
Important
These batteries protect information stored in your
cash register’s memory when there is a power
failure or when you unplug the cash register. Be
sure to install these batteries rst.
Warning
No battery is included in the accessories.
Never try to recharge the batteries.
Do not expose batteries to direct heat, let them
become shorted or try to take them apart.
Keep batteries out of the reach of small children.
If your child should swallow a battery, consult a
physician immediately.
There is a risk of explosion if the batteries are
replaced with improper type.
2. To set receipt paper
1. Open the platen arm by lifting it up.
2. Ensuring the paper is being fed from the bottom of the
roll, lower the roll into the space behind the printer.
3. Put the leading end of the paper over the printer.
4. Close the platen arm slowly until it locks securely.
Warning
Never touch the printer’s thermal head and the
platen. Avoid the thermal paper from heat, humidity
or direct sunlight.
platen arm
5. Replace the printer cover, passing the leading end of
the paper through the cutter slot. Tear off the excess
paper.
3. To install journal paper
1. By the same procedure of setting receipt paper, set
journal paper on the journal printer.
2. Using
j
key, feed the paper about 20 cm.
Remove the paper guide of the take-up reel.
3. Slide the leading end of the paper into the groove on
the spindle of the take-up reel and wind it onto the
reel two or three turns.
4. Replace the paper guide of the take-up reel.
5. Place the take-up reel into place behind the printer,
above the roll paper.
6. Press the
j
key to take up any slack in the paper.
7. Replace the printer cover.
4. To turn the cash register on
1. Insert a Mode key that comes with the cash register in
the Mode switch and turn it to OFF position.
PGM
2. Plug in the power cord into an AC outlet.
Preparations
Note: Please follow the steps described below.
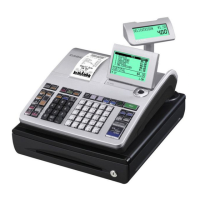
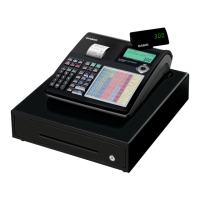
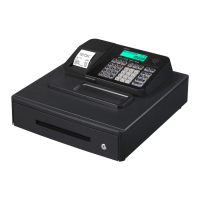
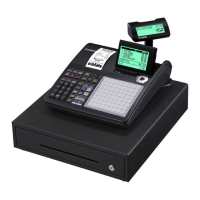
Electronic Cash Register SE-S3000/SE-C3500
Q S G 294*E