model no. 040-1198-8
INSTRUCTIONS/INSTRUCTIONS
C
B
C
Secure each rack arm (F) to the centerbracket
(B&C) using two step bolts (L), two flat washers
(T) and two nylon lock nuts (O) .Tighten using a
1/2
"(13mm) socket wrench .
Align the holes on the outboard center bracket (C)
with corresponding upper holes on the inboard
center bracket (B). Secure using hex bolt (K), two
flat washers (S) and a nylon lock nut (N) in the
indicated hole.Tightern using 5/8
"(17mm) socket
wrench and adjustable wrench.
Note: The direction of the screw is shown here
2
ASSEMBLY
1
6
7
INSTRUCTIONS/INSTRUCTIONS
ASSEMBLY
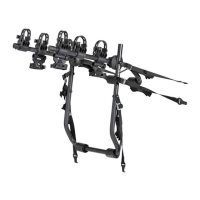
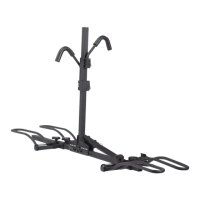
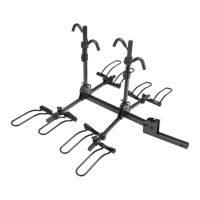
Assembling The Bike Carrier
Align the holes on the inboard center bracket (B)
with corresponding upper holes on the stinger
base (A). Secure using hex bolt (J), two flat washers
(Q) and a nylon lock nut (M) in the indicated hole.
Tighten using 15/16
"(24mm) socket wrench and
adjustable wrench.
Insert the tethered pin clip (U) into the aligned
holes on the
inboard center bracket (B) and stinger
base (A) .
Secure using the pin clip (I).
3
2
4
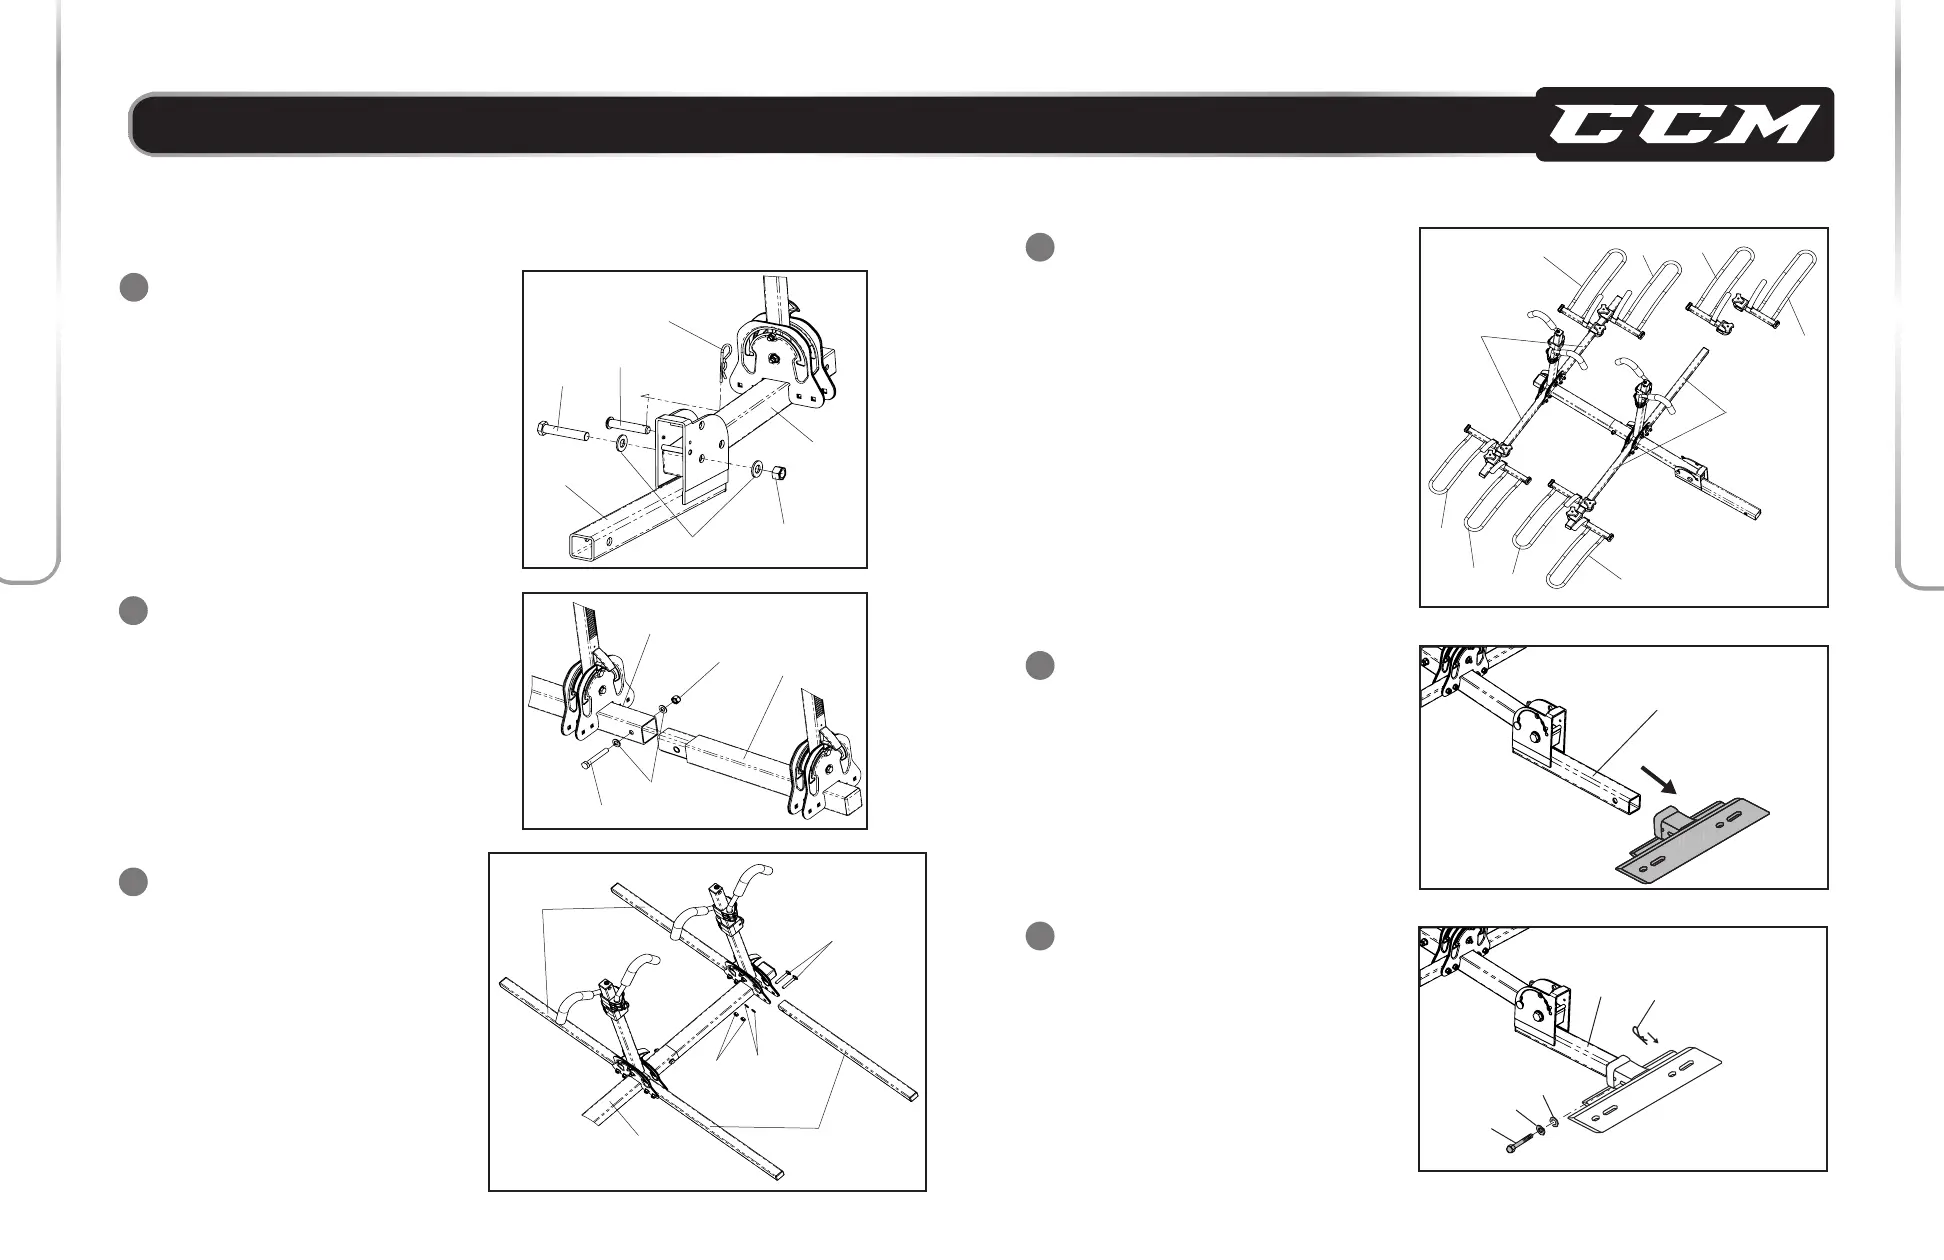
Insert the left wheel trays (D) and the right wheel
trays (E) onto the rack arms (F) of the center bracket
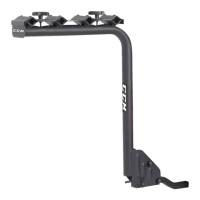
Stinger Installation to Hitch Receiver
5
Insert the stinger base (A) into the hitch receiver of
the vehicle
A
6
Insert the anti-sway hitch pin (G) into the aligned
holes of the stinger base (A) and hitch receiver
using a spring washer (P) and flat washer (R).
Tighten the anti-sway hitch pin (G) using a 3/4
"
(19mm) socket wrench and secure it using the
hitch pin clip (H).
G
N
R
P
H
G
A
A
U
Q
I
J
B
M
B
F
C
N
S
K
L
T
O
C
B
F
F
E
D
D
D
D
E
E
E
F
 Loading...