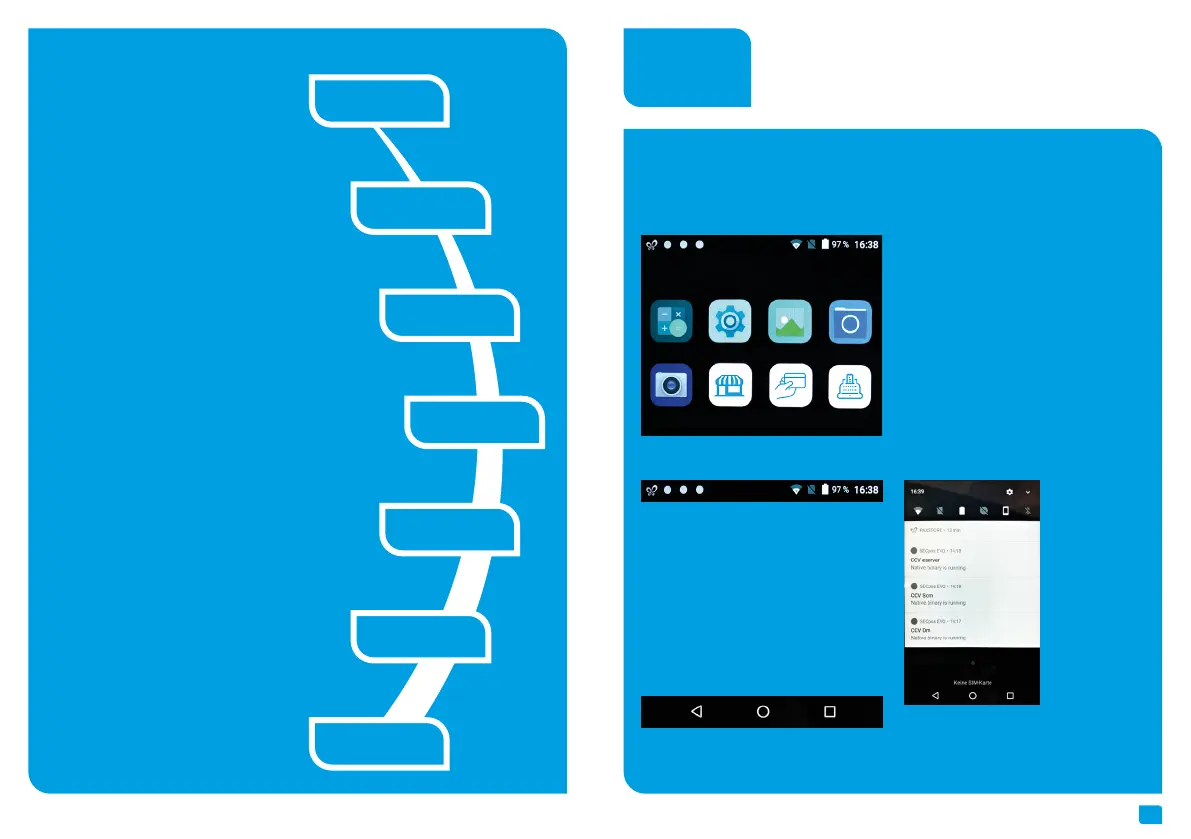
Calculator
Camera
Settings
CCVStore
Gallery
SECpos EVO
File Manager
app2pay
7
Handling
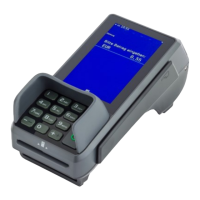
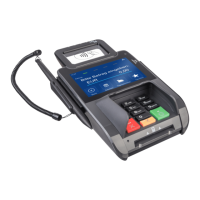
Your terminal CCV Mobile A920 is based on Android OS and usage is the same as you know from
Android smartphones. After turning on by pressing power button on the right side the terminal show
you after booting the Android homescreen.
You can draw down the statusbar to see further
settings and a list of active apps (CCV eserver,
CCV Scm und CCV Dm – please do not close these
apps!).
1. Calculator
2. Settings
3. Gallery
4. File Manager
5. Camera
6. CCVStore (CCV marketplace to download
apps)
7. SECpos EVO (CCV payment app – for pay-
ment please start app2pay)
8. app2pay (CCV cash point app – for payment
please start app2pay and enter amount)
1. Symbol for active CCVStore
2. Three white dots are for active CCV apps
working in the background (CCV eserver, CCV
Scm und CCV Dm)
3. WiFi status
4. SIM status
5. Battery status
6. Time
1. Back
2. Homescreen
3. Task Manager
Android Homescreen
Android status bar
Android navigation bar
Installation
1. Connect
4. Communication
2. Turn on
3. Paper roll
5. Startup
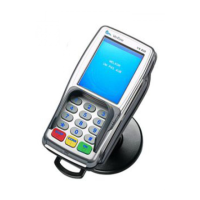
SECpos EVO
6. Host
communication
7. Start payment
transaction
1. Connect: Please connect terminal with power
supply. You need to plug power supply con-
nector to charging base and put terminal on
charging base.
2. Turn on: Terminal starts up. First use: Please
take care to charge battery more than
6 hours.
3. Paper roll: Open printer compartement by
lifting printer catch. Insert the paper roll and
close printer cover (characteristics: width
58mm/ 40mm diameter).
4. Communication: You can connect the device
to the Internet via WiFi or alternatively via
an LTE/4G mobile connection (mini-SIM card
required). If you drag down the status bar by
wiping you will see further settings. Press
and hold the WiFi icon (far left) to enter the
connection settings and to connect to your
network.
5. Startup SECpos EVO: Start SECpos EVO app
and choose language. After that please en-
ter your Terminal-ID (8 digits) and your PU
(optional: processing unit/ communication
target). You get your Terminal-ID and your PU
number by your payment provider.
6. Host communication: After entering the
needed data (language, TID and PU) the
terminal automatically connect to you
payment provider host. Transactions
like a initialisation, diagnosis and EMV
diagnosis will be processed – please check
these receips to ensure that all transactions
are done successful.
7. Start payment transaction: Please start
the cash register app „app2pay“. Now you
can enter the payment amount and start a
payment transaction.
By factory load there are following apps: