Do you have a question about the CDVI GALEO 4.0 and is the answer not in the manual?
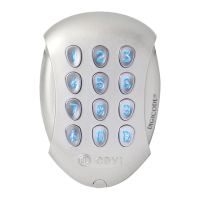
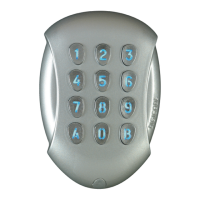
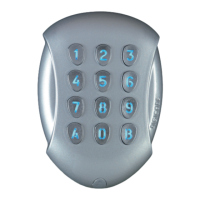
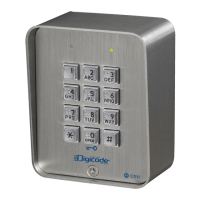
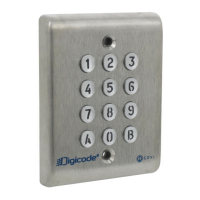
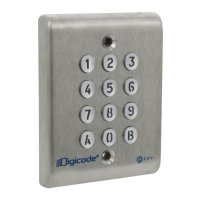
High resistance to vandalism with polished heavy duty Zamak alloy keypad.
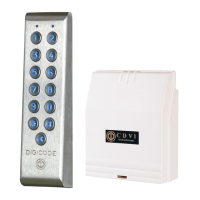
Controller and intelligence housed in a protected environment with a 3m cable.
Supports free voltage and 3 independent relay outputs for flexible setup.
Allows 100 user codes, each customizable by the user for ease of management.
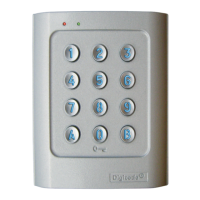
Provides audible and visual feedback for user interaction.
No master code is set at the factory, with only 5 terms available.
Offers two distinct mounting configurations for operational flexibility.
Enables adding users via Bluetooth connection using a Smartphone app.
Max 10m distance, avoid high voltage cables, suggest SYT1 0.8MM cable.
Suitable power supplies for the GALEO are ADC335 or BS60.
Mount on a flat surface for best mounting and to avoid vandalism.
No master code at factory, avoid sequential codes for master/user.
Mount varistor in parallel on the lock to secure against electromagnetic fields.
Lists all hardware included for installation, such as varistor, screws, and caps.
Covers drilling, attaching back plate, mounting and securing the keypad.
Covers installing the remote electronic box bracket, box, and final connections.
Explains the function of P1 (reset) and P2 (modify PIN) jumpers.
Details recommended power supplies and the wiring table for inputs/outputs.
Details wiring for Door 1, Door 2, Door 3, Push button, and Clock inputs/outputs.
Covers illumination, time relays, code length, and master code settings.
Details the code ranges for each of the three relays.
Allows setting sub master codes for relays and buzzer options.
Covers user code length, user location, and default settings.
Guides through initial power-up, master code entry, and programming mode entry.
Procedure to reset all settings to factory defaults using the P1 jumper.
Procedure to reset the master code using the P1 jumper.
Allows users to modify their own codes using the P2 jumper.
A summary table to indicate the code assigned to each user.
Provides contact information for CDVI offices worldwide.
| Type | Keypad |
|---|---|
| Model | GALEO 4.0 |
| Brand | CDVI |
| Operating Voltage | 12-24V AC/DC |
| IP Rating | IP65 |
| IK Rating | IK08 |
| Backlight | Yes |
| Keys | 12 |
| Display | No |
| Communication | Wiegand |
| Current Consumption | 60mA |
| Operating Temperature | -20°C to +60°C |