CONGA 7490 ETERNAL GENESIS CONGA 7490 ETERNAL GENESIS
5150
ENGLISH ENGLISH
NOTE:
The graphics in this manual are schematic representations and may not exactly match the
appliance.
2. BEFORE USE
- This robot vacuum cleaner includes a package designed to protect it during transport. Take
the robot vacuum cleaner out of the box. Keep the original box and other elements in a safe
place, as this will help you prevent product damage when transporting it in the future. In
case the original packaging is disposed of, make sure all packaging materials are recycled
accordingly.
- Make sure all parts and components are included and in good conditions. If there is any
piece missing or not in good condition, immediately contact the ocial Cecotec Technical
Support Service.
Warnings
- Remove all objects around the robot vacuum cleaner such as clothing, papers, cables,
curtains, or other fragile objects which may block or slow down the operation of the robot
vacuum cleaner. Fig. 4
- If the room to be cleaned is near a balcony or stairs, a physical barrier should be placed to
prevent the robot vacuum cleaner from falling and getting damaged, thus ensuring safe
operation. Fig. 5
- Do not use the robot vacuum cleaner for liquids. Fig. 6
- Direct exposure to sunlight or heavy light contrasts may aect the correct operation of the
sensors. If this happens, the robot vacuum cleaner will cease operation. Move it to a new
location for it to start running again.
- Please note that the total height of the robot vacuum cleaner is 8 cm and the sensors are
at the bottom, so it is advisable to black all areas below 8 cm to avoid damaging the laser.
Installing the robot vacuum cleaner and charging base
1. Place the charging base against a wall and leave a minimum free space of 1.5 metres to
the front and 0.5 metre to each side. Fig. 7
2. Connect the charging base to a power socket. Wind and store the remaining cable to
prevent accidents.
3. Hold down the Start/Pause button for 3 seconds.
4. When the indicator light turns on, place the robot vacuum cleaner in the charging base
and make sure the charging terminals on the robot match those of the charging base. If
the light is ashing blue, it means the battery is not completely charged. To ensure the
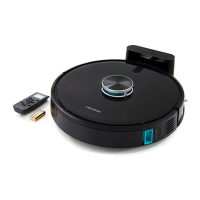
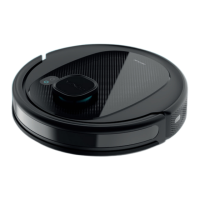
1. PARTS AND COMPONENTS
Fig. 1.1:
1. Back Home button
2. Start/Pause button
3. Laser
4. Reset button
5. Bumper
6. Infrared sensors
7. Fall-detection sensors
8. Charging terminals
9. Omnidirectional wheel
10. Side brush
11. Internal battery
12. Drive wheels
13. Main brush
14. Mixed tank
Robot vacuum cleaner’s accessories Fig. 1.2:
1. Charging base
2. Mixed tank
3. Side brush
4. High-eciency lter and primary lter
5. Adapter
6. Self-cleaning brush
7. Mop bracket
8. Mop
9. Multifunctional brush
10. Instruction manual
Charging base. Fig. 2:
1. Operation indicator light
2. Signal transmission zone
3. Charging connector
4. Charging terminals
Mixed tank. Fig. 3:
1. High-eciency lter cover
2. High-eciency lter + primary lter + sponge lter
3. Silicone lid
4. Tank lock