4342
COFFEE 66 SMART PLUSCOFFEE 66 SMART PLUS
ENGLISH ENGLISH
Warning
It is not suggested to prepare less than 4 cups.
- Place the jar with the lid closed in the coee maker making sure it is fully seated in the
coee maker to activate the Pause & Serve mechanism.
Warning
Make sure the jar is properly tted in the device and that the lid is on to avoid hot water or
coee from overowing.
- With the top lid fully open, insert the lter into the funnel.
- Add coee using a measuring spoon.
Warning
The suggested quantity to brew a rich, full-bodied avor coee is one level scoop for each cup
or 10 level scoops per full pot of coee. Test with the amount of coee used in order to adjust
the quantity to your taste.
- Close the top cover again.
- With the lid rmly closed and the jar secured in place, press the On button. The red colour
LED light will light up and ash, indicating the brewing cycle has started.
Warning
Do not open the lid during the brewing cycle; even if no water is draining from the funnel.
Extremely hot water/coee can spill out from the device and cause injury. If water/coee is
not draining from the funnel, immediately unplug the unit and wait 10 minutes before opening
and checking the lter.
- When the machine has nished brewing coee and the water level indicator shows that
the water level has run out, there will still be hot water/coee in the funnel. Wait a few
minutes for the rest of the liquid to drip through into the jar.
- The coee machine will keep the coee hot for 40 minutes after brewing is complete.
- After coee grounds have cooled down, open the lid and carefully remove the lter
- To do this, hold the lter by the handle and pull it upwards out of the funnel. Dispose of
used coee grounds.
Warning
Always switch the coee maker o when the jar is empty or no more coee has to be warmed
up. The coee maker will automatically shut o after 40 minutes.
If two or more jars of coee are to be made it is recommended to allow the coee machine to
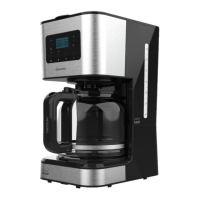
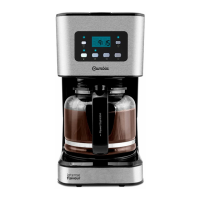
1. PARTS AND COMPONENTS
Fig. 1
1. Upper cover
2. Filter (2 pieces)
3. Funnel
4. Control panel
5. Jar lid
6. Jar
7. Jar handle
8. Heating plate
9. Water level indicator
Fig. 2
Control panel
1. Hours setting
2. Minutes setting
3. Descaling
4. STRONG function
5. Daily scheduling
6. ON/OFF
2. BEFORE USE
- Take the product out of the box and remove all packaging materials.
- Make sure all parts and components are included and in good conditions. If any visible
signs of damage are observed, contact the Technical Support Service immediately.
- Place the appliance on a at, stable surface.
- Make sure the device is turned o and plug it to a power supply.
- Run 2 brewing cycles (see “Operation” section) without coee or lters to clean the whole
device before using it for the rst time.
3. OPERATION
- Open the top lid and pour cold water (preferably bottled or ltered) into the tank. The
number of cups is displayed on the water level indicator. Do not exceed the maximum ll
level.