6 • Assembling Your Celestron C5 Spotting Scope
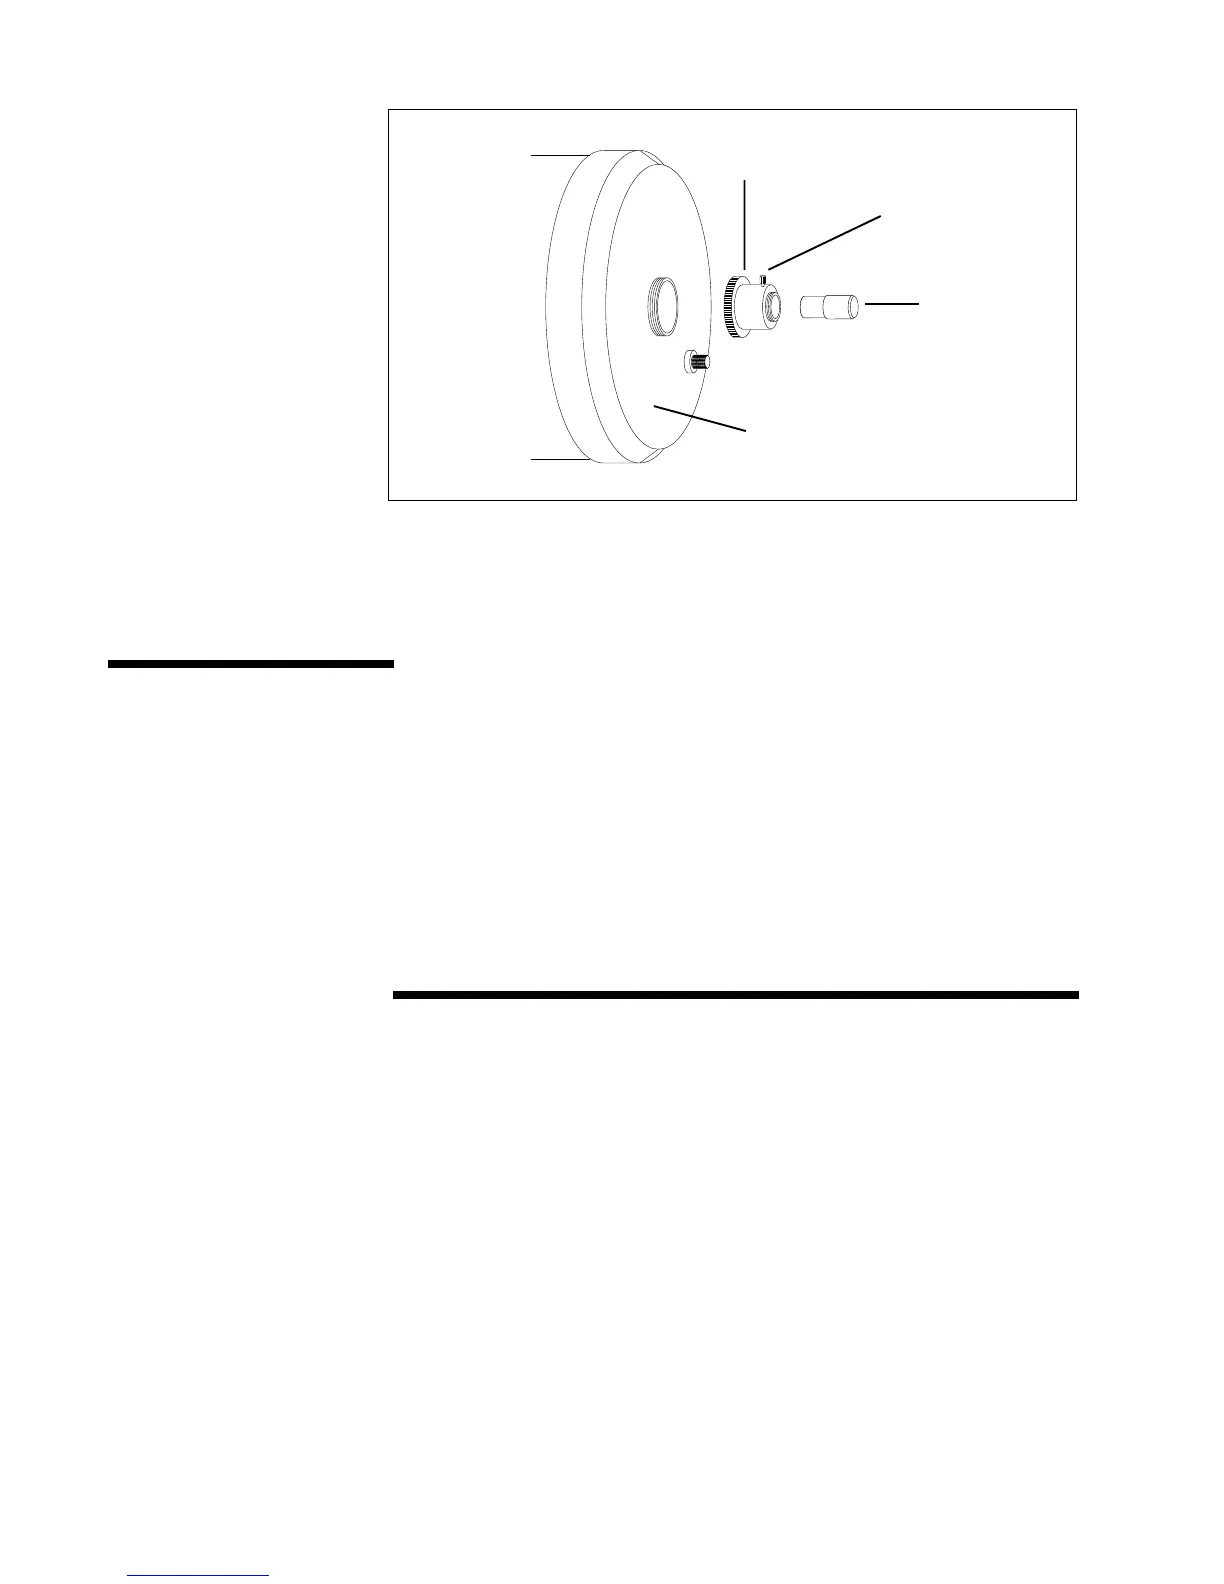
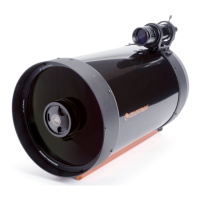
Figure 1-2
Attaching the eyepiece directly to the C5 rear cell. Doing this will invert (i.e., upside down
and backwards) the image through the spotting scope.
Eyepiece
Rear Cell
Visual Back
Thumbscrew
The C5 spotting scope come standard with a terrestrial (erect image) 8x20 finder.
The purpose of the finder is to locate objects that might otherwise be overlooked in
the narrow, higher power field of view of the spotting scope.
Begin by removing the finder and mounting hardware from the plastic shipping
wrapper. Included with the finder are five Allen head screws: two hold the
bracket to the spotting scope and three hold the finder in place inside the bracket.
The three that hold the finder in place are easy to identify since they are nylon.
In addition, there is also a rubber O-ring used to keep the finder secure in the
bracket. Mounting the finder and bracket is a two-step process; first mounting
the bracket to the spotting scope, then mounting the finder in the bracket.
Attaching the Finder Bracket to the Spotting Scope
1. Locate the two holes in the rear cell of the spotting scope just right of center
(when looking from the back of the tube).
2. Remove the tape covering the two holes. The tape prevents dust and
moisture from entering the optical tube before the finder is installed.
3. Place the finder bracket over the holes. The bracket should be oriented so
that the ring with the holes for the adjustment screws is closer to the rear
cell (eyepiece end) of the spotting scope (see figure 1-3).
4. Thread the screws in by hand and then tighten with one of the Allen
wrenches provided.
Installing the Finderscope