4
You now have the nderscope properly aligned with the main telescope.
Aach the dew shield
Aaching the dew shield is not essenal. However, it is
recommended in humid weather where the nighme temperature
is expected to drop. It is best to aach the dew shield when the
telescope is rst set up, rather than waing unl dew starts to
condense of the front corrector plate lens. By then it is too late.
The supplied Astrozap dew shield is the 12v DC powered version.
However, the baery supplied with the telescope has insucient
capacity to drive the dew shield. But this is not a problem as even
without power the dew shield can stop the condensaon of dew on
the lens for many hours. Simple t the shield over the front of the
telescope so that ~80% of the shield extends out beyond the front of the corrector plate lens.
Power-on the telescope and input inial sengs
A note about the Hand Controller
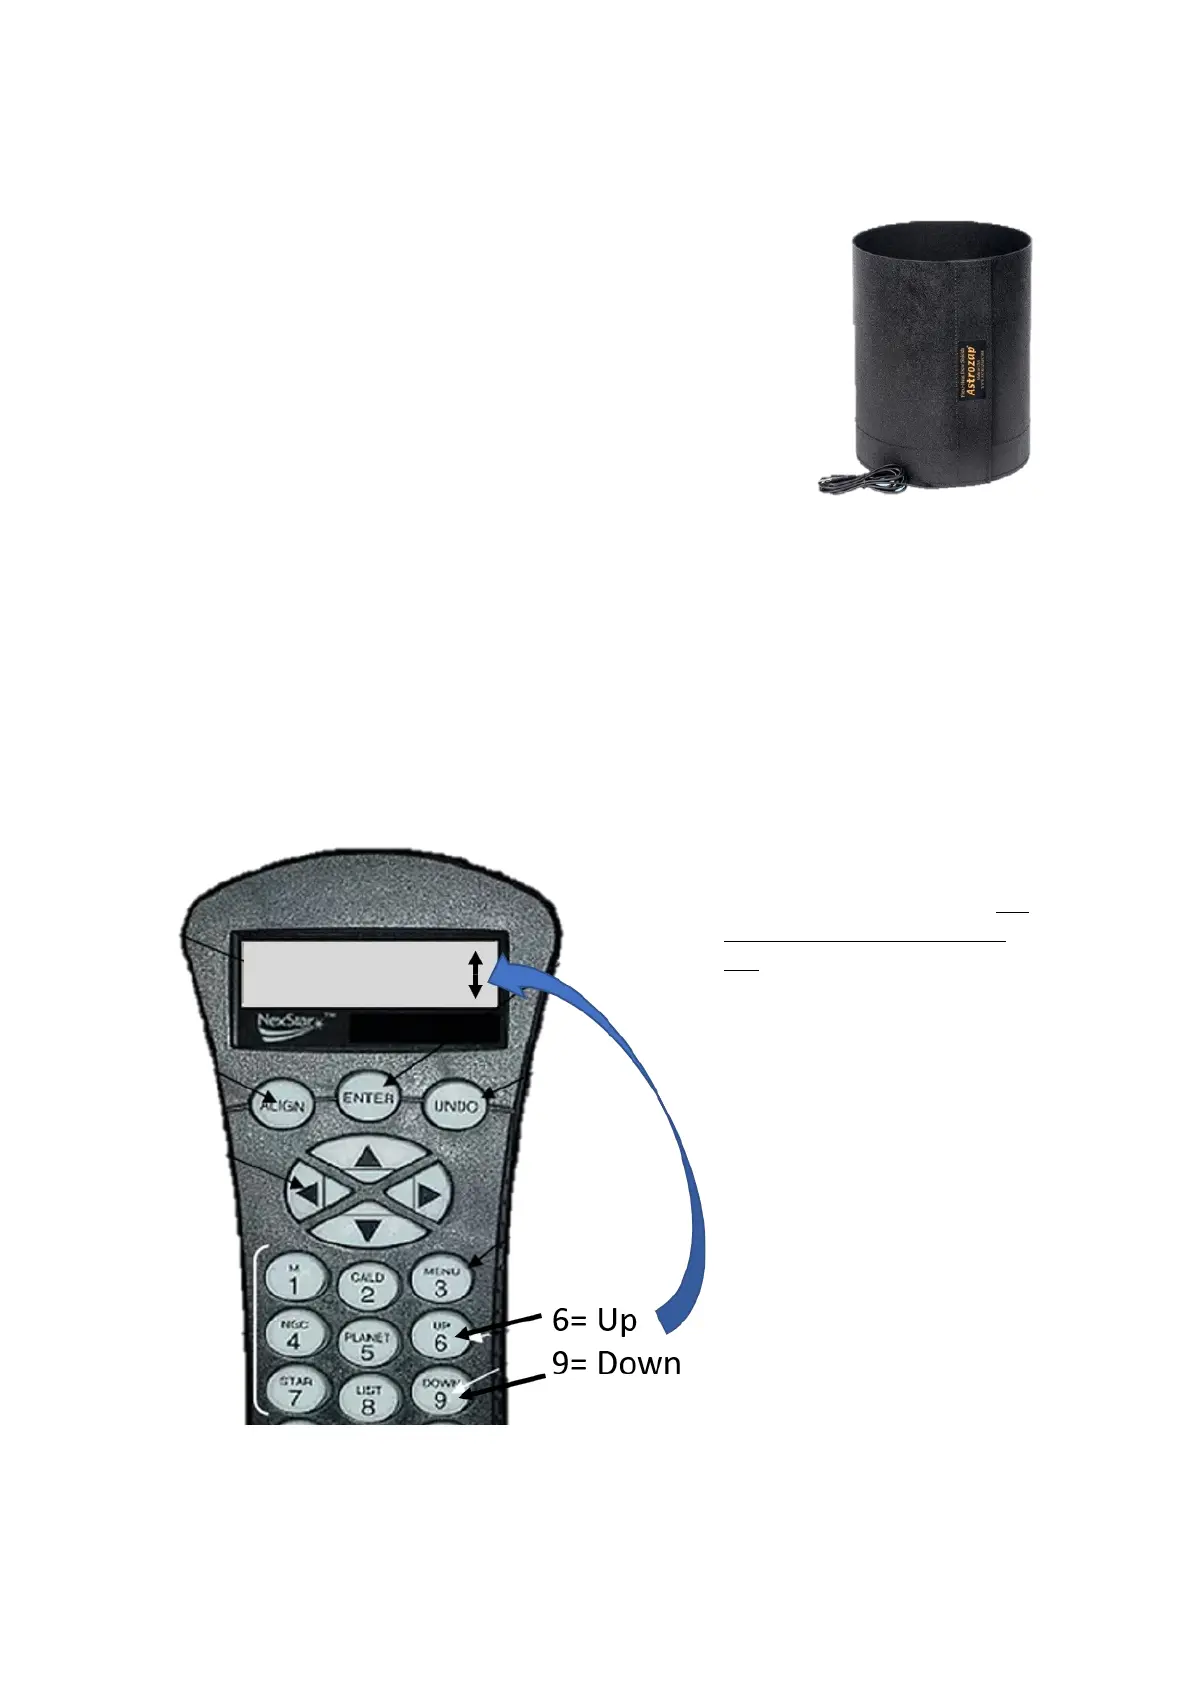
There are mes when the hand controller LED screen will display an up/down arrow on the
righthand side. This means you are being asked to select something from a list of opons. You use
the 6 and 9 keys to scroll up or down through the opons list.
The Celestron CPC telescope has a
GPS chip to inform the telescope of
its current locaon. However, this
chip no longer works in the BAS
CPC. So, you need to follow a
slightly dierent inializaon
procedure to that listed in the
telescope user manual. We need to
tell the telescope the current me,
date and internaonal me-zone.
You are strongly recommended to
familiarize yourself with the CPC
Menu Tree (at the end of this
document) before launching into
the next steps.
Inial sengs
Turning GPS OFF and seng the
current date, me and me zone.