2 | ENGLISH
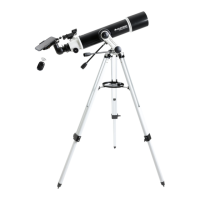
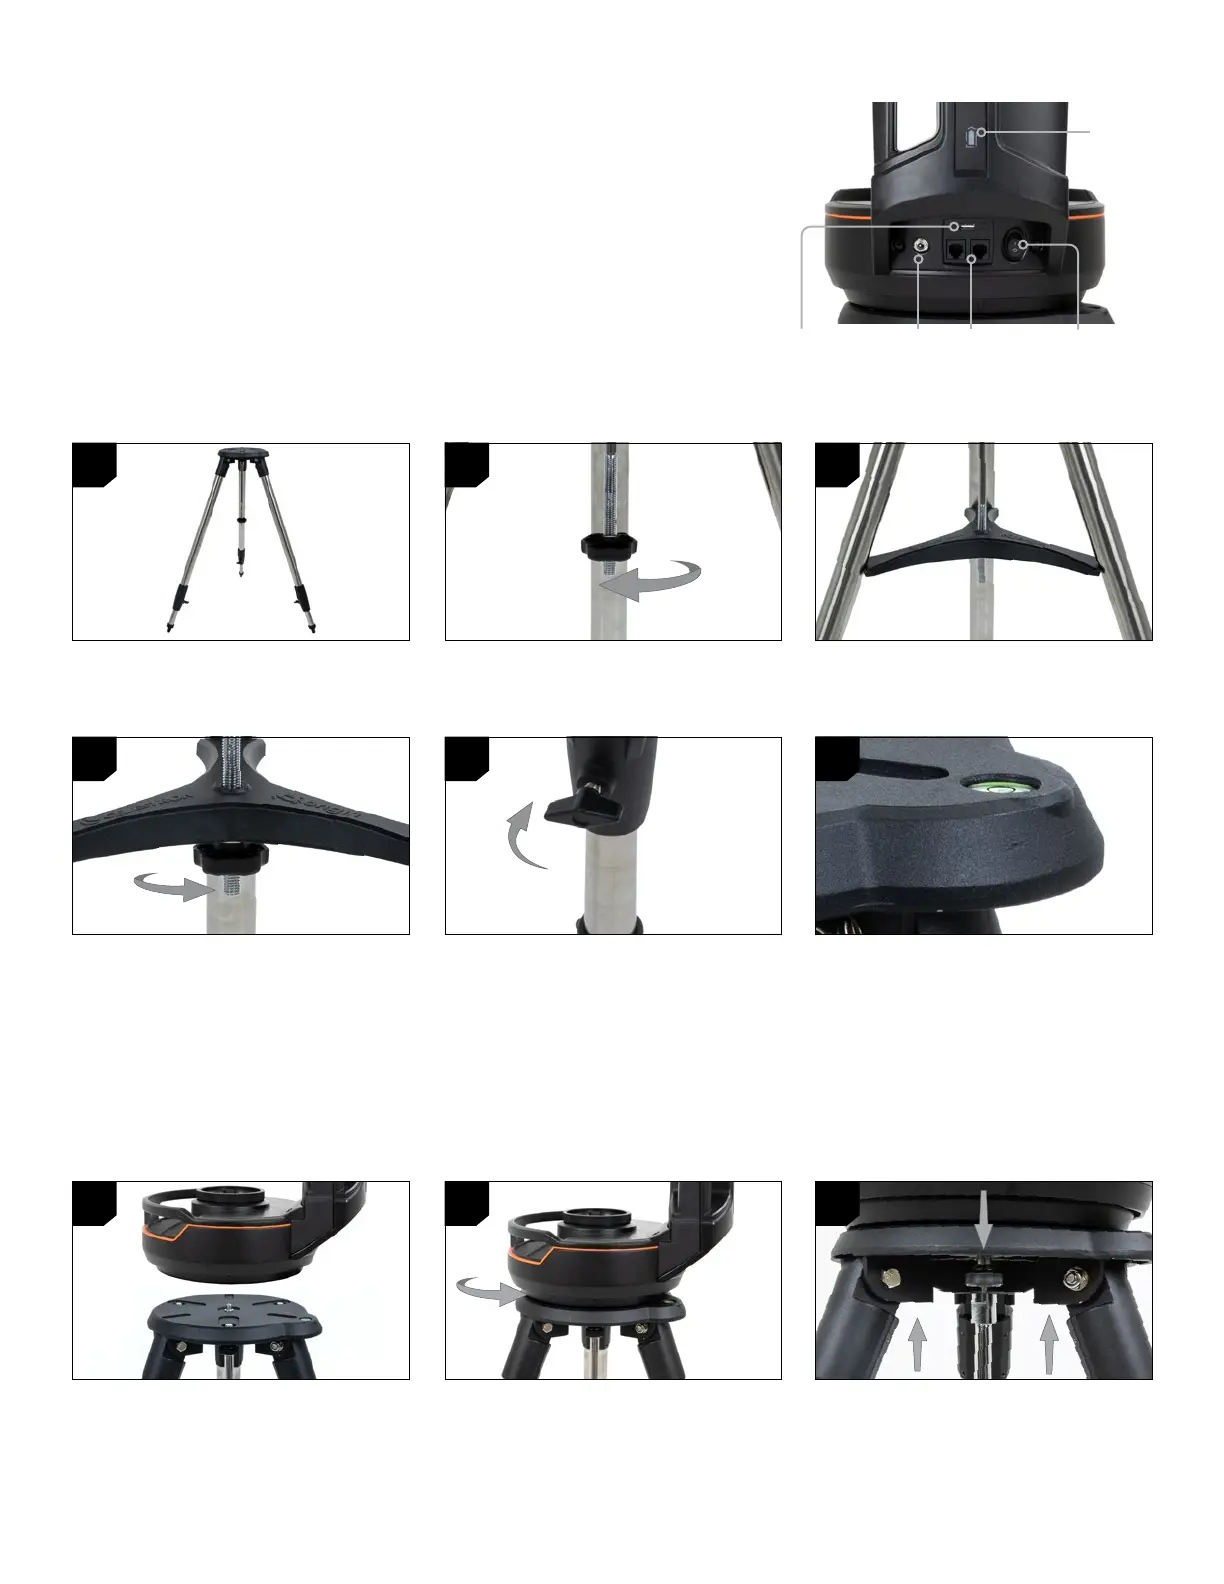
Setting Up the Tripod
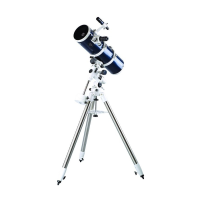
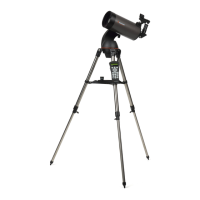
Attaching the Mount to the Tripod
Charging Origin
1. Spread the tripod legs and stand the
tripod upright.
1. Position the fork arm mount over the center
post on the tripod head. Do not let go of
the mount until it has connected with the
center post. The mount should not wobble.
4. Thread the nut and washer back onto the
threaded column and firmly tighten into
place. The tripod leg brace should not be
able to move against the tripod.
2. Remove the tripod support nut and washer
from the central column attached to the
top of the tripod.
2. With the mount resting on the tripod head,
rotate the mount until the three mounting
sockets align. The sockets will click into
place, indicating they are aligned.
5. Adjust the height of the tripod by loosening
the lock knobs on the end of each tripod
leg. Then adjust the leg height as needed
and retighten the lock knobs, one leg at a
time. Note that you can use the leg index
marks to easily level the tripod.
3. Place the tripod leg brace over the central
column so that each of the three arms of
the tray is supporting a tripod leg.
3. Thread the three captive mounting bolts
from underneath the tripod head into the
bottom of the telescope base.
6. Confirm the tripod is level using the built-
in bubble level on the tripod head.
1. Choose the appropriate wall outlet plug and slide it into the AC adapter body until it
snaps in place.
2. Plug the adapter into an AC wall outlet.
3. Plug the end of the AC adapter into the 12V DC power port at the base of the fork arm.
The battery lamp will pulse to show the unit is charging. When charging is complete, the
battery light will remain steadily lit.
Origin’s built-in lithium battery usually ships with a 25% charge. We recommend that
you plug the charging cord into a wall outlet and allow Origin to fully charge before
using it the first time.
Power
Light
5 VDC Out USB
Charge Port
12VDC
Power Input
Power
Switch
Aux Accessory
Ports
1
1
4
2
2
5
3
3
6