8
CONTROL VIA THE REMOTE CONTROL
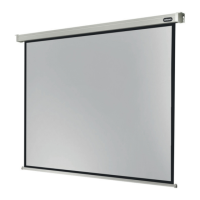
STEP 1: SAFETY CHECK (FIG. 1)
Insert the plug into the socket (ensure correct voltage). The cable must not
be laid on hot surfaces or stretched. When using an extension make sure it
has the correct speci cation. The wall control box must be mounted with the
cable outlet on the underside.Make sure that there is a line of sight between
the wall control box and the remote control. The IR eye on the box must not
be covered.
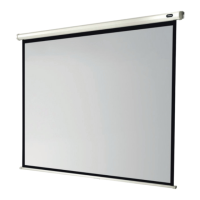
STEP 3: RETRACT THE SCREEN (FIG. 3)
Press the upward pointing arrow
button. The screen retracts and stops
automatically at the housing or the set
upper end point. Make sure that no
objects or persons obstruct the
retraction of the screen.
STEP 2: EXTEND THE SCREEN (FIG. 2)
Press the downward pointing arrow
button. The screen extends and stops
automatically at the set end point.
Make sure that no objects or persons
obstruct the extension path of the
screen.
STEP 4: STOP THE SCREEN
To stop the screen manually, press the stop button between the arrows
It is possible to set the stop points. Please request the instructions for this procedure from
your specialist dealer or directly via www.celexon.com.