• The puncher’s face should be well lit and be between 18 and 30
inches from the camera lens (which is on the top center of the
screen).
• There should not be any other faces in the view of the camera
because the software will then not be able to decide which face
to capture.
• There should not be a lot of movement behind the puncher. For
this reason, the clock should not be mounted in busy areas if
the camera function is to be used.
• There should not be a light source in the camera’s view.
There are two camera validation options:
• Face detection and capture: The clock captures an image of the
user’s face saves it in the client’s instance so that it can then
optionally be viewed on the timesheet. This option uses a great
deal of data storage.
• Facial recognition: Employees are enrolled for verification (i.e.,
their image is taken, saved, and distributed to clocks). When
employees punch, the clock attempts to validate that the image
it sees corresponds to the saved image.
The estimated punch rate when using camera validation should be
between 1 and 6 per minute depending on the option selected.
9 INSTALLATION INSTRUCTIONS
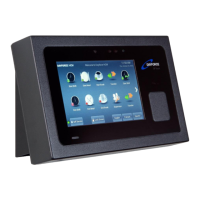
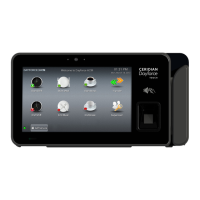
The DF Touch Clock has two parts: the clock and the wall-mount. The
Clock is shipped in a cardboard carton together with the wall-mount, a
5ft Ethernet cable, and the external power supply.
9.1 Installing the wall-mount
Install the clock in areas that are well lit and not exposed to very hot,
cold or damp conditions. Install the wall-mount exactly horizontally.
Enclosed in the box, you will find the following: