Do you have a question about the Ceridian Dayforce Tuff Clock and is the answer not in the manual?
Key safety instructions to reduce risk of fire, electric shock, and injury.
Guidelines for preventing damage from mechanical shock and handling damaged screens.
Instructions for cleaning the display surface using isopropyl alcohol.
Information on the equipment's design for light water spray and wash down.
Details on screen, CPU, RAM, operating/storage temps, and humidity.
Specifications for 24V DC input, PoE, Ethernet standards, and Wi-Fi.
Supported OS versions and pre-installed applications like Dayforce Clock Program.
Camera, LED, USB ports, optional readers, relay outputs, and certifications.
Instructions for the L18650-2ACR Lithium Ion battery pack.
Procedures for safely disposing of the Lithium Ion battery pack.
Guidelines for storing the battery safely and precautions against damage or fire.
Detailed steps for installing the battery into the clock assembly.
Information on initial charging, formation, and charging notes.
Recommendations for optimal punch recording using the camera feature.
Explanation of available camera validation methods: face detection and facial recognition.
Expected punch rate when using camera validation features.
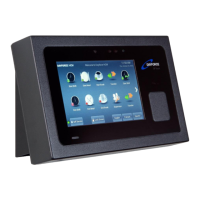
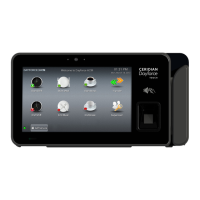
Overview of components included in the DF Touch Clock package.
Instructions for mounting the wall-mount bracket horizontally in suitable locations.
Details on using attachment holes and recommended mounting heights.
Guidance on routing power and network cables through walls or into electrical boxes.
Identification of various ports on the rear of the clock unit.
Steps for physically mounting the clock and connecting essential cables.
Diagram illustrating the pinout for the 24V DC power input connector.
Information on the Binder mating connector used for water-splash resistance.
Details on relay outputs, inputs, and connector part numbers.
Visual guide to relay module and field-wireable connector pin assignments.
Warning against connecting line-voltages to the relay module.
How the clock communicates with Ceridian servers and the need for registration.
Support for DHCP and manual static IP address setup.
Required firewall configurations for clock communication.
Steps to verify IP, check cable connections, and test network access.
How to confirm connectivity to the Ceridian server via a specific URL.
Essential information to provide to support teams for issue resolution.
Procedure to enter Administrator Mode by touching and entering a PIN.
Navigating to Clock Information to view network details.
Manual setup for IPv4, Subnet Mask, Gateway, and DNS servers.
FCC Part 15, Class A limits, and measures for handling interference.
Adherence to FCC radiation exposure limits and proximity requirements.
Compliance with IC license-exempt RSS standards and radiation exposure limits.
Identification of product models and FCC/IC IDs for transmitter modules.
Contact details and support phone numbers for different geographic regions.