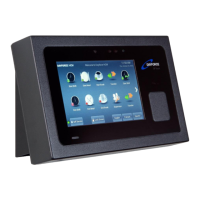
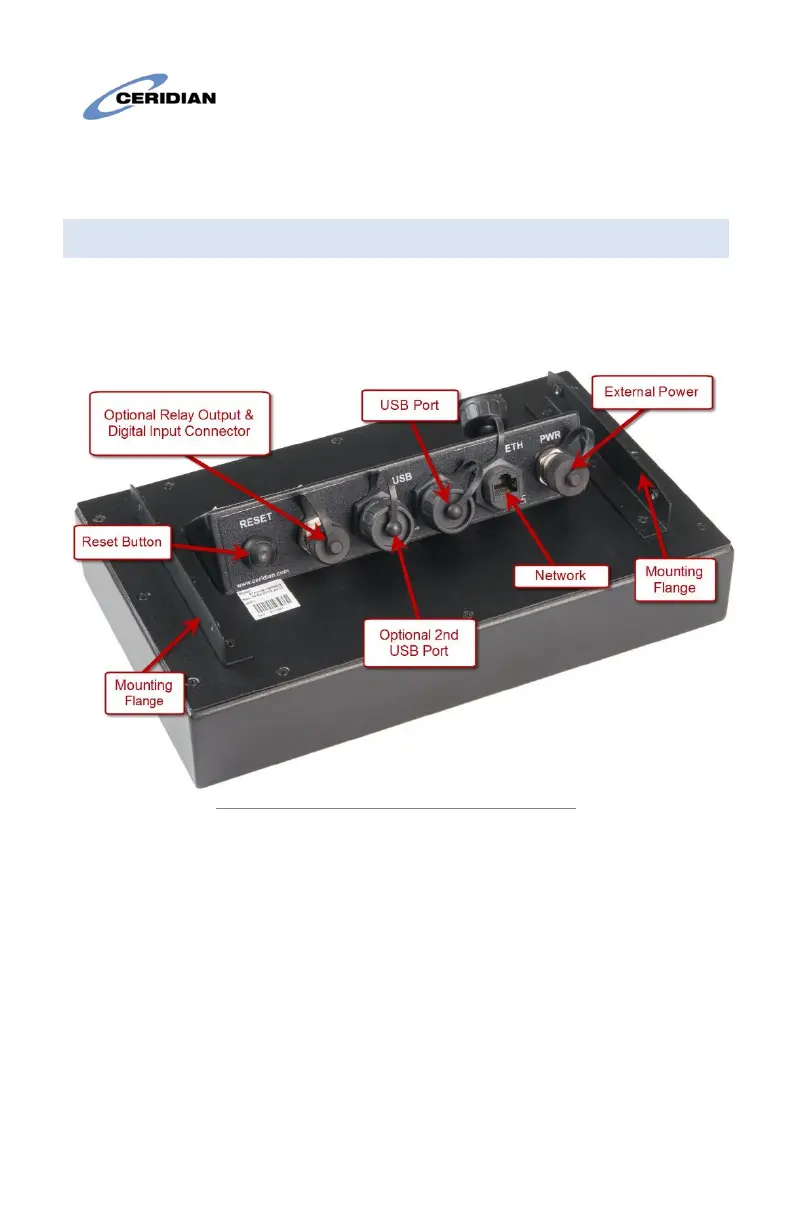
9.2 Connecting and attaching the clock
Note the position of the various connectors on the rear of the clock in
Figure 3. The 2
nd
USB and Relay Output/Input are factory options and
may not appear on your clock.
Figure 3: Rear view of the clock and connections
Mount the clock to the wall-mount using the (4) supplied screws as in
Figure 4. Connect the necessary cables; External Power, Network, etc.
The enclosed cable-tie may be used as desired to coil and dress any
wires up behind the clock.