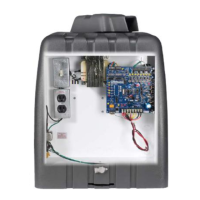
LED
1-1/2" (3.8 cm) board (or a 2x4 laid flat)
Safety Reversing Sensors
ADJUSTMENT
© 2016, LiftMaster – All Rights Reserved
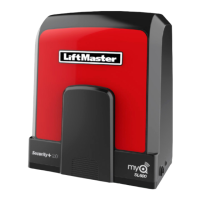
LiftMaster
845 Larch Avenue
Elmhurst, IL 60126-1196
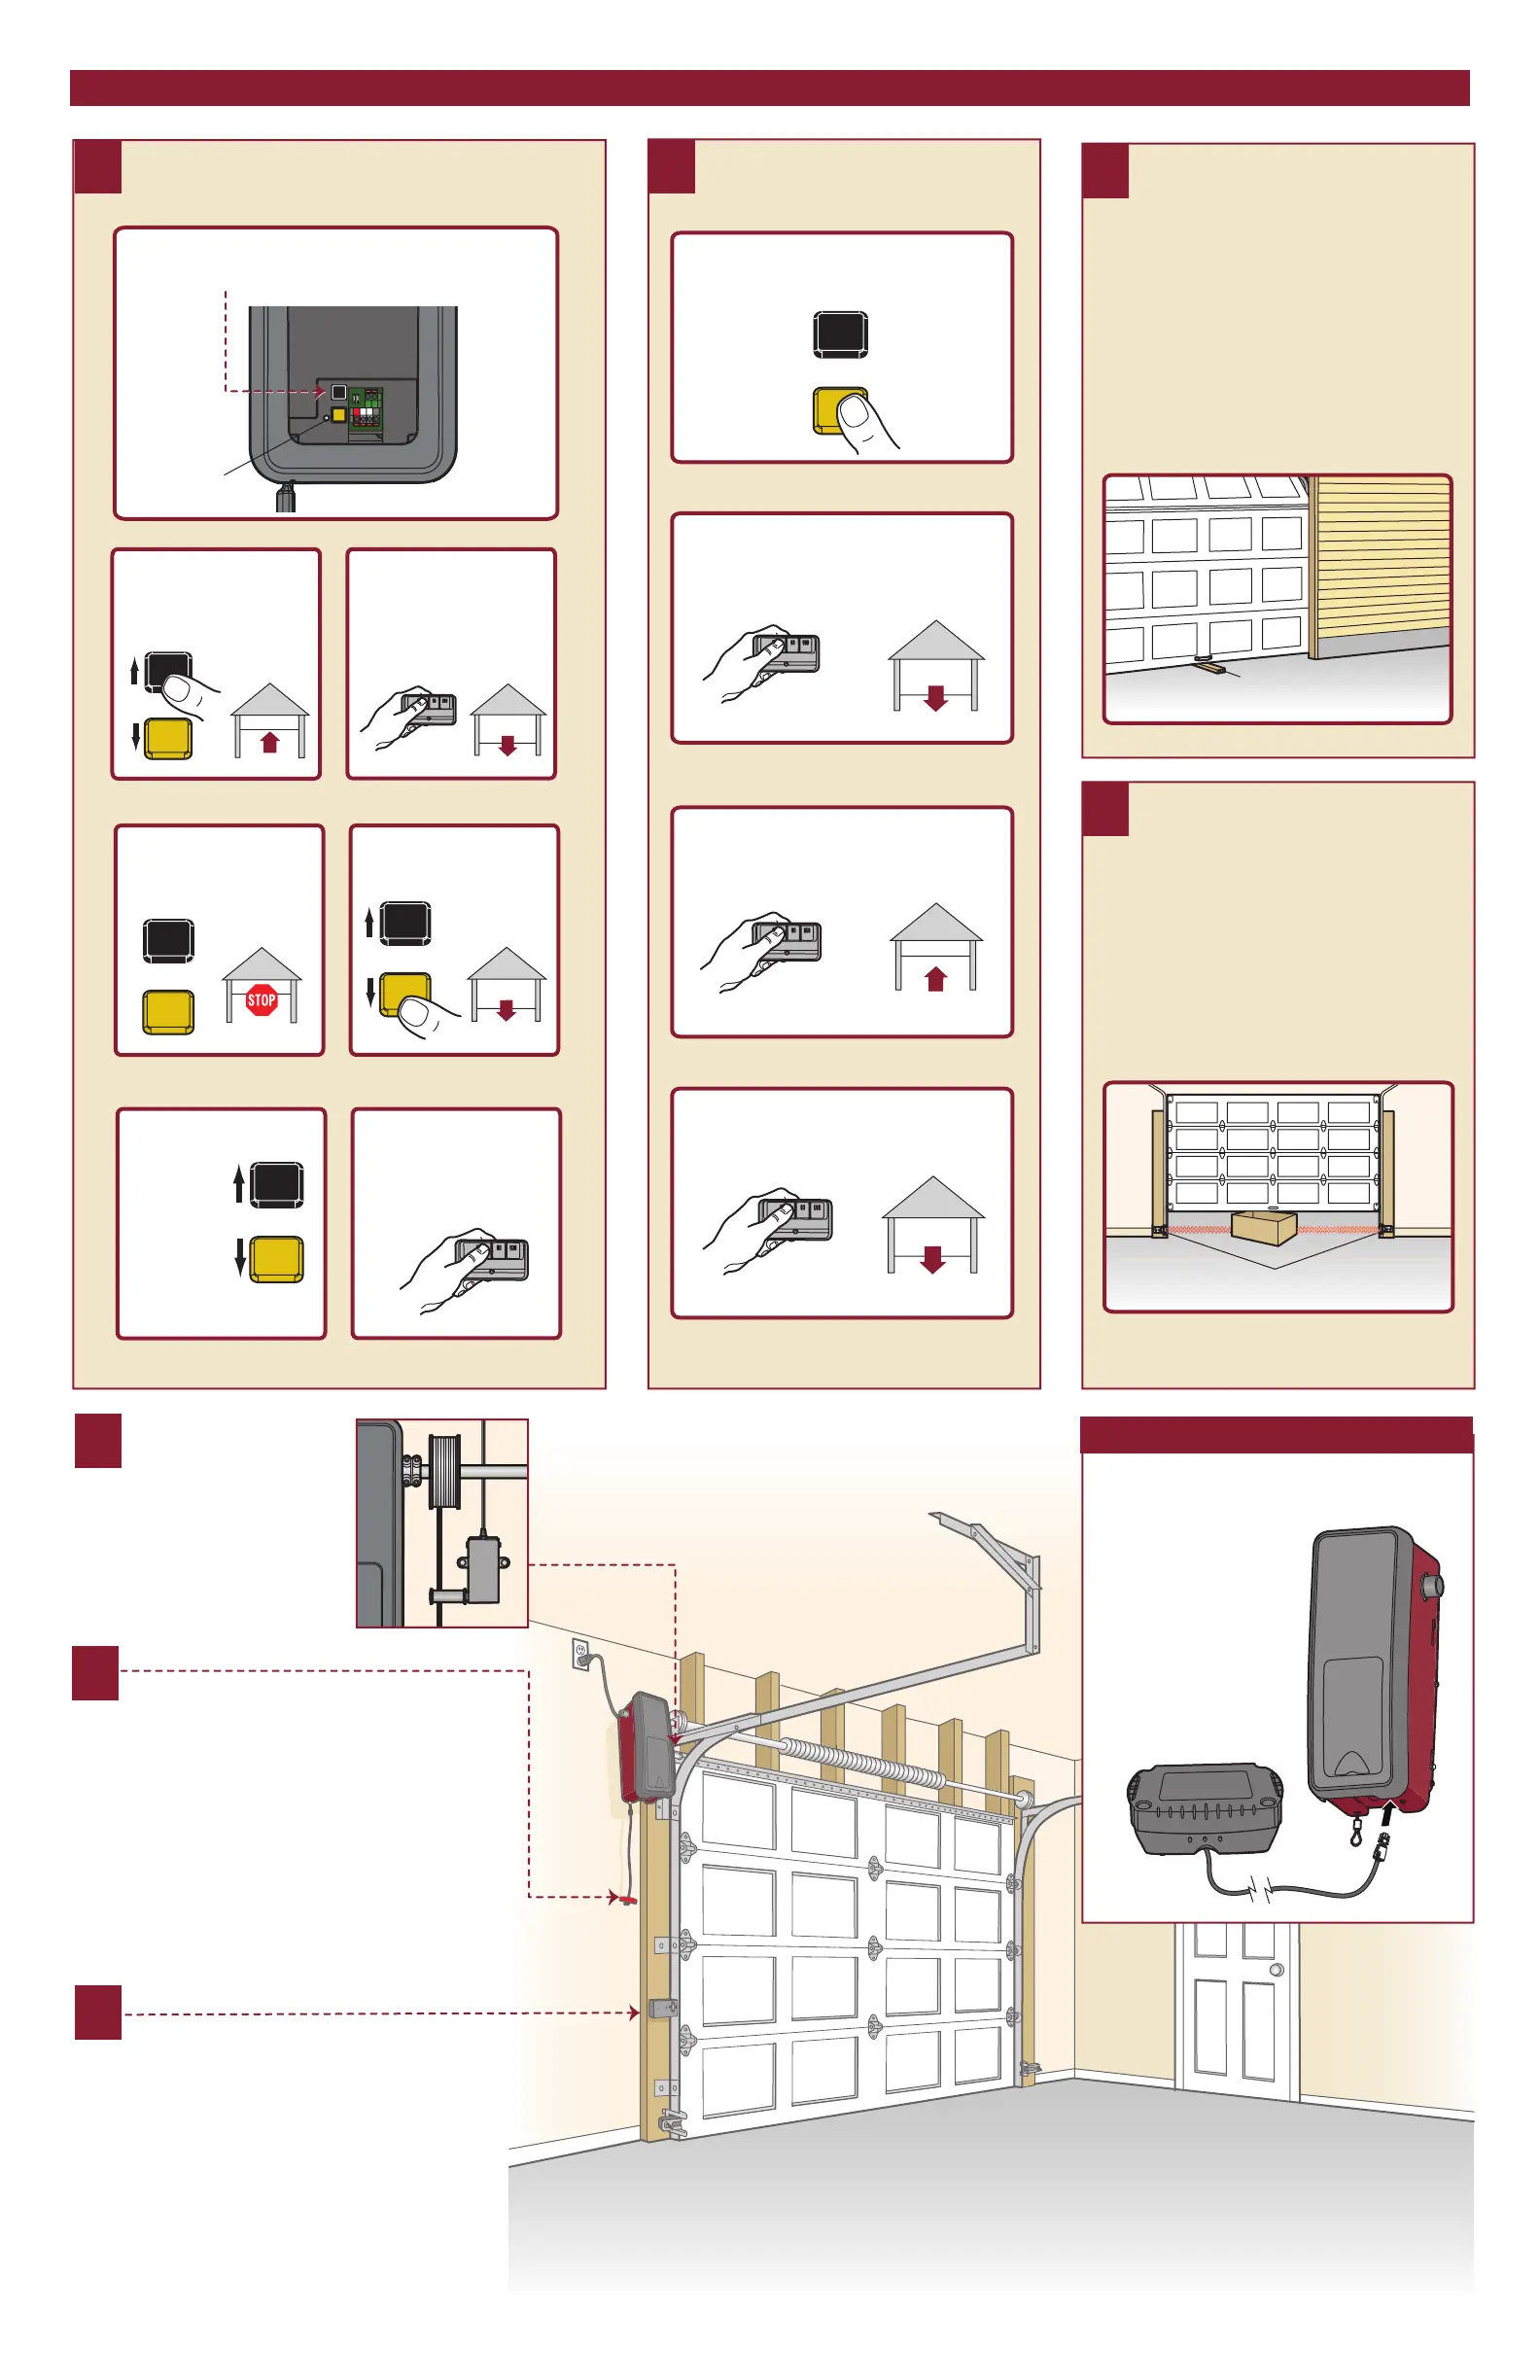
STEP 1: Press and hold the black button until the LED starts flashing slowly,
then release.
STEP 2: Push and hold the black
button until the door reaches the
desired UP (open) position.
STEP 3: Push the door control or
programmed remote control. This
sets the UP (open) limit and
begins closing the door.
STEP 4: Immediately when the
door begins to close, press and
release either the black or yellow
button. This will stop the door.
STEP 5: Push and hold the yellow
button until the door reaches the
desired DOWN (closed) position.
STEP 6: Once the
door is closed, if
there appears to
be too much
pressure on the
door, you may
toggle the door
back and forth
using the black
and yellow
buttons to reach
the desired closed
position.
STEP 7: Push the door control or
programmed remote control. This
sets the DOWN (close) limit and
the door should open.
STEP 1: Push the yellow button twice to enter into the
Force Adjustment Mode. The LED will flash quickly.
STEP 2: Push the door control or programmed remote
control. The door will close (DOWN).
STEP 3: Push the door control or programmed remote
control again. The door will open (UP).
STEP 4: Push the door control or programmed remote
control a third time to close the door (DOWN).
Program the Travel Limits
Set the Force Test the Safety Reversal System
Test the Protector System
®
1. With the door fully open, place a 1-1/2 inch (3.8 cm) board
(or a 2x4 laid flat) on the floor, centered under the garage
door.
2. Operate the door in the down direction. The door must
reverse on striking the obstruction.
If the door stops on the obstruction, it is not traveling far
enough in the down direction. Complete Adjustment Steps 1
and 2 Program the Travel Limits and Set the Force.
Repeat the test.
1. Press the remote control push button to open the door.
2. Place the opener carton in the path of the door.
3. Press the remote control push button to close the door. The
door will not move more than an inch, and the opener lights
will flash.
The garage door opener will not close from a remote if the
indicator light in either sensor is off (alerting you to the fact
that the sensor is misaligned or obstructed).
OPTIONAL
With the door fully closed, push on
the front of the cable tension
monitor. A click should be heard. If
there is no click, the roller may be
hitting the jamb and not allowing
the switch to detect slack in the
cable. Make sure the cable tension
monitor is mounted flush with the
wall and the roller is free from any
obstructions.
1. With the door fully closed, the power door lock bolt should
be protruding through the track.
2. Operate the door in the open direction. The power door lock
should retract before the door begins to move.
3. Operate the door in the down direction. When the door
reaches the fully closed position, the power door lock
should automatically activate to secure the door.
NOTE: If the power door lock does not function, the lock can be
manually released by sliding the manual release handle to the
open position.
Disengage door lock before proceeding. The door should be fully
closed if possible. Pull down on the emergency release handle
until a click noise is heard from the garage door opener and lift
the door manually.
To reconnect the door to the garage door opener, pull the
emergency release handle straight down a second time until a
click noise is heard from the garage door opener. The door will
reconnect on the next UP or DOWN operation.
Test the emergency release:
1. Make sure the garage door is closed.
2. Pull the emergency release handle. The garage door should
then be able to be opened manually.
3. Return the door to the closed position.
4. Pull the emergency handle a second time.
5. Reconnect the door to the garage door opener.
Test Cable Tension
Monitor
Test Power Door Lock
To Open the Door Manually
Battery Backup
Model 475LM
Secure the Battery Backup to a
structural support (ceiling joist or
wall stud) within 3 feet (.9 m) of
the garage door opener. Connect
the Battery Backup cord into the
connector on the bottom of the
garage door opener.
Travel limits regulate the points at which the door will stop when
moving up or down.
The force setting measures the amount of force required
to open and close the door.
GDOPro105
LiftMaster.com
 Loading...