21
Establishing a WPS Connection
If the Wi-Fi device to be connected to the CharJi EVO
CLOUD supports WPS, the wireless network encryption
key is generated automatically and there is no need to
enter it manually.
The steps for WPS connection are as
follows:
1. Turn on the CharJi EVO CLOUD.
2. Turn on the Wi-Fi device to be
connected to the CharJi EVO
CLOUD.
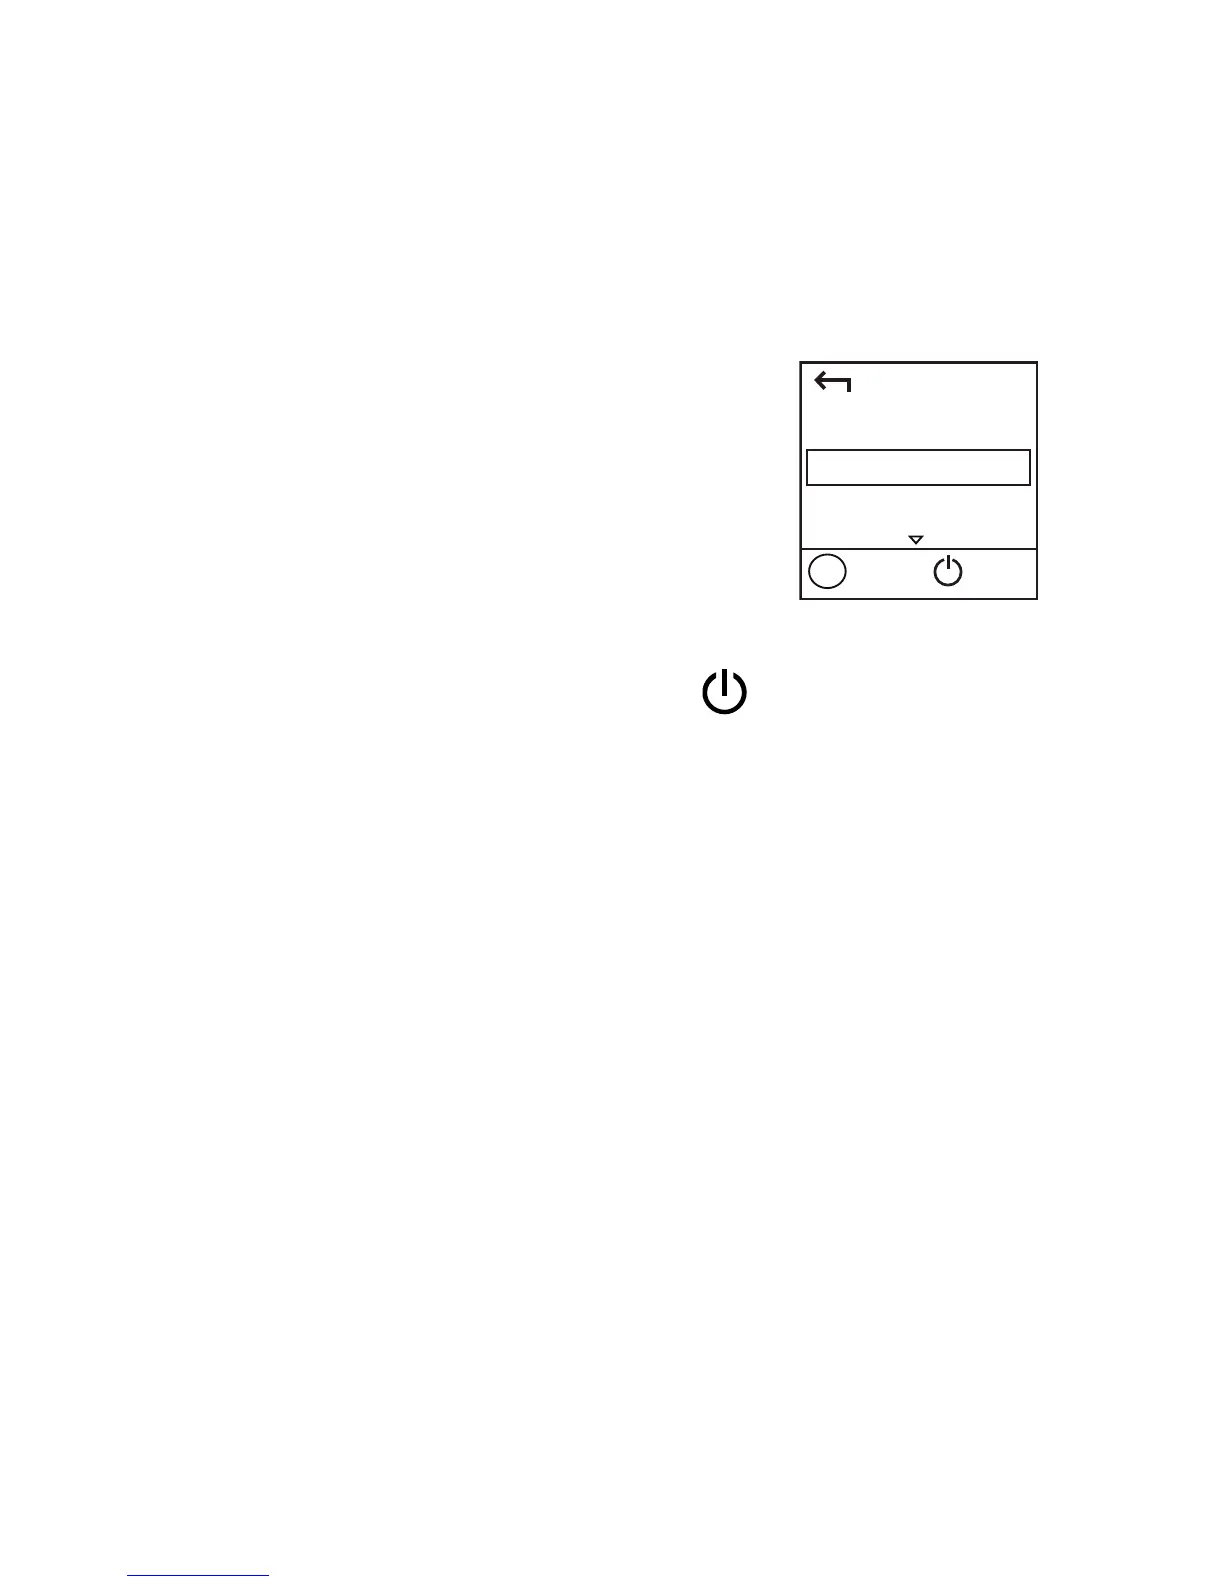
3. Press the MENU button to display the menu, scroll
to WPS, and then press the
button to
activate CharJi EVO CLOUD's WPS.
4. Activate the Wi-Fi device's WPS.
Note:
For specific instructions for the Wi-Fi device, refer
to the device's user manual.
Example 1: Connecting to a Computer
(for example, running the Windows 7
operating system) through Wi-Fi
1. Ensure that the CharJi EVO CLOUD's Wi-Fi
function is on.
2. Select Start > Control Panel > Network and
Internet > Network and Sharing Center > Connect
to a network.
Back
WPS
Next
OK
Menu